

Tankless water heaters are a great way to save energy and water, but they can still develop leaks. If your tankless hot water heater is leaking, it’s important to address the issue right away. There are several repair strategies you can use to fix leaks in tankless water heaters, including checking for a loose connection, replacing the temperature and pressure relief valve, and cleaning the heat exchanger. Taking the time to identify and repair any leaks in your tankless water heater will help ensure its performance and longevity.Types of Leaks in Tankless Water Heaters include leaks from the water heater’s inlet and outlet connections, cracks in the water heater housing, damaged water lines, and worn out O-rings. Leaks can also occur from the temperature and pressure relief valve, or TPR valve, if it is defective. Finally, an inadequate seal between the heat exchanger and the combustion chamber can cause a leak.
Common Causes of Leaks in Tankless Water Heaters
Tankless water heaters are a great way to save energy and money, but like any other appliance, it can develop problems that require repair. One of the most common issues associated with tankless water heaters is leaking. There are several possible causes of leaks in tankless water heaters that you should be aware of.
The most common cause of a leak in a tankless water heater is a worn out seal or gasket. This part, which is typically made from rubber or plastic, seals the connection between the main body of the heater and its components (valves, pipes, etc.). Over time, these parts may become brittle and worn out due to normal wear and tear. If this happens, it can cause a leak to occur.
Another common cause of leaks in tankless water heaters is corrosion or rust on the inside of the unit. This occurs when minerals from hard water build up inside the unit over time and eventually cause rust to form on the walls. If left unchecked, this corrosion can eventually lead to holes forming in the unit which will allow water to escape and cause a leak.
Finally, another common issue with tankless water heaters is that they can be overfilled with too much water. This will cause pressure to build up inside the unit which can lead to leaks as well as other problems such as decreased efficiency or even complete failure of the unit.
If you have noticed any signs of leaking in your tankless water heater, it’s important to take action right away and get it fixed before it leads to further damage or expensive repairs down the line. Consulting with an experienced professional can help you identify what type of repair needs to be done and how best to address it so that your system continues running properly for years to come.
Identifying Leaks in Tankless Water Heaters
It is important to identify and fix leaks in tankless water heaters. Leaks can cause major damage to your home, leading to costly repairs. Fortunately, there are a few methods you can use to detect a leak in your tankless water heater.
The most common way to find a leak is by checking for water around the base of the unit. If you see any pooling or wet spots, there may be a leak. You should also check the connections between the pipes and the unit for any signs of leakage. If you notice any drips or wet spots, this could be an indication of a leak.
If you don’t see any visible signs of a leak, you can try using a leak detection kit to check for hidden leaks. These kits come with an electronic sounder that emits a sound when it detects water on its surface. It’s also a good idea to inspect your unit periodically for signs of wear and tear that could indicate potential problems.
If you do find signs of a leak in your tankless water heater, it’s important to repair it as soon as possible. A leaking tankless water heater can cause serious damage, so it’s best to address the issue right away before it gets worse. If you don’t feel confident in tackling the repair yourself, it’s best to call a professional technician who has experience with tankless water heaters and can diagnose and repair any issues quickly and effectively.
How to Locate the Source of a Leak
Locating the source of a leak can be a challenging task. It is important to determine the source of a leak, as it can be indicative of more serious issues. It is best to take precautionary steps in order to prevent future damage or safety issues. Here are some tips for locating the source of a leak:
First, inspect surrounding areas for signs of moisture or water seepage. Check walls, ceilings, and floors for stains or wet patches. This will help narrow down the search area and provide clues as to where the leak may be coming from.
Next, check all plumbing fixtures and connections for signs of wear and tear or loose seals. Look for any cracks, breaks, or tears in pipes that could be causing the leak. If any are found, repair them right away to prevent further damage.
Finally, consider hiring a professional plumber if you cannot locate the source of the leak yourself. A professional plumber will be able to use specialized equipment such as infrared cameras to detect hidden leaks in walls or other hard-to-reach places. They will also have access to more advanced tools such as pressure testing kits which can help pinpoint exactly where a leak is coming from.
By following these steps, you should be able to determine the source of your leak and take appropriate action if necessary. Being proactive about checking for leaks can save you time and money in the long run by preventing damage before it occurs.
Step 1: Shut Off the Power or Gas to the Heater
The first step to fixing a leak in a tankless water heater is to shut off the power or gas supply to the heater. It is important to do this before attempting any repairs. This can be done by turning off the circuit breaker or gas valve on the unit. It is also important to make sure that all water lines connected to the unit are shut off as well. Once this is done, you can proceed with the repair process.
Step 2: Locate and Inspect the Leak
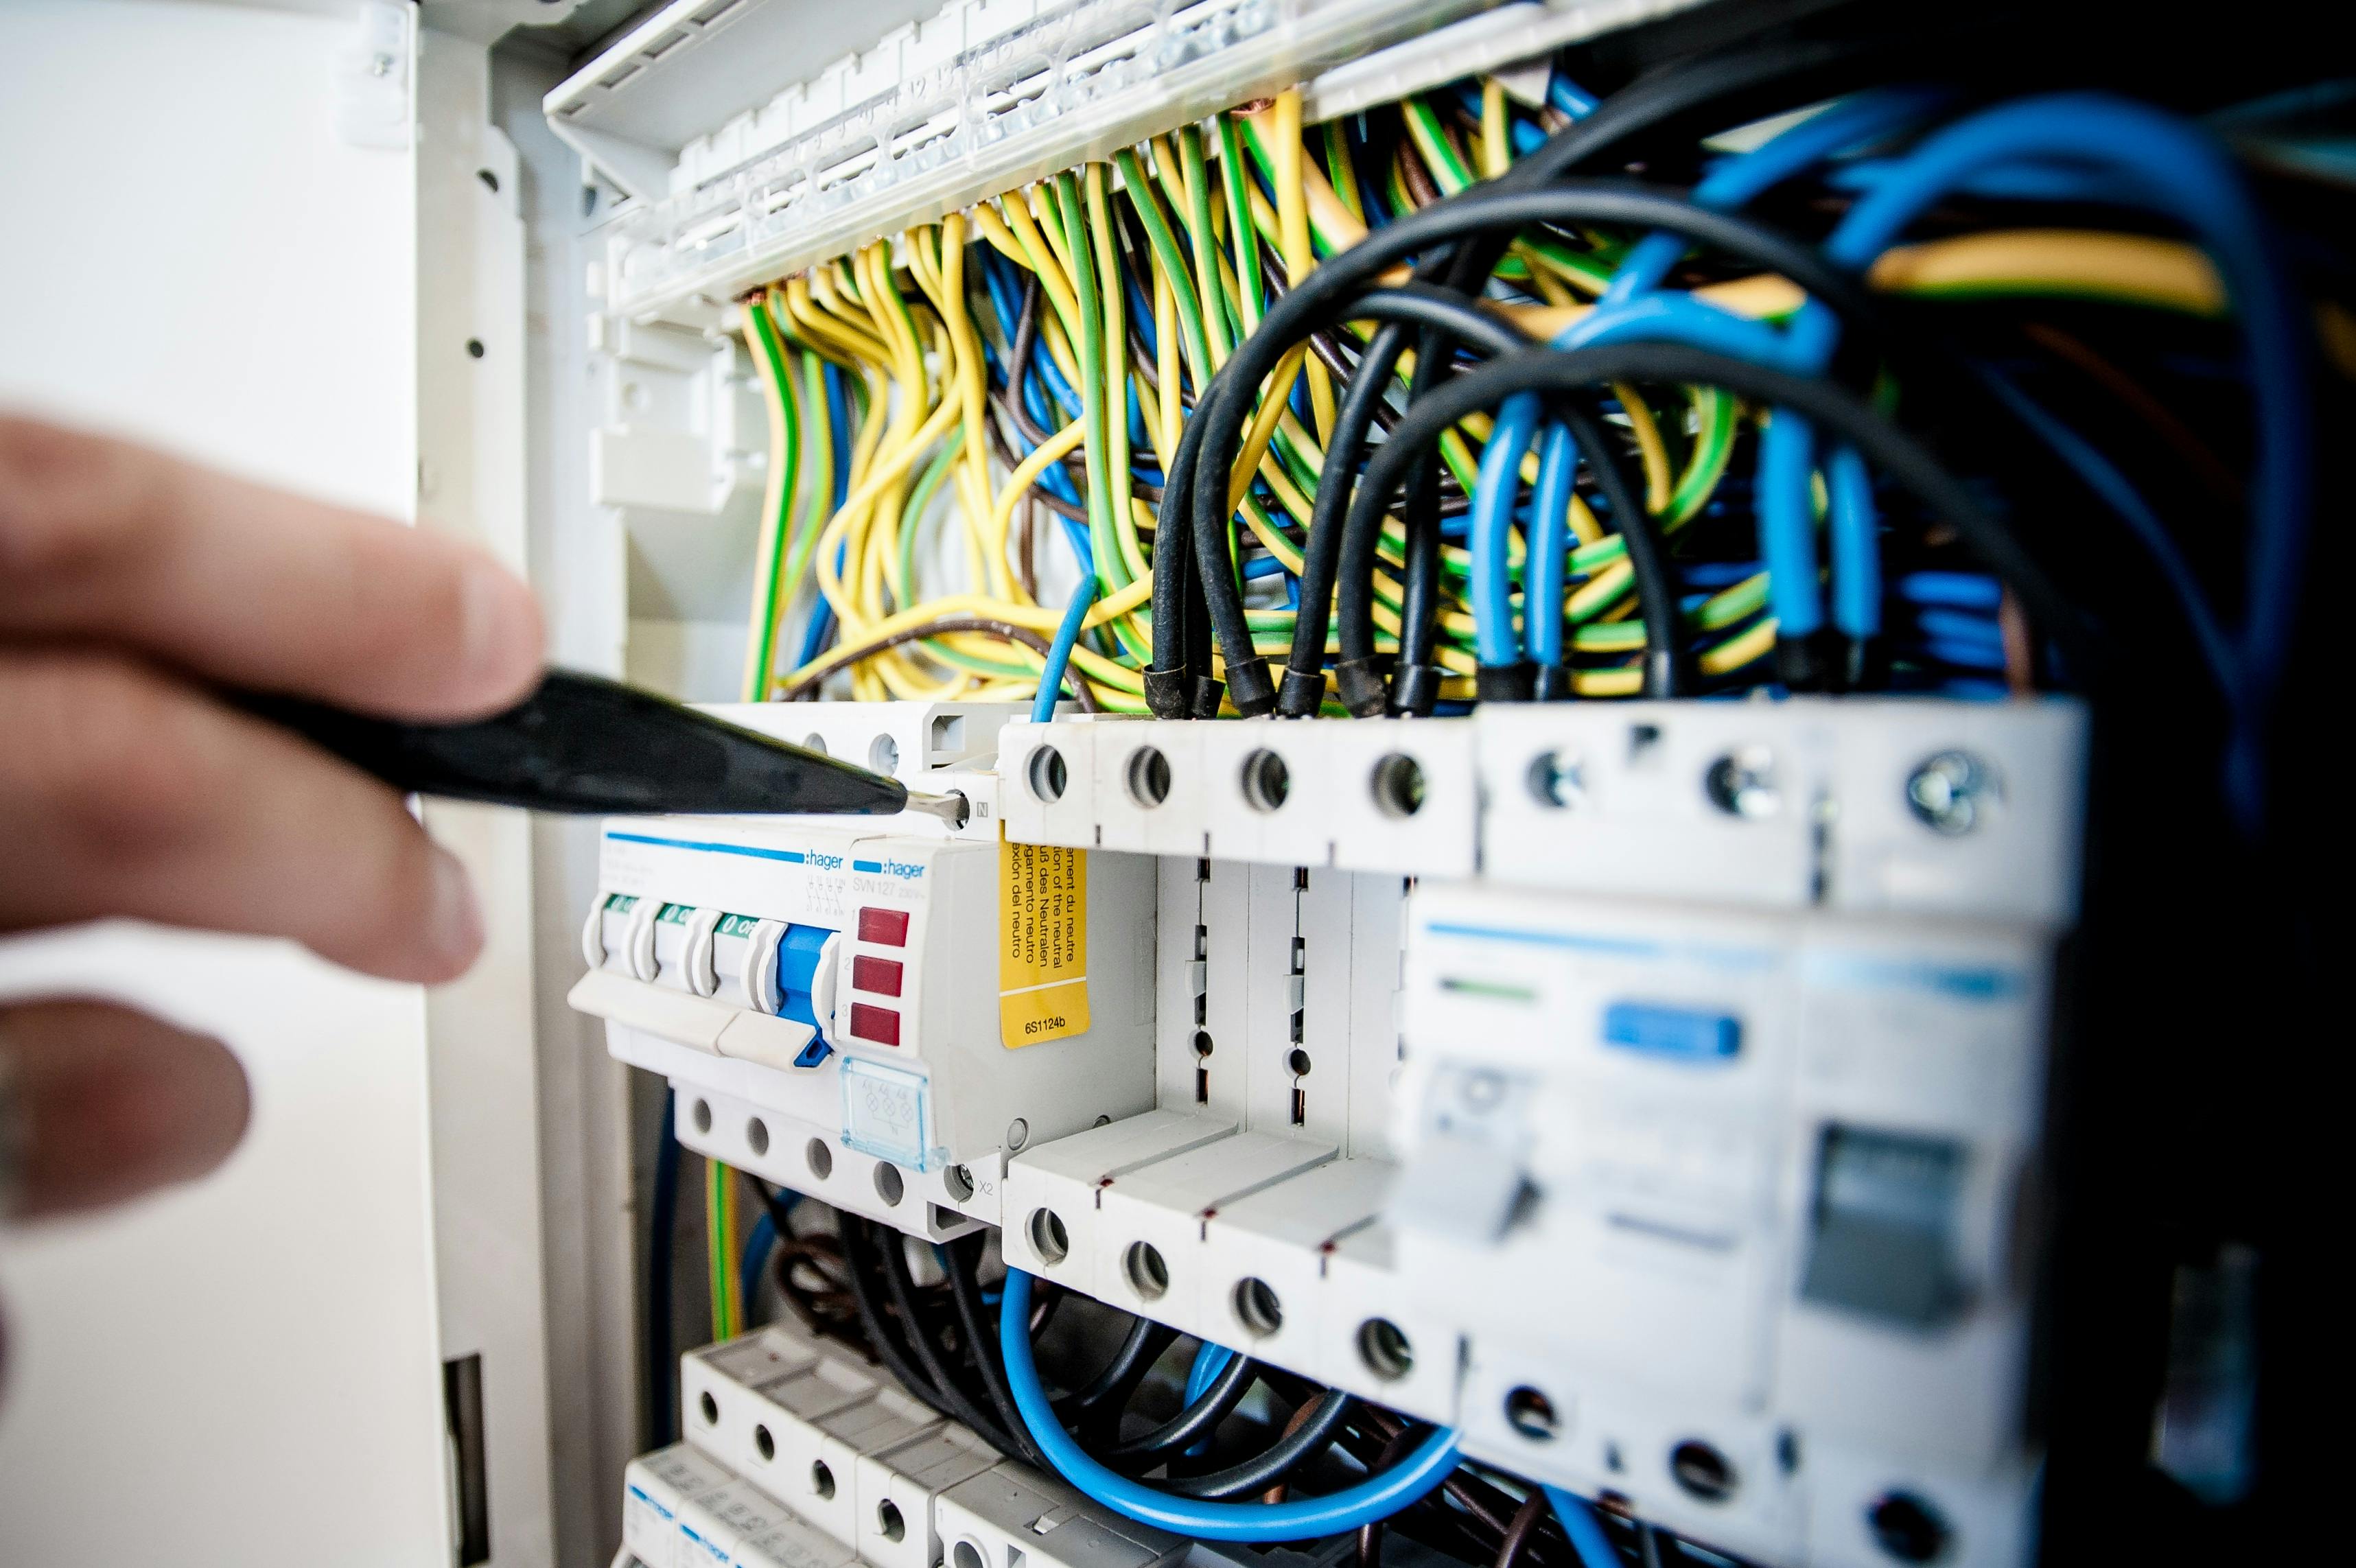
Once the power or gas has been shut off, you can begin to locate and inspect the leak. This may require removing parts of the tankless water heater in order to access certain areas of it. If you are not familiar with these parts, it is best to consult a professional for assistance. Once you have located and inspected the leak, you will be able to determine what needs to be done in order for it to be repaired.
Step 3: Clean and Dry The Area Around The Leak
Once you have located and inspected the leak, it is important to clean and dry the area around it. This will help ensure that no contaminants enter into any of the parts during repair process. To do this, use a soft cloth or towel and gently clean away any dirt or debris that may have accumulated around the area. Additionally, use a small amount of rubbing alcohol on a cloth or towel and lightly wipe down any areas that may have come into contact with moisture.
Step 4: Apply Sealant To The Leaking Area
Once you have cleaned and dried around the leaking area, you can then proceed with applying sealant. Make sure that all parts are completely dry before applying sealant as this will help ensure an effective sealant job. When applying sealant, start from one end of the leaking area and follow up towards its other end while ensuring that each part is properly sealed along its entire length.
Step 5: Reassemble The Tankless Water Heater
Once all of these steps have been completed, it is time to reassemble your tankless water heater components back together. Make sure that each part fits snugly into place before putting them back together as this will help ensure an effective repair job. Once everything has been reassembled correctly, turn on your power or gas supply back on so that your tankless water heater can resume functioning normally again.

Sealing the Leak with Caulk
Caulk is an essential tool for sealing the leaks in any plumbing project. It can be used to seal cracks or gaps in a pipe, between a pipe and wall, or even between two pipes. Caulk can also be used to create a waterproof seal around fixtures such as bathtubs, showers, and sinks. The process for applying caulk is relatively simple and requires few tools.
The first step in sealing the leak with caulk is to clean the area around the leak. This will ensure that the caulk adheres properly to the surface and seals it completely. Once the area is clean, apply a thin layer of caulking compound to fill any small gaps or cracks. Once this is done, use a putty knife or trowel to spread the caulk evenly over the surface.
Once the caulk has been applied, it must be given time to dry and cure before it can be used effectively. Curing time will vary depending on the type of caulk being used as well as environmental factors such as temperature and humidity. After it has cured, use a damp cloth to smooth out any lumpy areas of caulk that may have formed during application.
After the caulking has been completed and allowed to dry completely, check for any signs of leakage or cracking before using it for its intended purpose. If there are any signs of leakage or cracking, then reapply more caulk until it is completely sealed. By following these simple steps you can effectively seal your leak with caulk and protect your plumbing system from further damage.
Replacing Parts to Fix a Leak in a Tankless Water Heater
If you’re dealing with a leak in your tankless water heater, there are several parts that you can replace to fix it. First, check the valves and connections on the unit. If they appear to be leaking, you’ll need to replace them. The most common type of valve used on tankless water heaters is the ball valve, so make sure that you have the correct size and type of valve for your unit.
Next, check the gaskets and seals around the tankless water heater. These are usually made of rubber or silicone and can become cracked or worn over time from use. If they appear to be damaged, you’ll need to replace them as well. Also, check for any signs of corrosion on the metal parts of the unit. If there is any corrosion present, it will need to be cleaned off before replacing any parts.
Finally, inspect the pipes that connect your tankless water heater to your home’s plumbing system. If any of these pipes appear to be leaking or damaged, they will need to be replaced as well. You may also want to do a pressure test on these pipes to ensure that there are no other problems with them before installing new ones.
Once all of these components have been inspected and/or replaced, it’s time to turn your attention back to the tankless water heater itself. Check for any signs of damage or wear on the unit itself and replace any parts that have become too worn or damaged over time. After all repairs have been completed, make sure that all connections have been properly tightened and sealed before turning your tankless water heater back on again.
By following these steps carefully when repairing a leak in your tankless water heater, you should be able to get it back up and running again quickly and safely without having to worry about further issues down the line.
Repairing Heat Exchanger Gaskets and Seals in Tankless Water Heaters
Tankless water heaters are a great way to save energy and space in your home. But like any appliance, they do require maintenance to keep them functioning at their best. One of the most important components of a tankless water heater is the heat exchanger gasket and seal. These components help keep hot water from leaking out of the tank, as well as prevent cold air from entering it. If these components become damaged or worn out, it can cause significant damage to your water heater and possibly even lead to an explosion. Fortunately, repairing heat exchanger gaskets and seals in tankless water heaters is relatively simple and inexpensive.
The first step in repairing a heat exchanger gasket or seal is to identify which component needs to be replaced. Fortunately, most tankless water heaters come with an instruction manual that will explain how to identify the affected component. Once you have identified which gasket or seal needs replacing, you can purchase a new one from your local hardware store. Make sure that you get one that is specifically designed for the make and model of your tankless water heater.
Once you have purchased the new gasket or seal, remove the old one using pliers or a screwdriver. Be careful not to damage any other parts of the unit during this process. Once the old component has been removed, install the new one by following all of the instructions provided with it. Make sure that all connections are firmly tightened before testing out your tankless water heater.
If everything has gone according to plan, you should now have a functioning tankless water heater with properly sealed heat exchangers! Repairing these components can be done relatively quickly and cheaply – making regular maintenance on your tankless unit even more important! Keeping up with regular maintenance on your appliance can help ensure that it continues working properly for years to come.
Conclusion
Repairing leaks in tankless water heaters can be a relatively straightforward process, depending on the exact cause of the issue. In some cases, it may be necessary to replace various components, but these can often be sourced from hardware stores or online suppliers. It is important to ensure that any parts used are compatible with the particular make and model of water heater. If unsure, consulting a qualified technician may be advisable.
In general, however, many minor leaks can be repaired simply by replacing O-rings or cleaning out sediment from the inlet and outlet connections. With care and attention to detail, it is possible to repair most leaks without calling upon a professional.
Ultimately, following the steps outlined in this article should help you identify and repair most leak issues with your tankless water heater. In addition, being aware of common causes of leakage will help you prevent them occurring in future.