
Watercolor painting is an enjoyable and creative activity that can be enjoyed by people of all ages. It is a great way to express yourself and create beautiful works of art. Watercolor painting involves using water-soluble paints to create colorful, vibrant images on paper. To get started with watercolor painting, you will need to have the right supplies and understand the basics of how to properly use them. In this guide, we’ll provide you with tips on how to use watercolor paints to create a stunning painting featuring water.To start watercolor painting, you will need the following items: watercolor paints, a set of watercolor brushes, a palette to mix the colors, a supply of water, some paper specifically designed for watercolor painting, and an eraser. You may also find it helpful to have some supplies to help keep your artwork organized such as a mixing tray and a brush holder.
How to Prepare Your Watercolor Paint
Preparing your watercolor paint is an important step in creating a beautiful painting. It is essential to ensure that the colors are mixed properly and that the paint is applied in a consistent manner. Here are some tips on how to prepare your watercolor paint for painting.
The first step in preparing your watercolor paint is to mix it with water. You should mix the paint with enough water to create a thick but not too thick consistency. This will ensure that the colors blend together properly, and that the paint will not be too runny or too thick when you apply it to your canvas.
Once you have mixed the paint, you should allow it to sit for a few minutes before using it. This will allow the colors to settle and ensure that they are ready for use when you begin painting.
When you are ready to begin painting, make sure you have all of your supplies ready to go. You should have a palette of colors prepared, as well as a selection of brushes and other tools such as sponges or sticks. Having all of these items on hand will help you get started quickly and make sure that your painting session is as productive as possible.
Finally, it’s important to remember that while preparing your watercolor paint is important, it’s also important to practice proper technique when applying the paint. Make sure you use even strokes and avoid going over areas multiple times. This will help ensure that your paintings look their best when finished!
Gather the Materials
Before you start painting, it’s important to make sure you have all the necessary materials. You’ll need watercolor paints, a few different brushes, some water, and a palette to mix your colors. You may also want to have some paper towels and masking tape handy in case of any unexpected messes.
Prepare the Surface
The surface that you paint on is just as important as the paint and brushes you use. If you’re using paper, make sure it’s thick enough to absorb the water without tearing or buckling. You can also use canvas or board if you prefer a more durable surface. Before you start painting, be sure to secure your paper so that it doesn’t slip and slide around while you work. Masking tape is a great tool for this purpose.
Mix Your Paint
Once you have all of your materials ready to go, it’s time to mix your paint. Start by pouring out a little bit of water onto your palette and then add some of your watercolor paint. Keep adding small amounts of water until the paint has reached the desired consistency for your project. It’s always better to add too little water than too much; it’s much easier to add more than take away.
Start Applying Color
Once the paint is mixed correctly, it’s time to start applying it to the surface. Begin with light washes of color and gradually build up darker shades as necessary. You may want to use different brushes for different areas; for example, a large one for larger areas and a small one for details. Don’t be afraid to experiment with different techniques; there are no rules when it comes to art!
Finishing Touches
When you’re happy with how your painting looks, take a step back and assess whether or not any finishing touches need to be made. This could include adding highlights or shadows with white or black paint, adding extra details, or making any final adjustments that are needed before calling it complete!
How to Add a Background to Your Watercolor Artwork
Adding a background to your watercolor artwork is a great way to give it an extra level of depth and detail. A background can also help bring out the colors and shapes in your artwork, making it more visually appealing. There are several different techniques you can use when adding a background, depending on the type of effect you’re trying to achieve. Here are some tips for adding a background to your watercolor artwork.
The first step is to choose the right type of paper for your project. Watercolor paper is the best choice, as it is designed specifically for this type of art. If you’re using a canvas or other non-traditional surface, make sure it is primed with gesso or another suitable primer before beginning. The type of paper you choose will depend on the look you’re trying to achieve; different types of paper absorb watercolor differently, resulting in different effects.
Once you’ve chosen the right paper for your project, decide on the colors and textures that you want for your background. Consider how the colors will interact with each other and with the colors in your painting. You can create interesting textures by using sponges or textured tools such as combs or rakes to spread color across the surface. Experiment with different techniques until you find one that works best for your project.
When painting, start by creating an outline of what you want your background to look like before filling it in with color. This will help ensure that everything looks balanced and that there are no blank spots in your painting. Pay attention to details like overlapping shapes and soft edges; these will create an interesting visual effect that adds depth and texture to your work.
Finally, let your artwork dry completely before adding any finishing touches like highlights or shadows. This will ensure that any changes you make won’t be smudged or smeared when they dry. With these tips in mind, adding a background to your watercolor artwork should be easy!
Creating Depth in Your Watercolor Paintings
Creating depth in your watercolor paintings can be a challenge, but with a few tips, you can create beautiful and engaging artwork that looks like it was painted by a professional. One of the most important techniques for creating depth is using layers. By using multiple layers of paint, you can create the illusion of depth in your painting. You can also use different colors to add different levels of depth. For example, lighter colors will appear closer while darker colors will appear farther away. Additionally, you can use contrast to create a sense of depth in your painting. By using lighter and darker shades of the same color, you can create a dramatic effect that makes your painting look more three-dimensional.
Another way to create depth in your paintings is by using lines and shapes. Lines and shapes can help create space within the painting and make it look more dynamic. For example, curved lines or shapes will draw the viewer’s eye into the painting while straight lines will draw the eye away from it. Additionally, overlapping shapes and lines are great for creating areas that are farther away from each other or for emphasizing certain elements in your painting. Finally, shadows are another great way to add depth to your paintings. Using shadows can help indicate which elements are closer or farther away from each other and give your painting an added layer of realism.
By following these tips, you should be able to easily create beautiful watercolor paintings with plenty of depth and dimensionality. Experiment with different techniques until you find what works best for you and have fun creating art!

Blending and Shading with Watercolor Paints
Watercolor paints are the perfect medium for achieving a variety of effects. One of the most popular techniques for creating a stunning painting is blending and shading. Blending is the process of gradually combining two or more colors to create a new color, while shading is the process of adding depth and texture to your painting by adding different tones of the same color. Both techniques can be used to create beautiful artwork with watercolors.
The first step in mastering blending and shading with watercolors is to learn how to mix colors correctly. To achieve a good blend, you’ll need to experiment with different combinations until you find the right combination that creates the desired effect. When mixing colors, it’s important to keep in mind that it’s better to use less paint than more so that you don’t end up with a muddy color. You can also use other materials such as salt, alcohol, or even food coloring to help create interesting effects when mixing colors.
Once you have mastered blending colors, it’s time to move on to shading. To create depth and texture in your painting, you’ll need to use various shades of the same color. This can be achieved by adding darker hues or tints of your original color or by adding white or black pigment. When using darker hues, make sure that you don’t overdo it as this can make your painting look flat and lifeless. You should also experiment with different brush strokes in order to achieve different effects when shading your painting.
By learning how to blend and shade with watercolors, you will be able to create stunning artwork that will impress everyone who sees it! With practice and experimentation, you will soon become an expert at creating beautiful watercolor paintings!
How to Use Glazing in Your Watercolor Paintings
Glazing is a watercolor painting technique that involves layering thin, transparent washes of paint over each other. This technique can add depth and vibrancy to your paintings, and it’s not difficult to learn. Here are some tips for using glazing in your watercolor paintings.
The first step is to prepare your paper. You’ll want to use a heavyweight watercolor paper that’s at least 140 lb (300 gsm). This paper has a more absorbent surface, which will help the glaze adhere better. Make sure the paper is stretched on a board or taped down on your work surface before you start painting.
Next, choose the colors for your glaze. You should use transparent or semi-transparent paints for best results. Avoid opaque or matte colors, as they won’t give you the desired effect. Also, keep in mind that darker colors will overpower lighter ones when layered over them.
Once you have your colors ready, it’s time to start painting! Start with a light wash of one color and let it dry completely before adding another layer of paint. Make sure each layer is very thin so that the layers underneath will be visible. If you need to darken an area, add multiple layers of different colors instead of just one dark color.
Finally, resist the urge to overwork an area with too many layers. A few well-placed glazes can create beautiful effects without looking muddy or muddled. Experiment with different techniques and have fun exploring this versatile painting technique!
Wet-on-Wet Technique
The wet-on-wet technique is one of the most popular ways to create textures with watercolors. It involves applying wet watercolor paint onto a wet surface. The result is a soft, blended look. This technique is great for creating gradients, blending colors together and creating subtle textures. To achieve this effect, you will need to use a lot of water on the paper or canvas before applying the paint. When working with this technique, it’s important to work quickly so that the paint doesn’t dry before you have a chance to blend colors together.
Dry Brush Technique
The dry brush technique involves using little to no water when applying paint onto the paper or canvas. This creates a more textured, layered look than the wet-on-wet technique and can be used to create sharp lines or patterns. To achieve this effect, you’ll need to use less water when mixing colors and load your brush with thicker layers of paint. You’ll also need to work quickly so that the paint doesn’t dry before you have a chance to create your desired texture.
Salt Technique
The salt technique is another great way to create textures with watercolors. To achieve this effect, you’ll need to sprinkle salt onto dampened paper or canvas while the paint is still wet. As the paint dries, it will form an interesting pattern around each grain of salt. This technique can be used for both abstract designs and realistic textures such as stone walls or woodgrain.
Splatter Technique
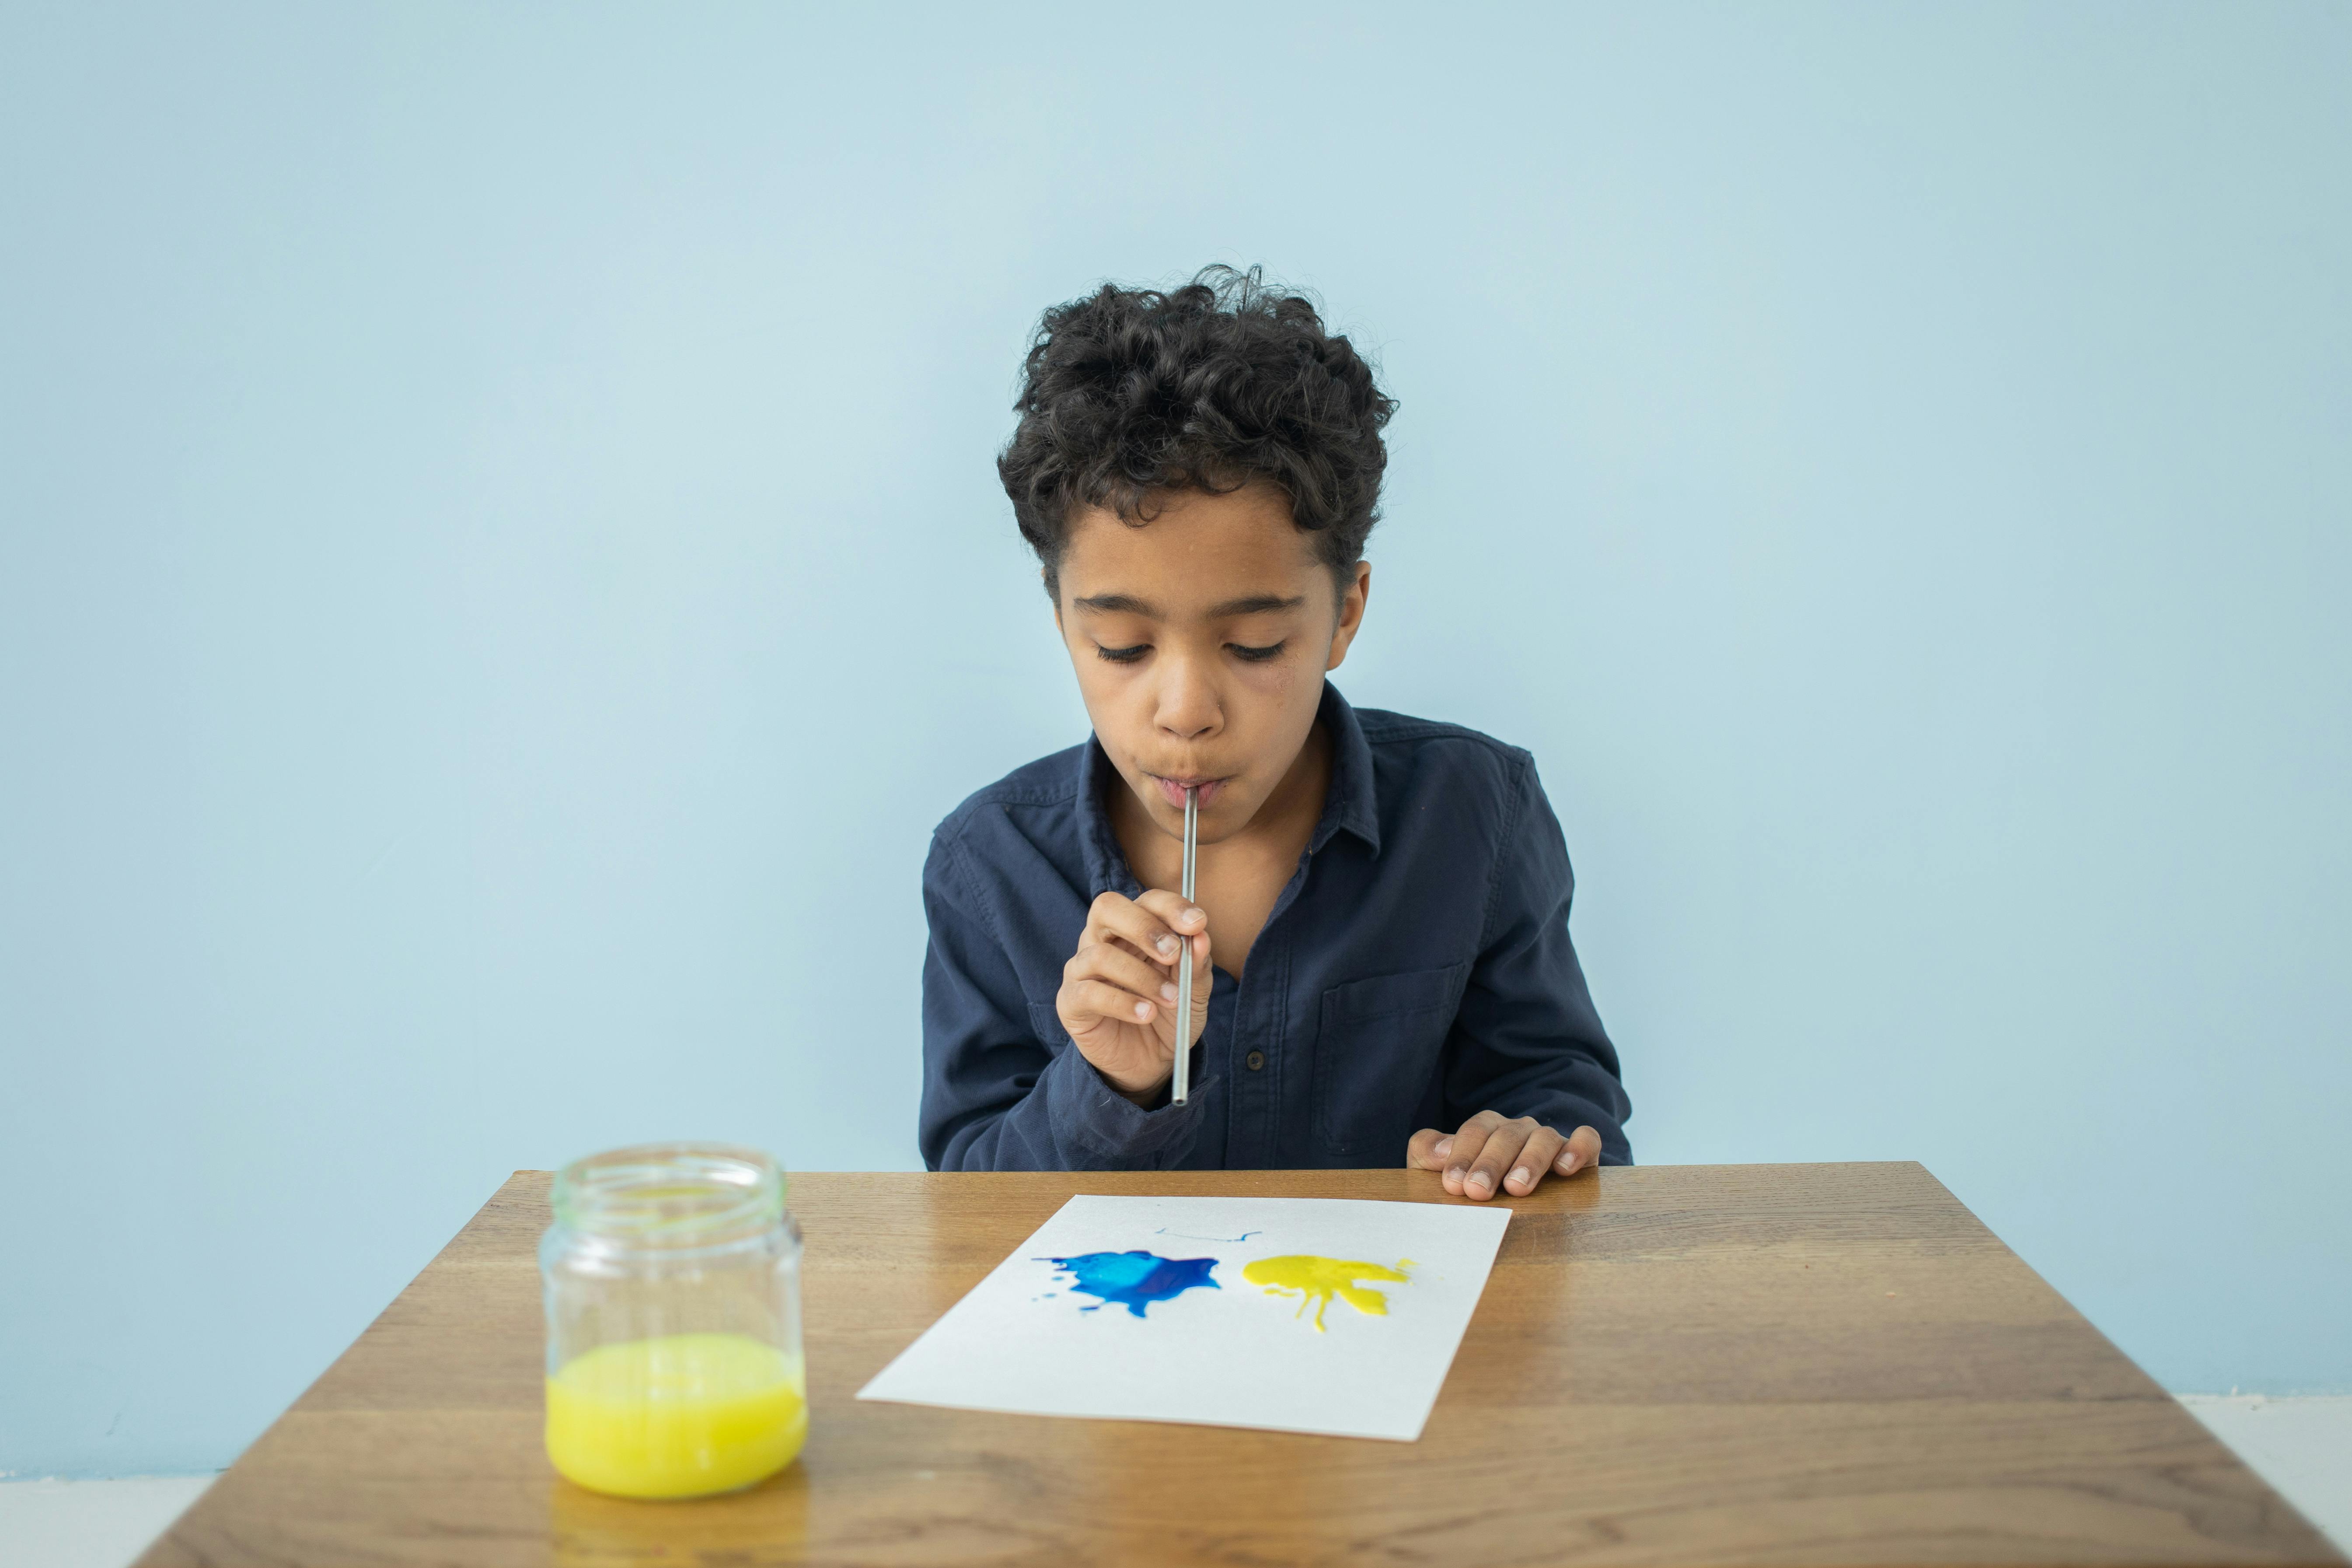
The splatter technique is an easy way to add texture and interest to your artwork. To achieve this effect, simply dip your brush into some watered down paint and flick it onto your paper or canvas. You can also use a toothbrush for larger splatters or even a straw for smaller ones! This technique works best when used in combination with other textures such as washes or dry brush strokes.
Glazing Technique
Glazing is another great way to add texture and depth to your painting. To achieve this effect, simply apply thin layers of transparent color over an area that has already been painted. This will give it a soft, blended look and can be used for creating shadows or adding highlights. Glazing can also be used in combination with other techniques such as washes or dry brush strokes for more interesting results.
Conclusion
Watercolor painting is a wonderful way to express yourself and your creativity. It can be used for everything from creating stunning artwork to simply relaxing with a brush in hand. With the right materials and techniques, watercolor painting can be an enjoyable and rewarding experience for any level of artist. Whether you’re looking for a fun project or to take your artwork to the next level, watercolor painting is sure to provide you with a beautiful end result.
Watercolor painting is an incredibly versatile medium that allows you to explore different techniques, styles and color combinations. With patience and practice, anyone can learn how to master the art of watercolor painting. By taking the time to understand the fundamentals of watercolor painting, you can begin creating vibrant works of art that you will love for years to come.