
When water seeps under your vinyl flooring, it can cause a variety of problems, including weakening the adhesive that holds the flooring in place and warping the vinyl itself. Removing water under vinyl flooring is essential to prevent further damage. Fortunately, there are a few simple steps you can take to effectively remove water from underneath your vinyl flooring. In this guide, we will go through these steps in detail so that you can get your floors back to their original condition as soon as possible.The best way to find water under vinyl flooring is to start by checking for signs of moisture such as discoloration or warping of the material. If you suspect that water is present, you can use a moisture detector to determine if it is in fact wet underneath your vinyl flooring. If a moisture detector confirms the presence of water, it is important to identify and address the source of the water issue before attempting to repair the damage caused by it.
Signs That There Is Water Under Vinyl Flooring
Water can cause serious damage to vinyl flooring, so it is important to be aware of any signs that there may be water present underneath the vinyl. There are several indicators that may indicate the presence of water, such as discoloration, warping, and bubbling in the vinyl. If you notice any of these signs, it is important to address the issue promptly in order to prevent further damage to your flooring.
Discoloration is one of the most common signs that there is water under vinyl flooring. If you notice that the color of your floor has changed significantly or that there are dark spots on your floor where there wasn’t before, this could indicate a water problem. Warping is another common sign of a water issue and can be identified by looking for areas where the edges of the vinyl have curled up.
Bubbling can also be an indication that there is excess moisture present underneath your vinyl flooring. Bubbles typically form when air gets trapped between the backside of the vinyl and the subflooring beneath it. This can occur when there is too much moisture present under the flooring due to a leak or other source. If you notice any bubbling in your floor, it is important to address this issue quickly in order to avoid further damage or costly repairs.
It is also important to keep an eye out for any mold or mildew growth on or around your vinyl flooring as this could be an indication that there is excessive moisture present underneath it. Mold and mildew thrive in damp conditions so if you notice any growth on or near your floors, this could indicate a water problem underneath them.
Being aware of these signs can help you identify if there is water present underneath your vinyl flooring before it becomes too severe and causes significant damage. If you suspect a water issue under your floors, it’s important to address this promptly in order to prevent further destruction to your home’s floors and foundation.
Removing Water Under Vinyl Flooring
Removing water under vinyl flooring is an important step to prevent mold and mildew from forming and damaging the floor. If you suspect that there is water under your vinyl flooring, it is important to address the issue quickly. There are a few steps you can take to remove water from under the vinyl flooring, and prevent future problems.
The first step in removing water from under a vinyl floor is to identify the source of the water. If your home has a plumbing issue, such as a leaking pipe or fixture, it should be addressed immediately before any further damage can occur. In addition, if there is standing water on top of the vinyl floor, it should also be dried up as soon as possible in order to prevent damage.
Once you have identified and addressed the source of the water, you can begin to dry up any existing moisture underneath the vinyl flooring. To do this, use fans and dehumidifiers to help circulate air and dry out moisture. If you have access to an industrial fan or dehumidifier, this will speed up the process significantly. Additionally, you may want to consider using a wet/dry vacuum cleaner to suction out any remaining moisture.
Finally, once all of the moisture has been removed from underneath your vinyl flooring, it is important that you take steps to prevent future issues. This includes sealing any cracks or gaps in your subfloor with waterproof sealant or caulk where necessary and ensuring that all plumbing fixtures are properly maintained. Additionally, make sure that any standing water on top of your vinyl floor is dried up quickly in order to avoid further damage.
Removing Water Without Damaging the Vinyl Flooring
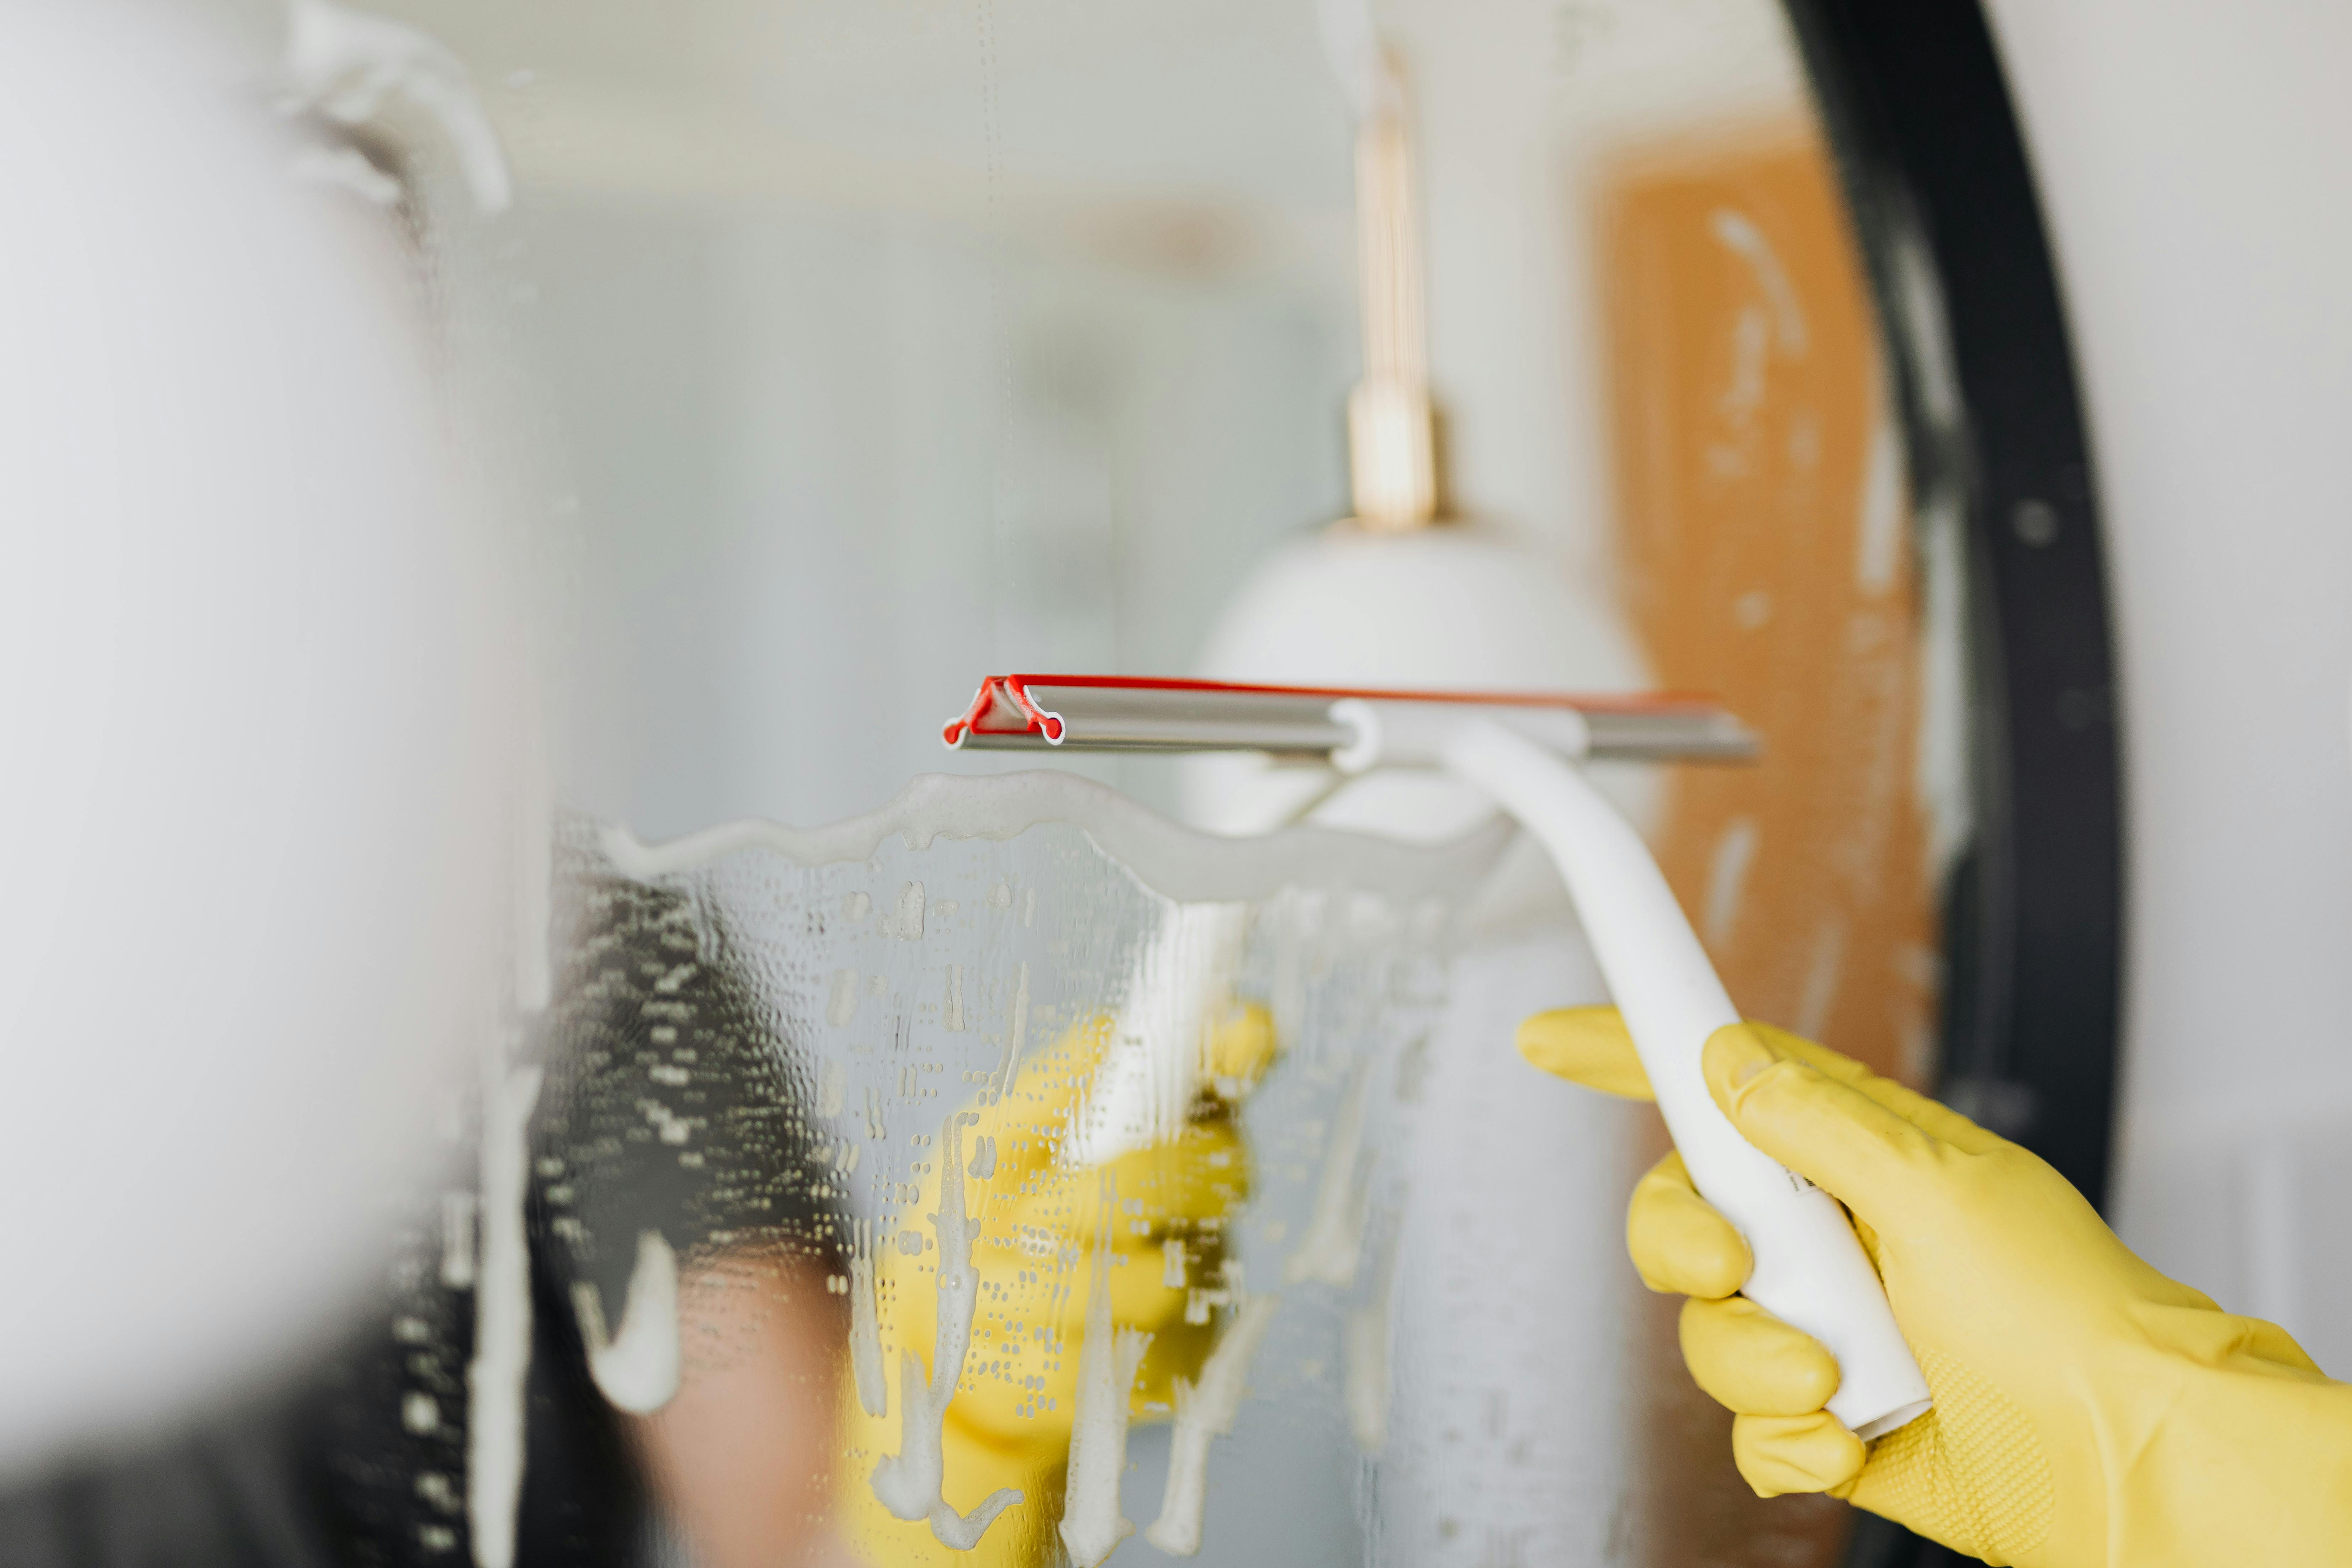
It is important to remove any standing water from vinyl flooring as soon as possible to avoid long-term damage. In order to do this without causing any damage, there are a few steps that should be followed. First, mop up any excess water with a dry towel or mop. It is important not to rub too hard as this could damage the flooring and create uneven surfaces. After this, use a vacuum cleaner with a wet/dry setting to suck up any remaining water. If there is still moisture in the air, it may be necessary to use a dehumidifier. Finally, if the floor is still damp, use a fan set on low speed to help dry it out completely. Following these steps should ensure that your vinyl flooring remains undamaged while also removing any standing water quickly and effectively.
1. Ensure Proper Installation
One of the most important steps in preventing water accumulation under vinyl flooring is to ensure its proper installation. This includes using the right underlayment, making sure that the seams between vinyl planks and tiles are properly sealed, and ensuring that there is no gap between the floor and wall. It is also important to pay attention to any moisture-proofing measures, such as sealants, waterproof membranes, and vapor barriers. All of these measures will help reduce the chances of water accumulating beneath the vinyl flooring.
2. Clean Up Spills Quickly
In order to reduce the chances of water accumulating beneath vinyl flooring, it is important to clean up any spills quickly. It is essential to clean up any liquid spills as soon as possible in order to prevent them from seeping through the seams or cracks in the flooring. It is also important to use absorbent materials such as towels or paper towels when cleaning up spills in order to prevent them from spreading out over a larger area.
3. Use a Moisture Barrier
Using a moisture barrier can also help reduce the chances of water accumulation under vinyl flooring. A moisture barrier can be laid down before installing vinyl planks and tiles in order to provide an extra layer of protection against water seepage through cracks and seams in the flooring. Additionally, it can also help protect against spills that may occur after installation.
4. Keep Areas Dry
It is also important to keep areas where vinyl flooring has been installed dry at all times. This means regularly mopping up any standing water or wiping away any wet spots on floors with a cloth or mop head. Additionally, it may be beneficial to use dehumidifiers or fans in areas where there are high levels of humidity in order to reduce condensation on surfaces.
5. Check for Leaks
Lastly, it is important to periodically check for leaks around pipes or other fixtures that could potentially cause water accumulation under your vinyl flooring. If you do discover a leak, it should be fixed immediately in order to prevent further damage and potential build-up of water beneath your floors.
Identify the Source of Excess Moisture
The first step to drying out excess moisture from vinyl flooring is to identify the source. If the moisture is coming from a plumbing issue or flood, it is important to immediately address the issue and take steps to stop water from entering the space. If there is no active source of water, look for areas of condensation on windows and walls which can be indicative of an air circulation issue in the home. It is important to address any humidity issues in order to prevent further damage. Once the source is identified, it is easier to find a solution.
Remove Loose Debris
Before beginning any drying process, it is important to remove all loose debris and dirt from the surface of the vinyl flooring. This will ensure that any drying techniques used are effective and not blocked by dirt or debris. Use a vacuum cleaner with an upholstery attachment for best results.
Use Fans and Dehumidifiers
Fans are an excellent way to help dry out excess moisture from vinyl flooring. Place several fans around the affected area and set them on low speed. This will create airflow which will help evaporate any remaining moisture on the surface of the vinyl flooring. Dehumidifiers also work well as they draw extra moisture out of the air which can then be deposited into a collection container or drained away through a hose.
Clean With Mild Detergent
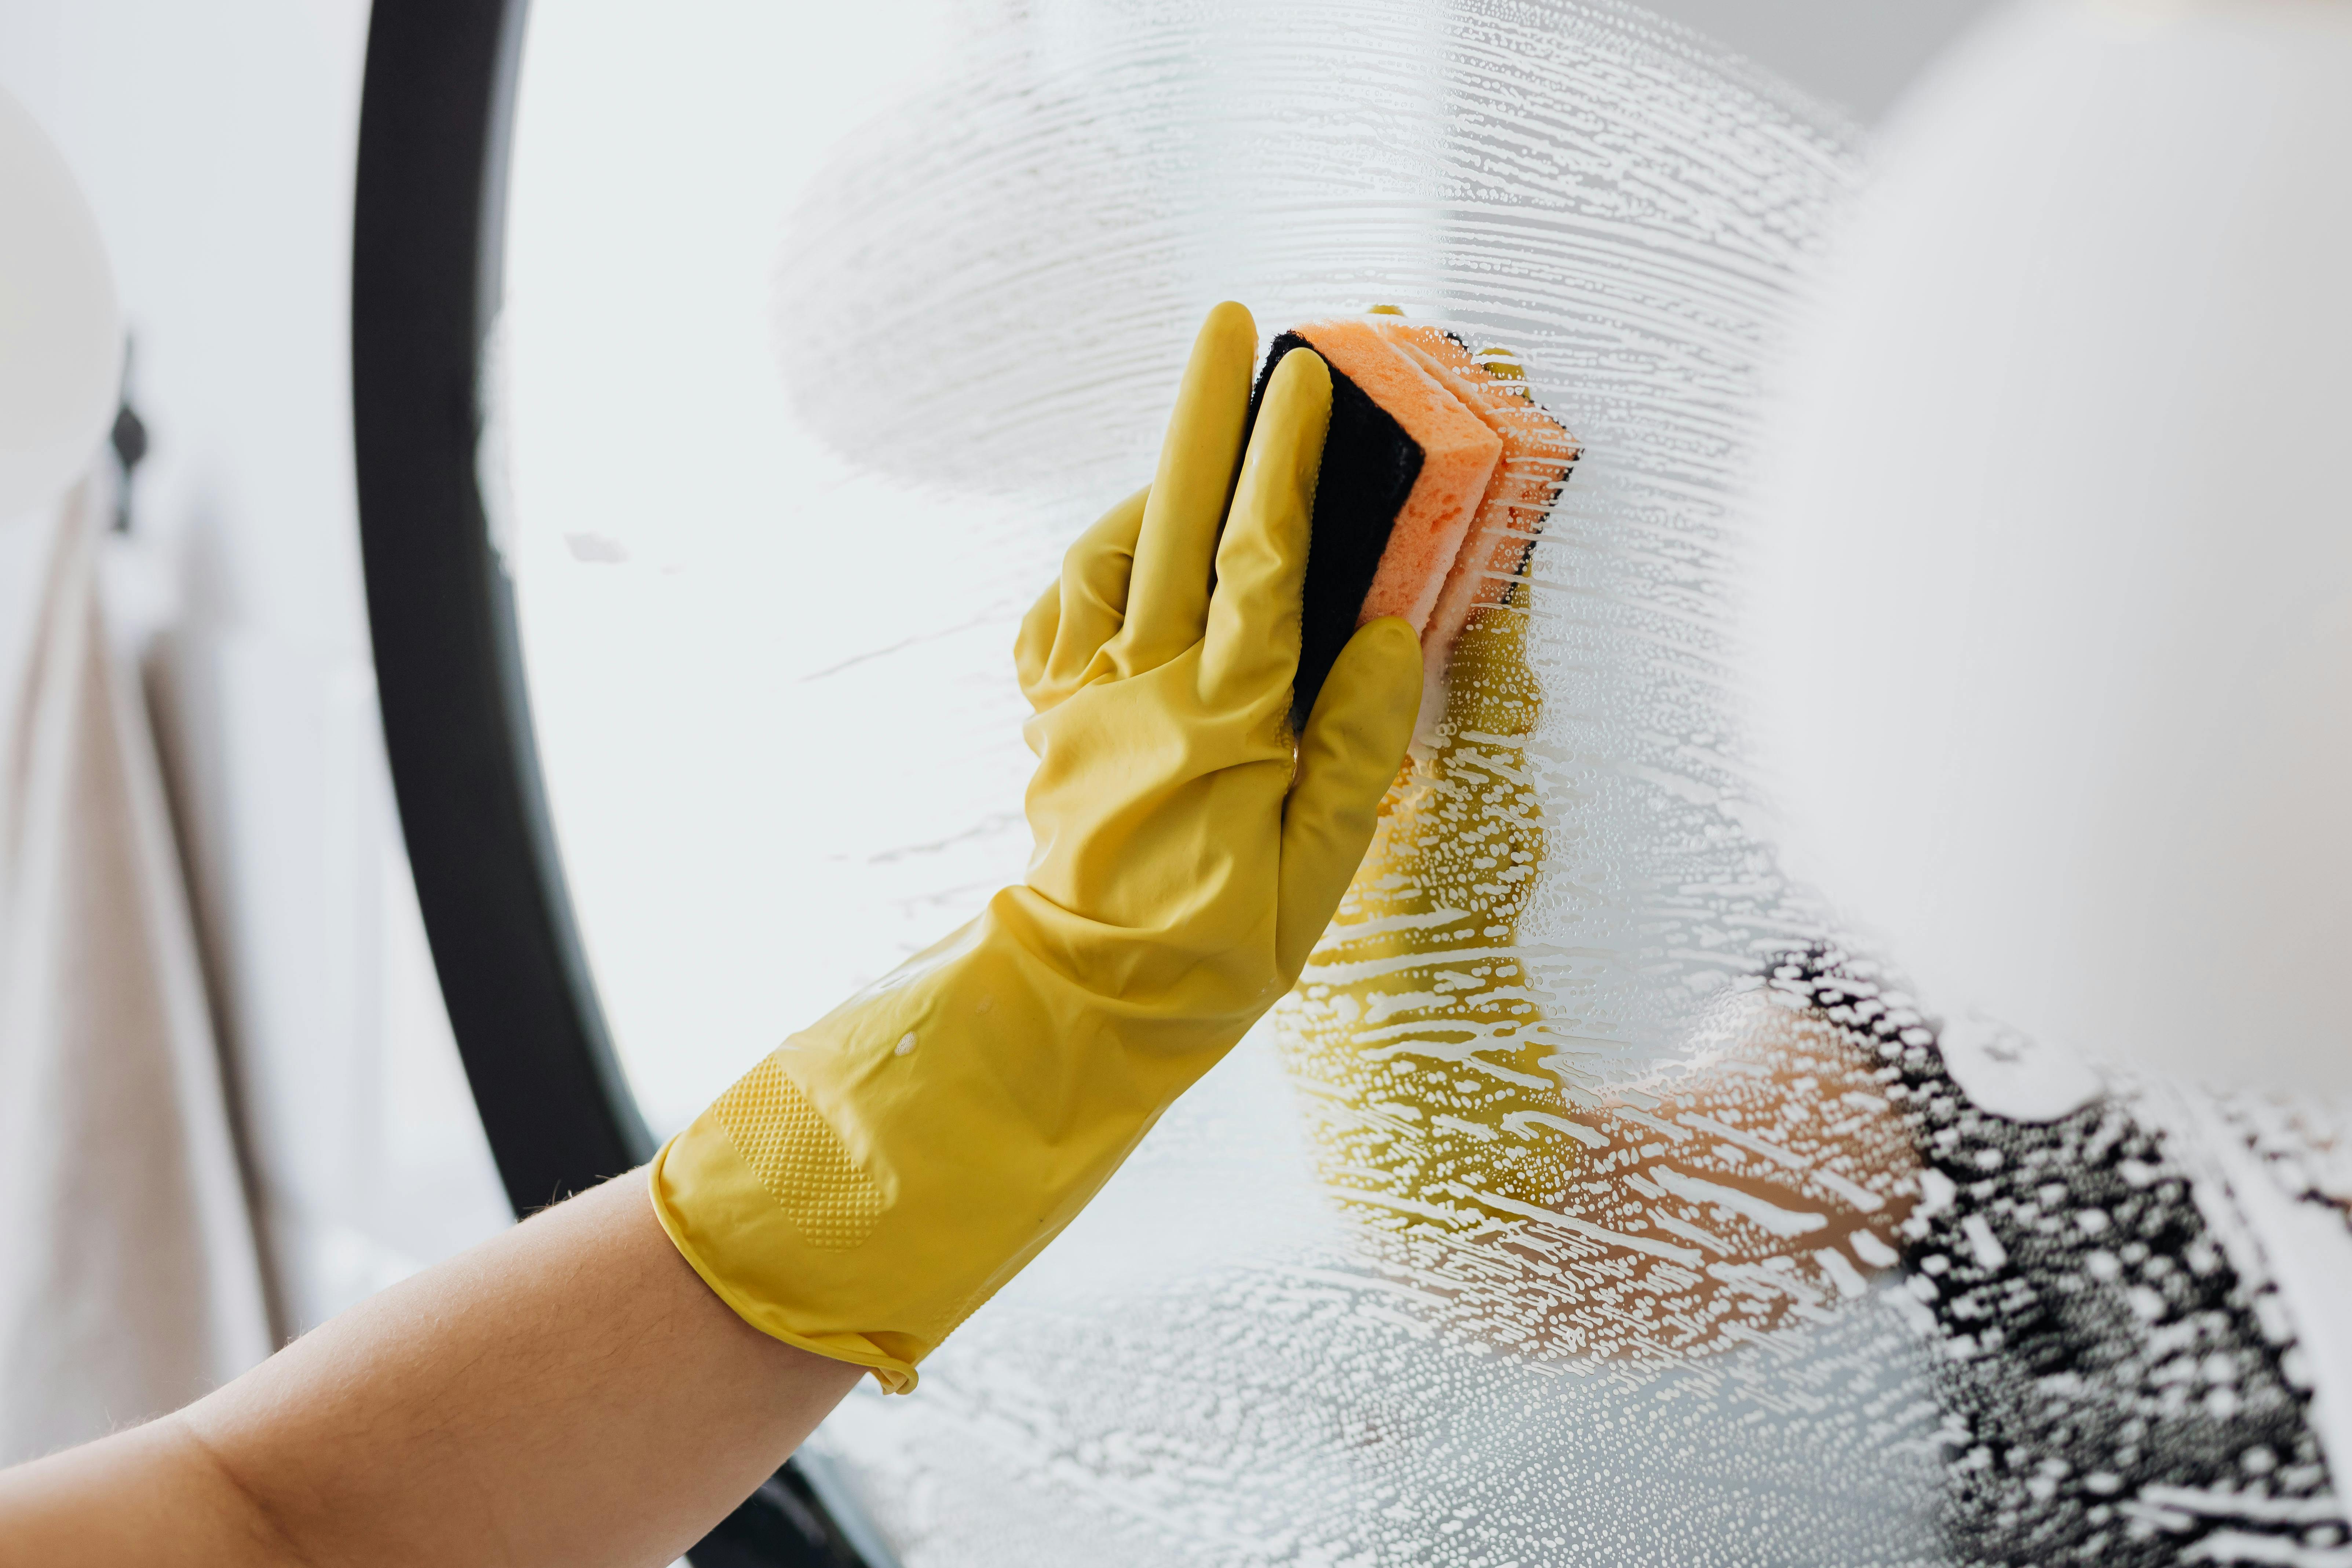
Once all excess moisture has been removed, it is important to clean with a mild detergent or cleaning solution designed specifically for vinyl floors. This will help remove any remaining dirt or debris while also restoring shine and luster back into your floors. Be sure to use only mild detergents as harsh chemicals can damage your floors over time.
Apply Sealant
Finally, apply a sealant designed specifically for vinyl floors once all other steps have been completed. This will provide an extra layer of protection against future water damage and help keep your floors looking like new for years to come. Be sure to read all instructions carefully before applying sealant as improper application could cause more harm than good in some cases.
Step 1: Remove Excess Water
The first step in removing standing water from your vinyl flooring is to remove any excess water. Use a wet/dry vacuum or mop to collect the liquid. Make sure to dry the area as much as possible. If the standing water is too deep, use a pump or a bucket to remove it.
Step 2: Clean the Vinyl Flooring
Once all of the excess water has been removed, you will need to clean the vinyl flooring. Start by using a mild detergent and warm water. Make sure to rinse any detergent residue off with clean water and dry with a soft cloth. For tougher stains, use a mild bleach solution or white vinegar and water mixture.
Step 3: Check for Damage
After cleaning the vinyl flooring, check for any damage that may have occurred due to the standing water. If there are any cracks or tears in the vinyl, repair them with patch kits or epoxy before proceeding further.
Step 4: Apply Sealant
Once any damage has been repaired, it’s time to apply a sealant that will help protect your vinyl flooring from future damage caused by standing water. Choose an appropriate sealant specifically designed for vinyl flooring and follow the instructions on how to apply it properly.
Step 5: Let It Dry
Allow your sealant to dry completely before walking on it or replacing furniture on top of it. To speed up drying time you can use fans or open windows if it’s not too cold outside. When everything is completely dry, your vinyl flooring should be protected from future damage caused by standing water.
Materials Needed for Removing Water from Vinyl Flooring
Removing water from vinyl flooring requires a few essential materials. These include: a mop, a bucket, a squeegee, towels, and a vacuum cleaner. The mop should be one specifically designed for vinyl floors, as it is more likely to leave the surface clean without scratching it. A bucket filled with warm water and a small amount of liquid dish soap should also be used. A squeegee can be used to remove the excess water on the surface of the floor and help dry it faster. Towels or rags can be used to absorb any remaining moisture on the floor after using the squeegee. Finally, a vacuum cleaner with an attachment specifically designed for cleaning hard surfaces can help remove any remaining dirt or debris from between the planks of vinyl flooring.
Having these materials on hand will make removing water from vinyl flooring much easier and ensure that your floors are left in pristine condition.
Conclusion
Removing water from under vinyl flooring is an important task that must be done as soon as possible to avoid further damage. There are several methods of removing water from under vinyl flooring, such as mopping and vacuuming, using a wet/dry vacuum, using a dehumidifier, and using a shop vac. All of these methods are effective at removing water and restoring the floor to its original condition.
It is important to note that when using any of these methods, it is important to follow the manufacturer’s instructions carefully in order to ensure that any potential risks are minimized. Additionally, it is important to consult with a professional if the water is too high or if there may be an issue with mold or mildew.
Overall, removing water from under vinyl flooring is an important task that should not be taken lightly. With the right knowledge and tools, you can successfully remove the water and restore your floors back to their original condition.
Wrap Up
In conclusion, removing water from under vinyl flooring is not only necessary for maintaining good hygiene but also for preventing serious damage. There are several methods available to do this job effectively – mopping and vacuuming, using a wet/dry vacuum, using a dehumidifier, and using a shop vac – all of which should be done according to the manufacturer’s instructions in order to ensure safety and effectiveness. Taking these simple steps will help you keep your floors looking great for years to come!