
Painting water with watercolor can be a challenging and rewarding experience. Watercolor is a transparent medium, which means that the colors will mix and blend together to create beautiful effects. However, painting realistic water can require some practice to achieve the desired result. In this guide, we will explore some techniques and tips on how to paint water with watercolor.Painting with watercolors is a great way to create beautiful works of art. To paint water with watercolor, you will need watercolor paints, a brush, water, and paper.
Begin by wetting your brush with the clean water and testing the colors on a scrap piece of paper. When you are familiar with the colors and how they look on paper, begin painting on the main sheet of paper.
Start with light blue to create the color of the sky over the horizon line. Then add darker blues to create shadows in the sky. Once you have created a background for your painting, use white or pale blues to add in small details such as clouds or reflections of light from the sun.
Next, use darker shades of blue for your water. Start by adding in broad brush strokes and then use smaller strokes in between to create texture and depth in the painting. You can also add details like ripples or waves in your painting by using lighter shades of blue or even white paint.
When you are finished painting your water scene, let it dry completely before adding any more colors or details to it. This will ensure that all layers dry correctly and no colors mix together when you are done with your masterpiece!
Choosing the Right Watercolor Paint
Watercolor paints come in a variety of forms, from traditional to student grade, and choosing the right one can be a challenge. It is important to understand the different types of watercolor paint and their characteristics so that you can make an informed decision.
Traditional watercolor paints are made from pigments, gum arabic, and water. They are usually more expensive than student grade paints, but they are also more vibrant and last longer when applied properly. Traditional watercolors also have a wider range of colors available than student grade paints.
Student grade paints are typically lower quality, but they are still great for beginners or those just starting out with watercolors. These paints are usually less expensive than traditional ones and offer a variety of colors to choose from. Student grade paints will not last as long as traditional ones, but they can still provide great results when used correctly.
When purchasing watercolors, it is important to consider the brand and quality of the paint you are buying. Many brands offer both traditional and student grade paints so you can choose which type is best for your needs. Additionally, it is important to read reviews on various brands to ensure that you are getting a quality product that will last for years to come.
Finally, it is essential to use the proper brushes and paper when working with watercolors. Good quality brushes will help create smooth lines and even coverage while high-quality paper will help keep your artwork looking vibrant for longer periods of time. With these tips in mind, you’ll be well on your way to creating beautiful works of art with watercolor paint!
What You Need to Get Started
Getting started with a new hobby, such as knitting, can be a daunting task. It’s important to make sure you have all the right supplies and materials before you begin. Here are some of the basics you’ll need to get started with knitting:
Yarn – Yarn is the material used in knitting. You can find yarn in many different colors, textures, and weights. When purchasing yarn for a project, make sure to check the label for information on yardage and weight.
Needles – Knitting needles come in several different sizes, materials, and lengths. Needles are often sold in pairs and sets. When buying needles for a project, make sure to check the label for information on size and material.
Patterns – Patterns are an essential part of knitting. Patterns provide instructions on how to knit a certain item or design. Patterns can be purchased online or in craft stores.
Scissors – Scissors are used to cut yarn when projects are finished or when mistakes need to be corrected. Make sure to purchase sharp-tipped scissors that won’t snag your yarn as you work.
Measuring Tape – Measuring tape is used to measure gauge and finished projects or pieces of projects. A measuring tape should always have both inches and centimeters marked on it for accuracy when measuring gauge or finished projects.
These items will form the foundation of your knitting supplies and will help you get started with your new hobby! Once you have these basics covered, you’ll be ready to start learning more about knitting techniques and styles so that you can create beautiful pieces of knitwear!
Cleaning the Wall
The first step when preparing a wall for painting is to clean it. After all, it’s important to begin with a clean surface. This means wiping down the walls and removing any dirt, dust, or grease that has built up over time. Once the walls have been thoroughly cleaned, allow them to dry before moving on to the next step.
Sanding
After cleaning, sanding is often the next step in preparing a wall for painting. Sanding helps remove any bumps or imperfections on the wall, as well as providing an even surface for the paint to adhere to. It’s important to use a fine-grit sandpaper so as not to cause damage to the wall. Once you’ve finished sanding, wipe down the walls with a damp cloth and allow them to dry before applying primer.
Priming
Primer is an essential component of prepping a wall for painting. It helps ensure that the paint will stick properly and have an even finish. When selecting a primer, make sure it’s appropriate for your type of paint and surface. If necessary, apply two coats of primer – allowing each coat to dry completely before applying the next layer.
Taping Off Trim and Ceilings
Once you’ve finished priming your walls, it’s time to tape off any trim or ceilings that need protecting from dripping paint. A good quality painter’s tape should be used for this process and applied carefully around door frames, windowsills, and other areas that need protecting from paint splatters.
Covering Furniture
The last step in prepping a wall for painting is covering up any furniture or furnishings in the room that you don’t want painted over. This includes couches, chairs, tables, rugs – anything that could potentially get ruined if not protected from paint splatters or drips. Use drop cloths or plastic sheets for this process and make sure everything is securely covered before beginning your painting project!
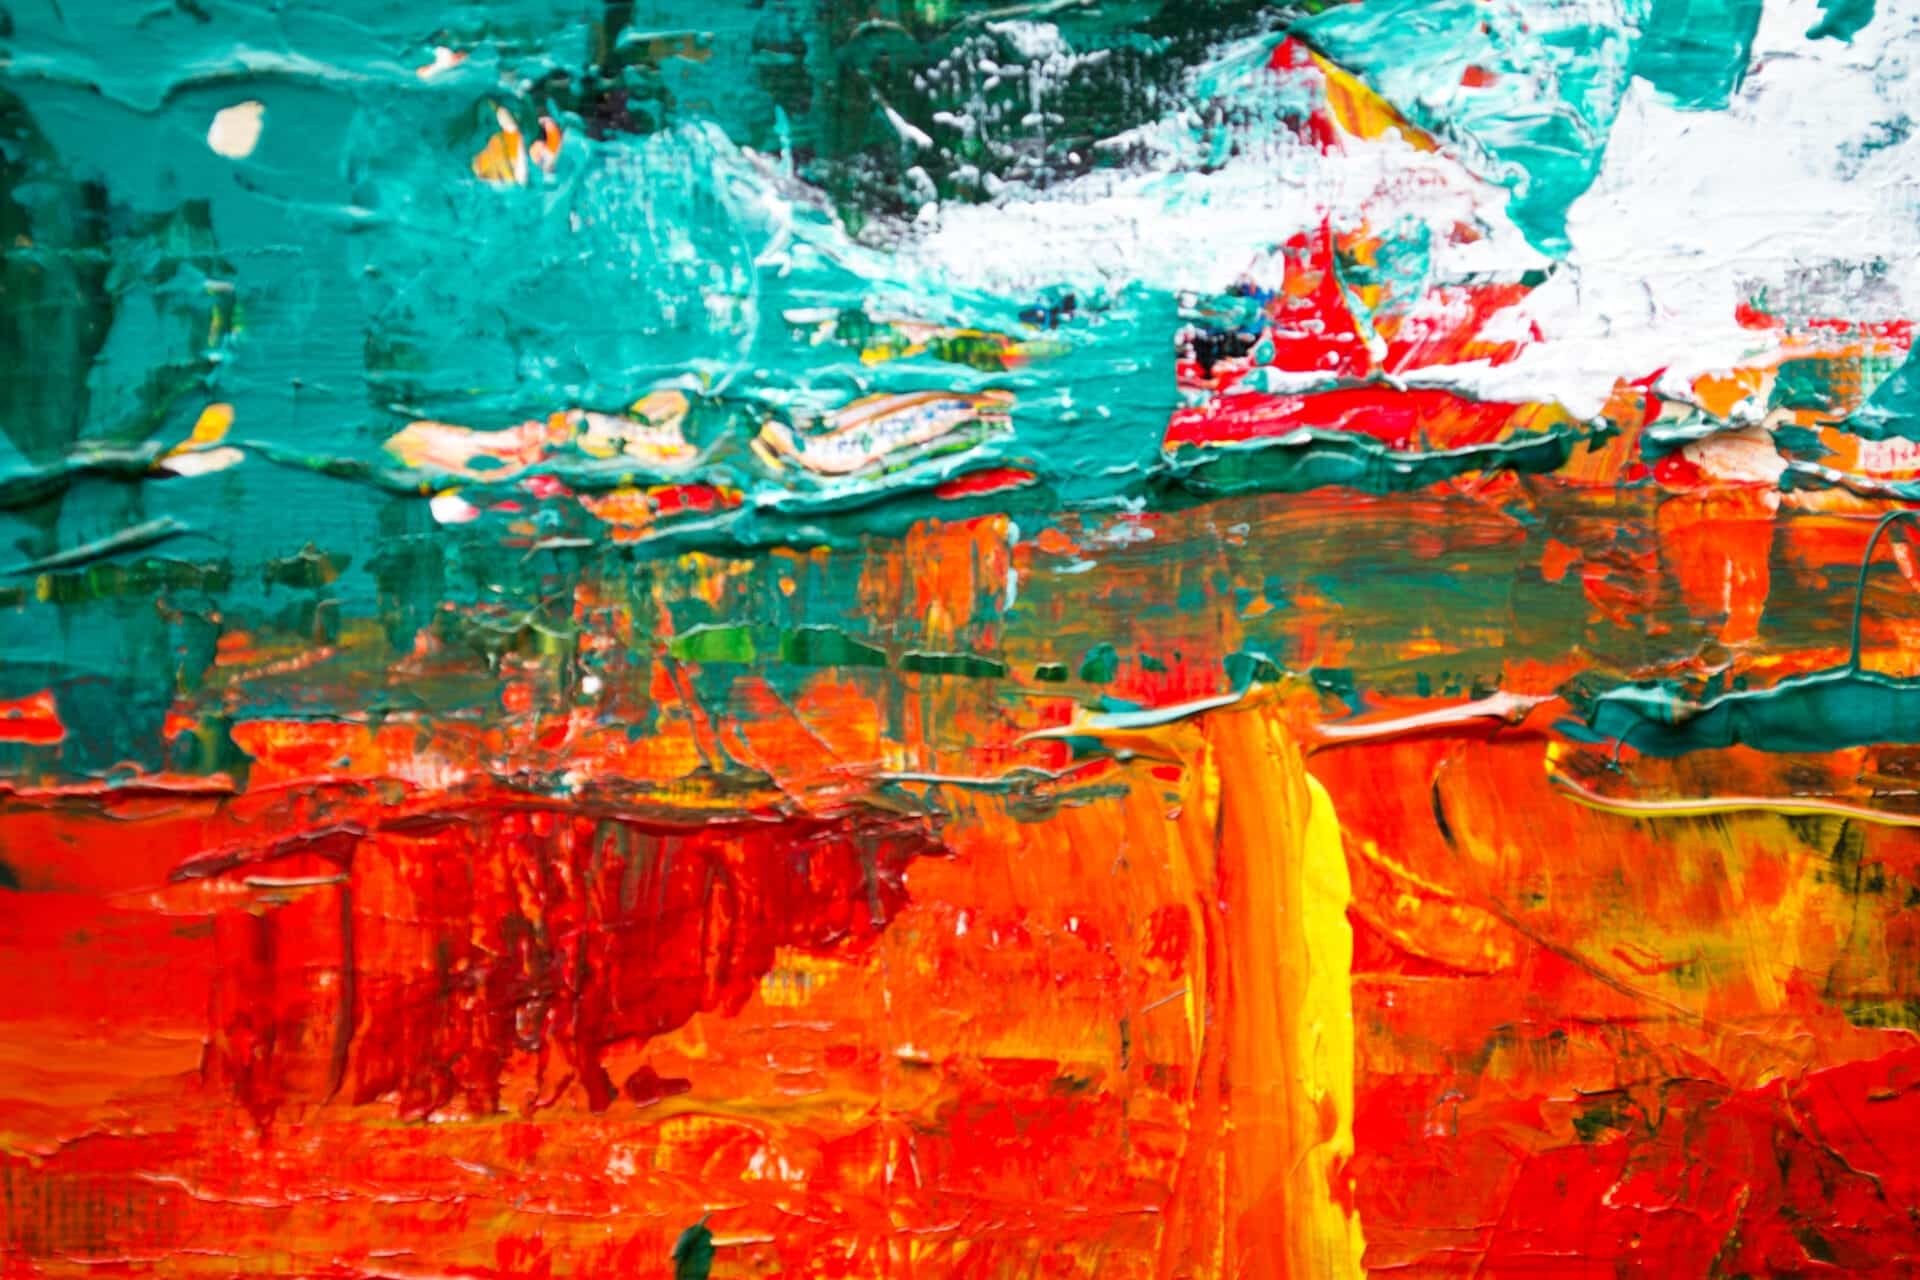
Creating a Color Palette
Creating a color palette for your project is an important part of the design process. It helps to create a consistent look and feel throughout your project and gives it an overall unified look. A good color palette can help to set the tone and mood of your project, making it easier for viewers to understand the message you are trying to convey.
When creating a color palette, it is important to consider the colors you will use, their relationships to each other, and how they will work together in different contexts. Consider the overall atmosphere you want to create with your design and pick colors that fit with this atmosphere. You should also consider any existing brand colors that need to be included in the color palette so that everything looks cohesive.
It can be helpful to start by finding some inspiration for your color palette from existing artwork or photographs. Once you have some ideas, try experimenting with different combinations of colors and see what works best for your project. You may find that some combinations don’t work as well as others, so keep experimenting until you find something that works for you. Once you have settled on a color palette, it is important to make sure that the colors remain consistent across all of your designs. This helps create a unified look throughout your project and makes it much more visually appealing.

Wet-on-Wet Technique for Painting Water
The wet-on-wet technique is an effective and popular way to paint water in a painting. This method involves applying wet paint onto a pre-existing layer of wet paint, allowing the colors to blend together more easily than if they were painted on dry. This technique can be used in both traditional oil and acrylic painting. It is often used when painting landscapes or seascapes, as the water has a more natural and realistic appearance when painted with this technique.
When using the wet-on-wet technique for painting water, it is important to use slow, steady brushstrokes to ensure that the colors blend together smoothly. The paint should be applied in thin layers, so that the colors are allowed to mix together as much as possible. It is also important to wait for each layer of paint to dry completely before adding another layer on top. If the layers are not allowed to dry completely, they will not blend together properly and may create an uneven or muddied look.
The wet-on-wet technique can be used in combination with other techniques such as glazing or scumbling to create interesting effects on the surface of the water. Glazing involves adding a thin layer of transparent color overtop of an existing color and allowing it to mix slightly with the underlying layer before it dries. Scumbling is a similar technique where thicker layers of semi-opaque color are added overtop of an existing color and then blended into each other with a brush or palette knife while still wet.
Overall, the wet-on-wet technique is an easy and effective way to create realistic looking water in a painting. By using slow and steady brushstrokes and allowing each layer of paint to dry completely before applying another layer, it is possible to achieve beautiful results with this method. Additionally, this technique can be used in combination with other methods such as glazing or scumbling for even more interesting results when painting water in a painting.
Blending Colors to Create a Realistic Effect
Creating a realistic painting is all about blending colors together. When done correctly, these blended colors can create a stunning effect that looks incredibly natural. In order to achieve this, an artist must understand the basics of color theory and have a great eye for detail.
The first step in successfully blending colors is to decide which colors you would like to use. Depending on what you are creating, you may want to use either complementary or analogous colors. Complementary colors are two shades that are opposite each other on the color wheel and when used together, they create a dramatic contrast and vibrant look. Analogous colors, on the other hand, are three shades that are side-by-side on the color wheel and when used together, they create a harmonious look.
Once you have decided on your color palette, the next step is to experiment with how you will blend them together. One way of doing this is by using a technique called “wet-on-wet” which involves blending wet paint with wet paint while it’s still on the canvas. This technique requires some practice as it can be tricky to control where the paint goes and how it blends with other colors but it can create wonderful effects if done correctly.
Another method for blending colors is “dry-on-dry” which involves applying dry paint onto dry paint in order to blend them together seamlessly. This technique requires more precision than wet-on-wet as it takes more time and patience but the end result can be truly stunning if done correctly.
Finally, an artist must also consider how light and shadow can affect their painting when working with blended colors. By adding highlights or shadows in certain areas of the painting, an artist can accentuate certain areas of their work and create depth and interest in their painting overall. Once these techniques have been mastered an artist will be able to confidently blend colors together to create realistic paintings that look incredibly lifelike!
Creating Textures and Patterns in the Water
Creating textures and patterns in water is a great way to add an interesting visual element to your photography. By making use of different techniques, you can create mesmerizing images that will draw the viewer’s eye. Here are some tips on how to create beautiful textures and patterns in the water.
The first thing you need to do is find a body of water with interesting characteristics. Look for places with shallow depths, strong currents, and rocks or other obstacles that can cause the water to break. This will give you the opportunity to capture more interesting patterns as the water moves around these obstacles.
Once you’ve found your spot, it’s time to start experimenting with different shutter speeds and angles. A slow shutter speed will give you soft, blurred textures as the water moves across the frame. On the other hand, a fast shutter speed will capture sharper shapes and patterns as the water flows around obstacles. You can also try shooting from different angles for even more interesting effects.
Finally, make sure you pay attention to your background when composing your shot. A well-chosen background can help bring out certain elements of your composition and add even more visual interest to your image. For example, shooting against a bright sky can help make the colors of your scene pop while shooting against a dark backdrop can help bring out subtle details in the water that might otherwise go unnoticed.
Creating texture and patterns in the water is an exciting way to explore photography and capture unique images that stand out from traditional landscape photography. With some patience and experimentation, you’ll be sure to create beautiful photos that will draw your viewer’s eye!
Conclusion
Painting water with watercolor can be a challenging yet rewarding experience. You have to keep in mind the different properties of water, such as its reflectivity, transparency and refraction. You must also consider the effects of light on the painting. By understanding these effects and how to apply them to your painting, you can create beautiful and realistic water scenes. With practice and perseverance, you’ll be able to create stunning water scenes with ease.
It’s important to remember that painting is a creative process that takes time and effort. Don’t be discouraged if your first attempts don’t turn out exactly as you envisioned them. Keep practicing and experimenting with different techniques until you find what works best for you. With enough practice, you can create beautiful water scenes that will leave viewers in awe of your artistry.
Overall, painting water with watercolor is a great way to express your creativity and produce amazing works of art. It may take some time to perfect the techniques necessary for creating great paintings, but it will all be worth it when you finally get there!