
Making your own essential oil distiller is a great way to produce your own high-quality essential oils at home. Essential oils are used in many ways, from aromatherapy to natural body care products and even in cooking. With an essential oil distiller, you can make your own pure and potent essential oils from herbs and plants that you grow yourself. This guide will provide step-by-step instructions on how to build an efficient and inexpensive essential oil distiller that can be used for years to come.An Essential Oil Distiller is a device used to extract essential oils from plant material. It is composed of a still, often made of stainless steel, which vaporizes the volatile compounds in the plant material, trapping them in a complex condenser setup. The condenser separates the essential oils from the steam and collects them in a container. The essential oil can then be collected and further processed for use in aromatherapy, cosmetics, and other applications.
Essential Oil Distiller
Making a DIY essential oil distiller is a great way to make your own high-quality, pure essential oils. Essential oils are highly concentrated oils extracted from plants, and they can be used for aromatherapy, medicinal purposes, and even cleaning. Building your own distiller isn’t complicated or expensive – all you need is some basic supplies and you can get started right away. Here’s what you need to make a DIY essential oil distiller:
1. A pot – You will need a large pot to hold the water and plant material. Make sure it has a lid so that steam doesn’t escape during the distillation process.
2. A still head – This is the part of the distiller that separates the essential oil from the water vapor when heated. You can find still heads made specifically for essential oil distillers online or in stores.
3. Copper tubing – Copper tubing is needed to connect the still head to the pot and also to create a condensation coil which helps to cool down the steam before it reaches the still head.
Introduction
Essential oils are powerful and natural remedies that can be used for a variety of medicinal, cosmetic, and aromatherapy purposes. If you want to make sure that you are using the highest quality essential oils, you should consider creating your own distilled essential oil at home. This guide will take you through the step-by-step process of building a DIY essential oil distiller.
Step 1: Gather Materials
The first step in building your own essential oil distiller is to gather all of the necessary materials. You will need a large stainless steel pot with lid, a copper tube coil, two rubber hose clamps, two airlocks with rubber stoppers, and a food grade hose. You may also need some additional tools such as scissors or wire cutters in order to complete the project.
Step 2: Create a Condenser Coil
The next step in building your DIY essential oil distiller is to create a condenser coil. To do this, start by cutting your copper tubing into four equal pieces. Then, twist each piece around
Location
When it comes to making your own essential oil distiller, the location can be a very important factor to consider. It is important to make sure that you choose a location that is away from any sources of heat or direct sunlight, as these can degrade the quality of your essential oils. Additionally, make sure that you have enough space to set up your distiller and any other necessary equipment. Also consider any potential noise pollution when choosing a location, as the distillation process can be quite loud.
Equipment
In order to properly make an essential oil distiller at home, you will need certain pieces of equipment. This includes a heat source, such as a stovetop or hot plate; a collection vessel; and various tubing and valves for connecting the various components of the distiller together. Additionally, you may need some additional materials such as filters and containers for storing your finished essential oils. It is important to make sure that all of these components are in good working order before beginning the distillation process.
Safety
When making an essential
Assembling an Essential Oil Distiller
Assembling an essential oil distiller can be a daunting task for many, but it doesn’t have to be. With the right tools and a little know-how, you can assemble your very own essential oil distiller in no time. Here’s how:
The first step in assembling an essential oil distiller is to gather all the necessary components. This includes the still itself, a heater, thermometer, condenser, and collection container. Depending on the type of still you have purchased, you may also need some additional items such as tubing or wands.
Once you have gathered all of your components, it’s time to begin assembling them. Start by setting up the still according to its instructions. Make sure that all connections are secure and that any tubing or wands are correctly fitted. Next, connect the heater to the still and set it to its designated temperature setting.
Next, attach the thermometer and condenser to the still using clamps or screws provided with your kit. The thermometer will allow you to monitor the temperature of
Testing and Adjusting the Distillation Process of Your DIY Essential Oil Distiller
Testing and adjusting the distillation process of your DIY essential oil distiller is an important part of creating a quality product. It can be difficult to determine when the distillation process is complete, as it depends on the type of material used in your distiller, as well as the temperature and pressure. The following steps will help you test and adjust your distillation process to ensure that you get the best results.
The first step is to check for any leaks in your system. Make sure all of your fittings are secure and that there are no visible leaks in the pipes or hoses. If there are any leaks, you should repair them before continuing with the testing process.
Next, you will need to take a sample from your essential oil distiller. To do this, use a clean glass container to collect a sample from each batch of oil you produce. The sample should be taken from both the top and bottom of the container so that you can accurately assess how much essential oil has been produced during each batch.
How to Use Your DIY Essential Oil Distiller for Maximum Efficiency
Using a DIY essential oil distiller can be an efficient way to make your own essential oils at home. It’s an easy and cost-effective way to make high-quality essential oils that you can use for a variety of purposes. But in order to get the most out of your distiller, there are some tips and tricks you should know. Here’s how to use your DIY essential oil distiller for maximum efficiency:
First, you’ll need to gather the necessary materials. A good distiller will come with all of the necessary parts, including the pot, condenser, and hose. Make sure you have all the pieces before starting the process.
Next, you’ll need to prepare your ingredients for distillation. Depending on what type of essential oil you’re making, you may need different types of herbs or plants. Once everything is prepared, it’s time to start the distillation process.
Once everything is set up properly, turn on the heat source and allow it to heat up. This will create steam which will then rise into
Safety Considerations When Using Your Own Essential Oil Distiller
Using an essential oil distiller can be a great way to create your own unique and natural essential oils, but it’s important to take the necessary safety precautions when using this equipment. Here are a few tips to keep in mind when distilling essential oils:
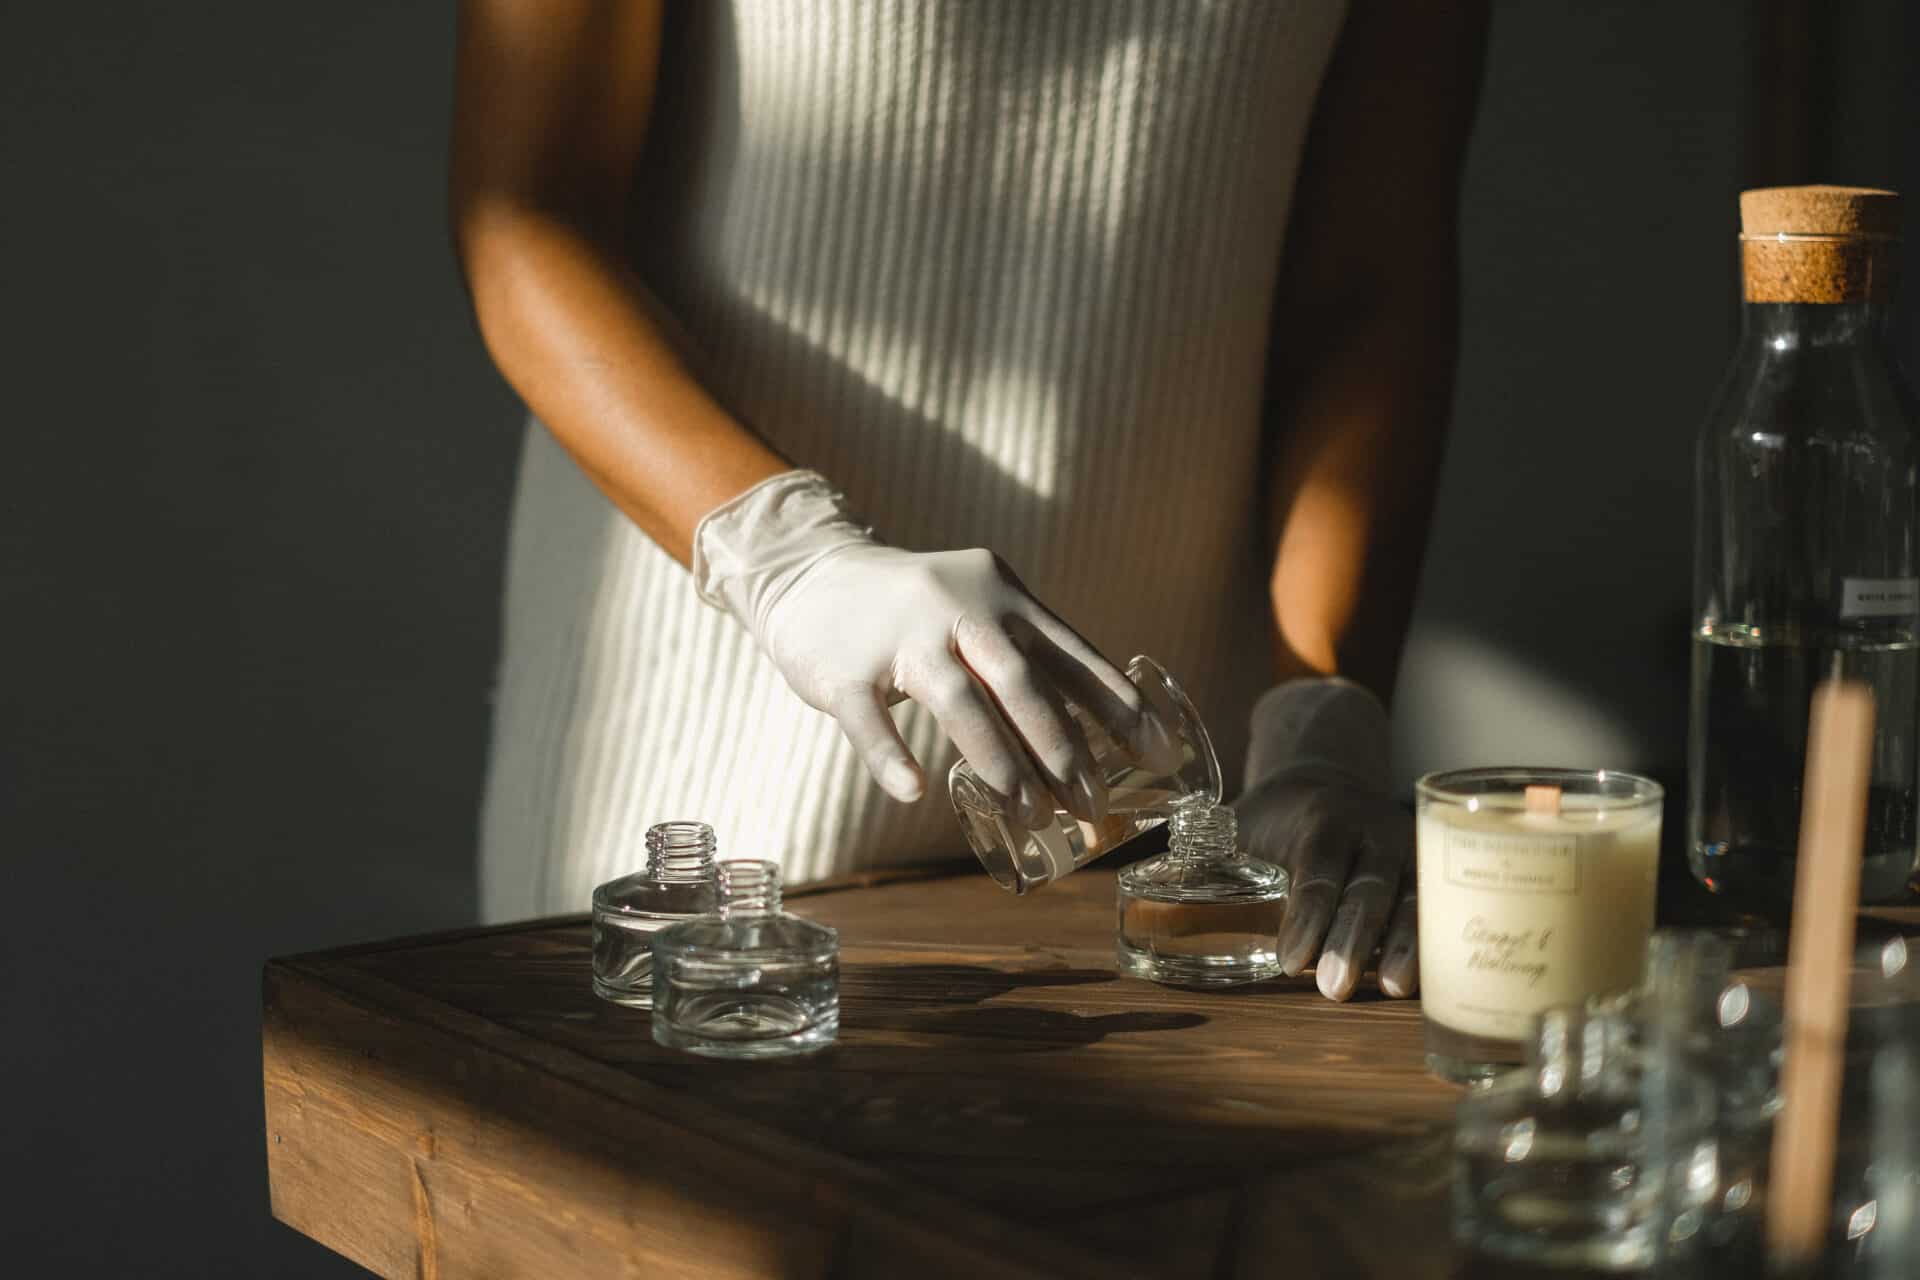
Always wear protective clothing, such as gloves and eye protection, when handling the essential oil distiller. The vapors released during distillation can be hazardous, so it’s important to protect yourself from potential exposure.
Ensure that the area where you are distilling is well-ventilated. The release of steam and fumes during the process can cause health risks if not properly ventilated.
Be sure to read all instructions for your particular model of essential oil distiller before beginning your project. Each model may have its own specific safety requirements and precautions that must be followed.
Check for any leaks or cracks in the unit before using it. Any leaks or cracks may allow volatile compounds to escape, which could lead to potentially hazardous conditions.
Conclusion
Making your own essential oil distiller is not as hard as you may think. With the right tools and ingredients, you can create a DIY distiller that is perfect for your needs. The process is relatively simple and can be completed in a few hours. It takes some patience and caution but the end results are well worth it.
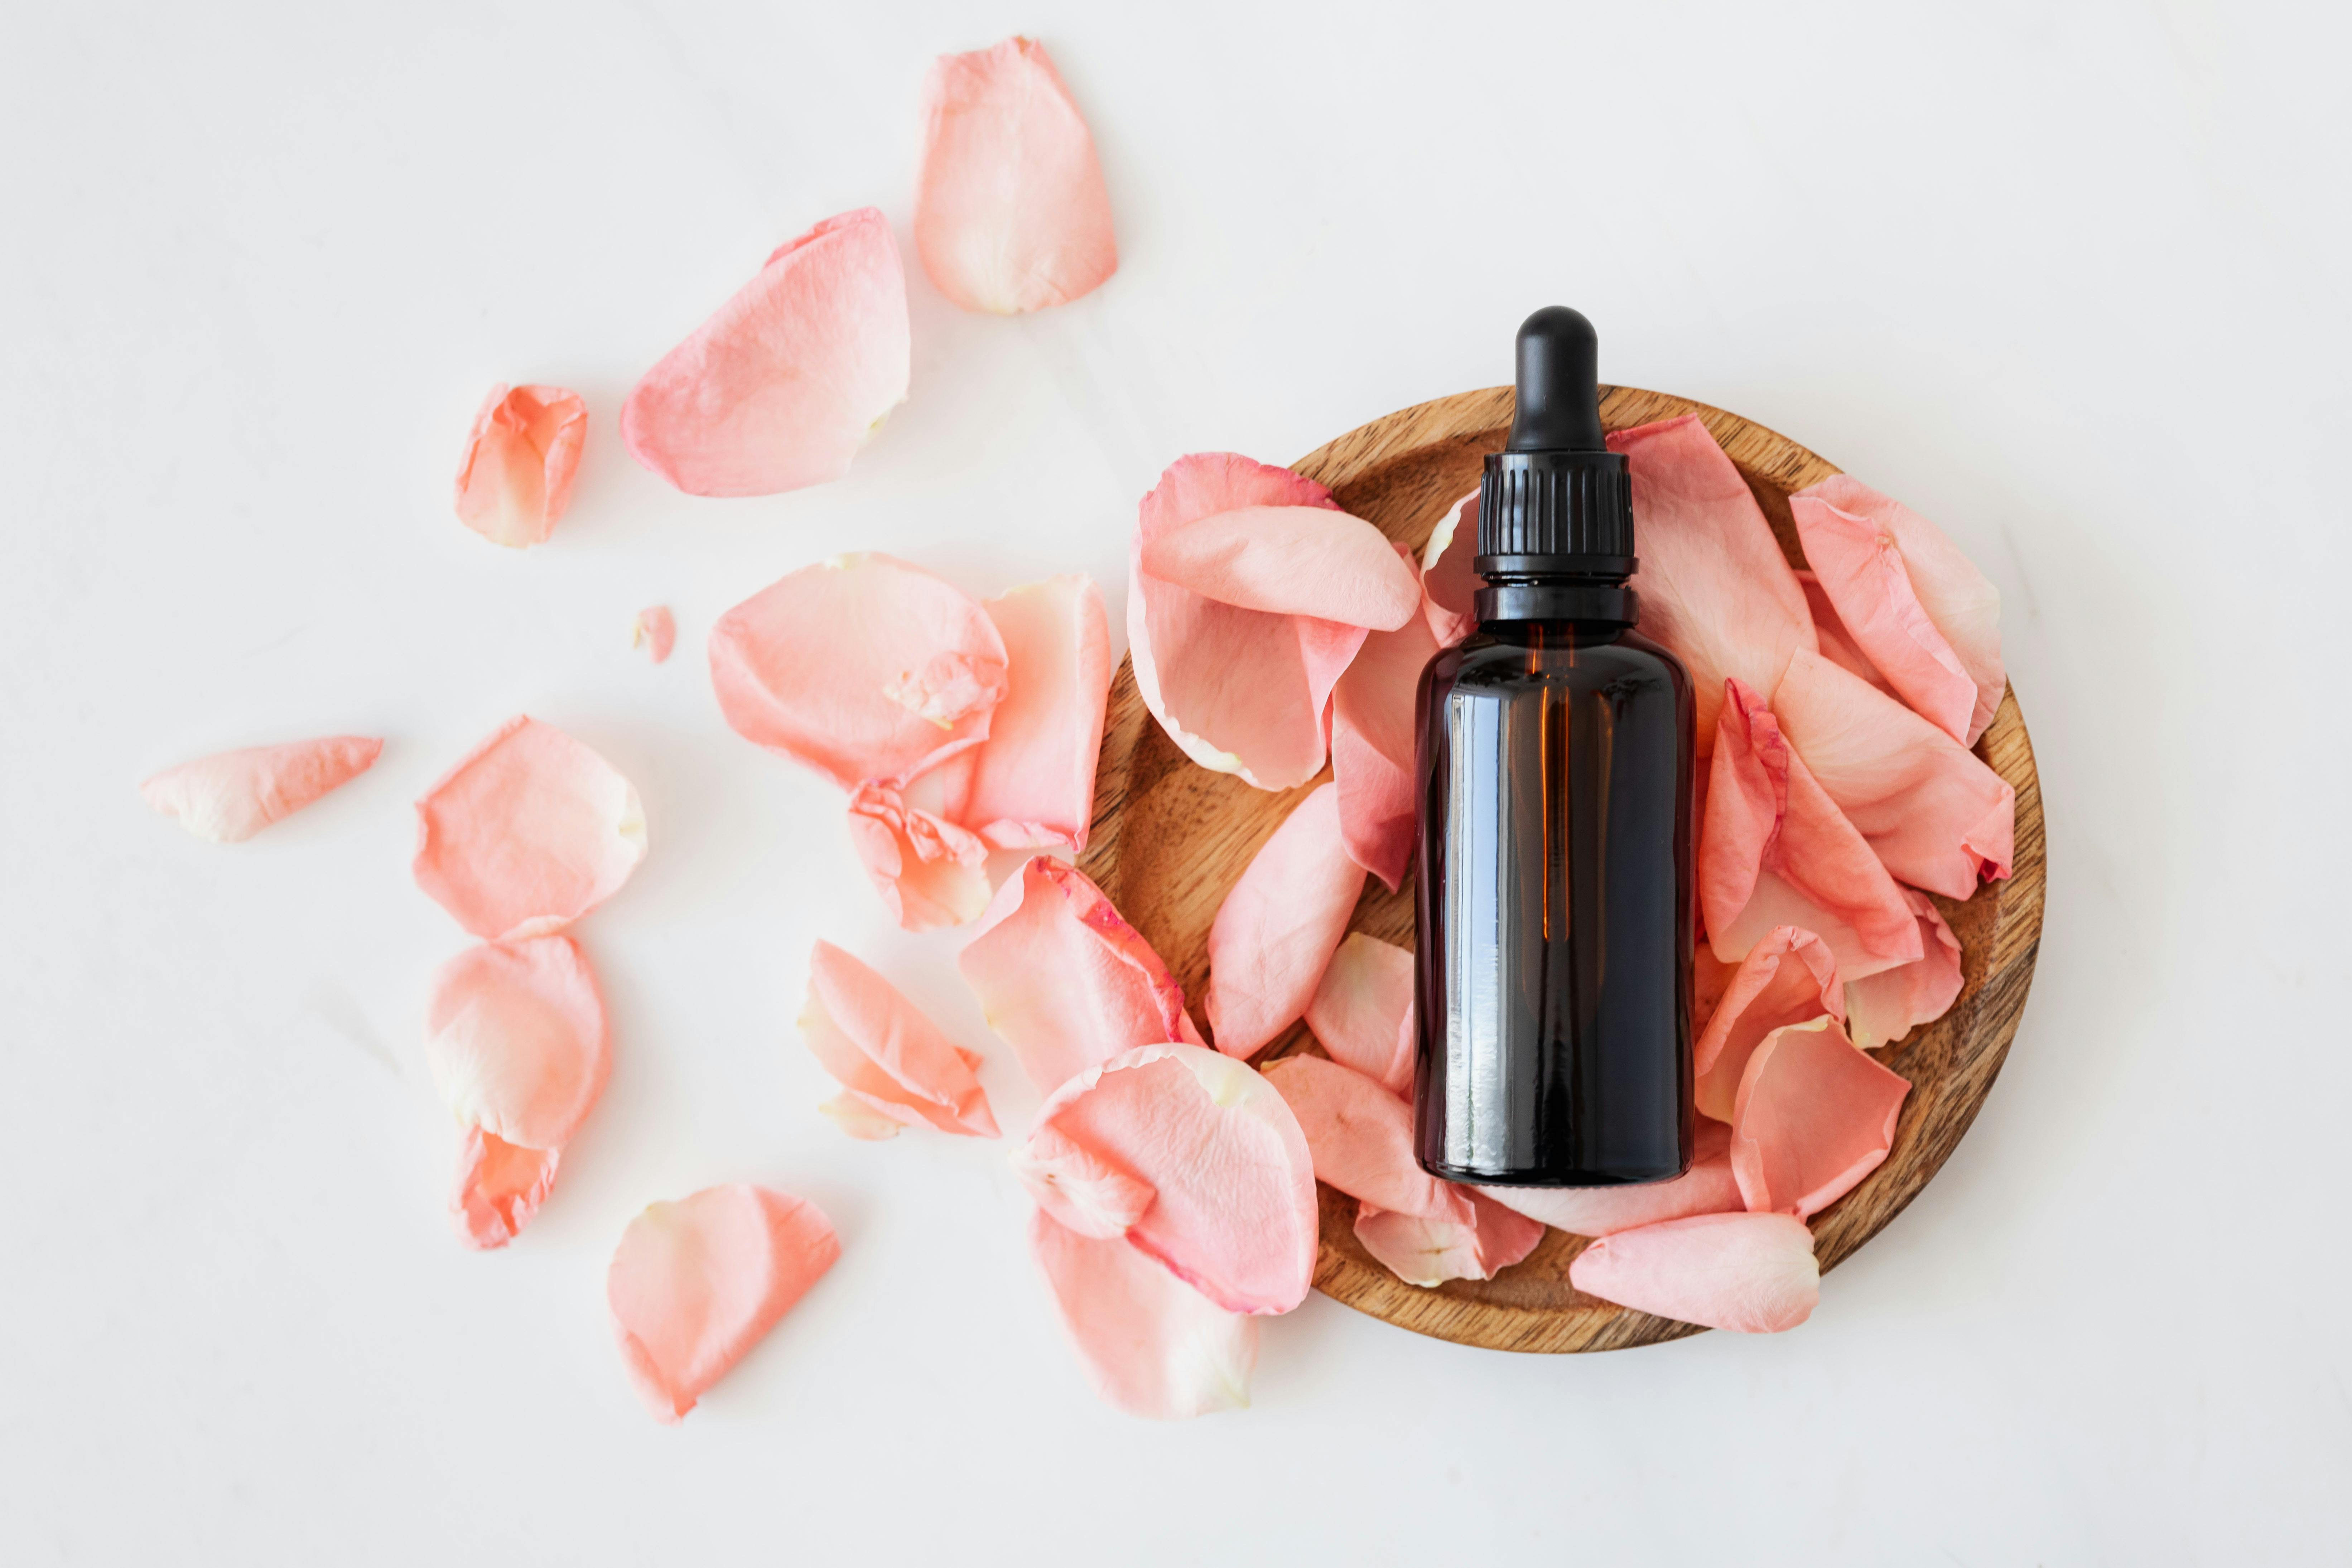
The essential oils produced in your DIY distiller have many therapeutic benefits, making it an excellent addition to any home. The aromatic oils are great for aromatherapy, home remedies and adding fragrance to lotions and body care products. They can also be used for cleaning and adding scent to candles or potpourri.
Creating your own distiller will give you a better understanding of the process and provide you with high quality essential oils that you can use immediately or save for later use. You’ll also have the satisfaction of knowing that you created something unique with your own two hands!
Whether you’re an experienced DIYer or a novice, making your own essential oil distiller is a fun project that will give you an appreciation of the art of distilling fragrant oils from natural materials.