
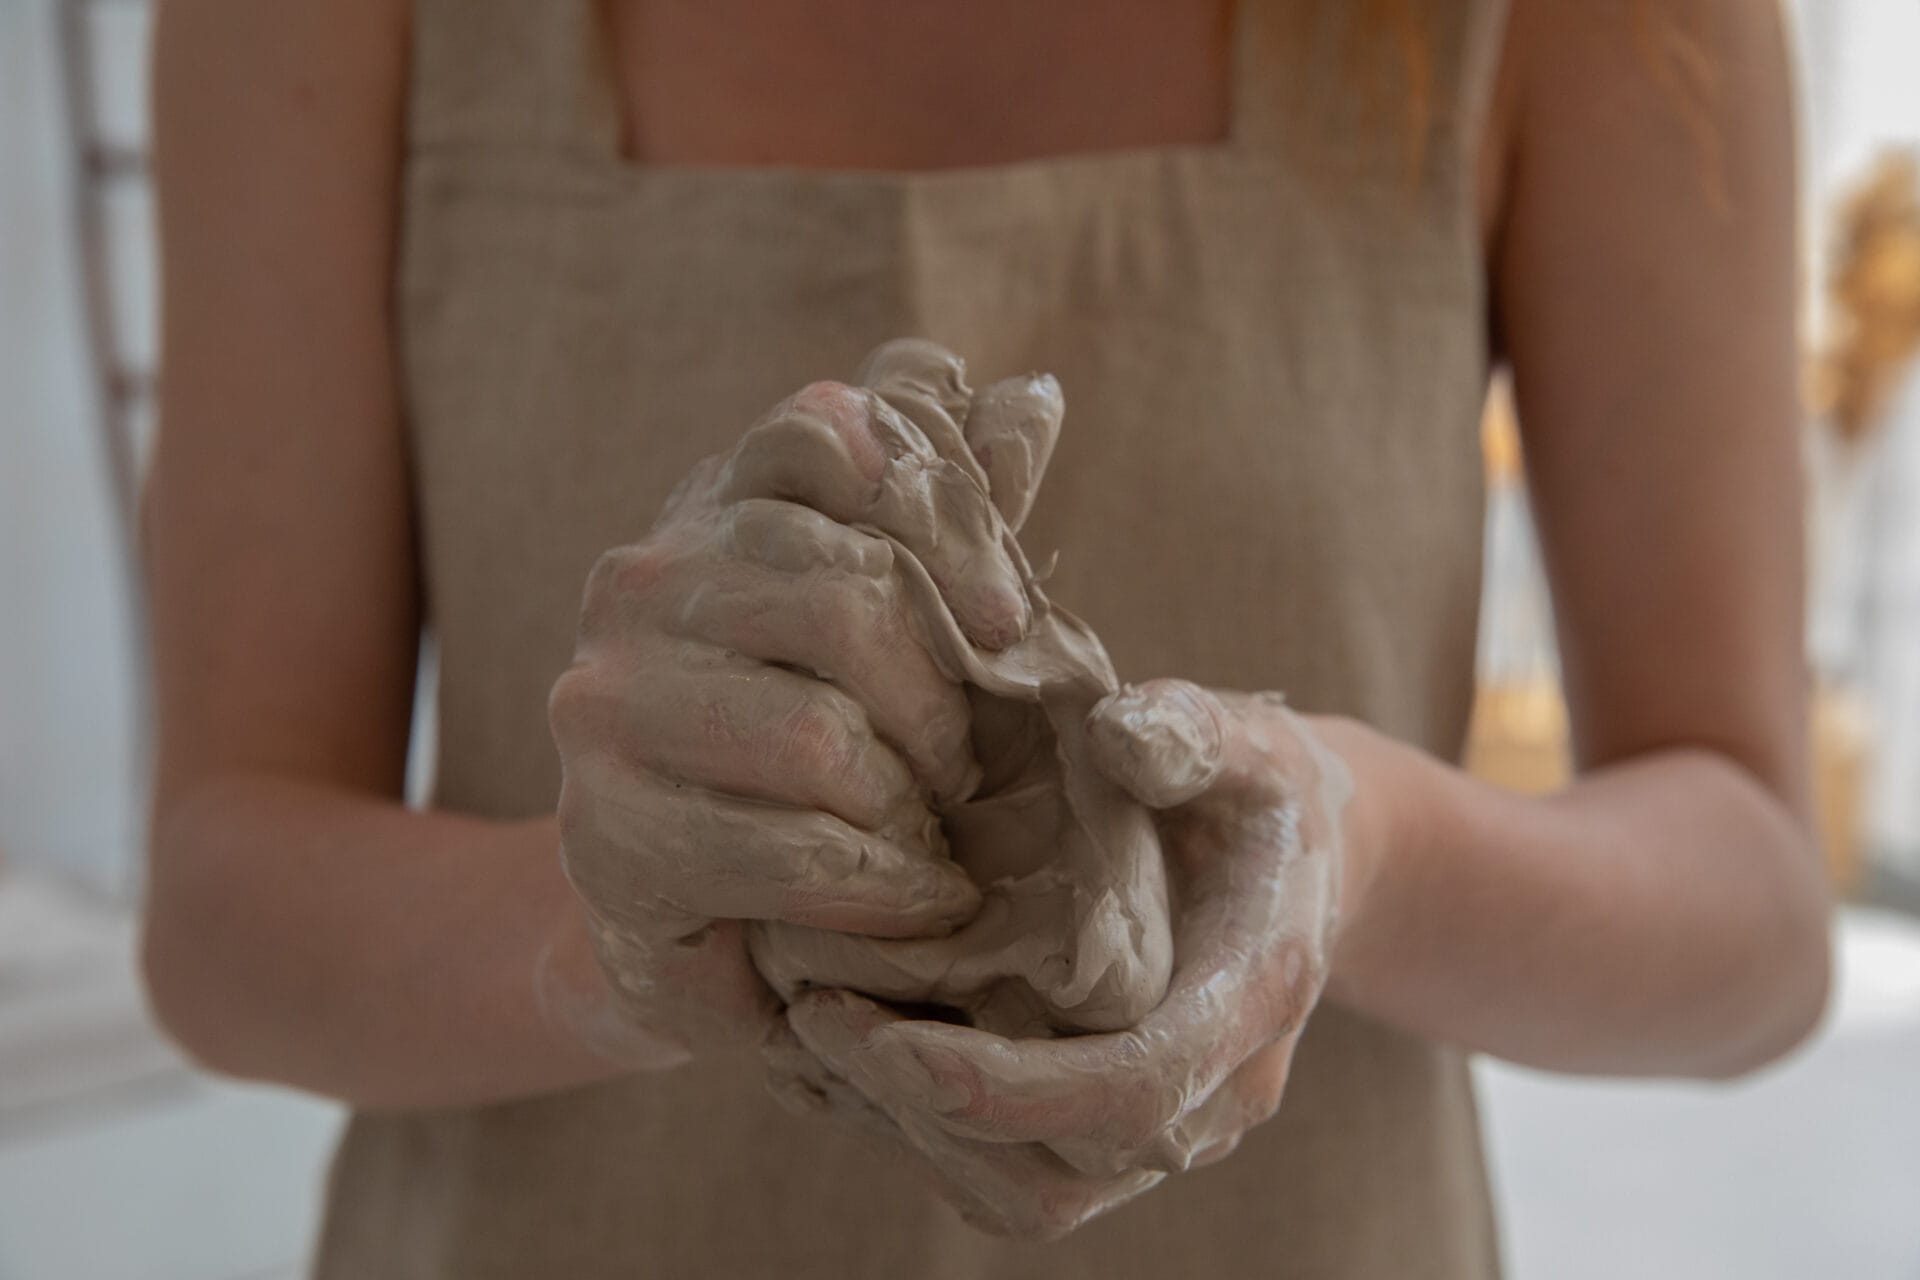
Mud water has been used in some cultures for centuries as a natural remedy for various ailments and is also consumed as a way to stay hydrated. Making mud water is an easy and inexpensive way to get all the benefits of this natural remedy. In this article, we will discuss how to make mud water and the health benefits that it can provide.Making mud water is a simple process that involves mixing mud and water together until the desired consistency is reached. First, collect the mud and water you’ll need for your project. You can use any type of mud and any type of water, although distilled or filtered water will create a cleaner-looking result. Put the mud into a bowl or bucket and add small amounts of water at a time, stirring until the mud begins to break down and dissolve into the water. Once you reach your desired consistency, your mud water is ready to use.
What You’ll Need to Make Mud Water
Making mud water is a fun and easy science experiment that can help children learn about the properties of soil. To make it, you’ll need a few simple supplies: soil, water, and a container. Start by adding 1 cup of soil to the container. Then add 1 cup of water and stir until the mixture is completely blended together. You may need to add more water if the mixture is too thick. Once your mud water is ready, you can use it for all sorts of experiments! Try measuring the temperature of the mud water or testing how different types of soil affect its consistency.
You can also use your mud water to create art projects. Add food coloring or paint to the mixture and use it as a medium for painting or sculpting with your hands. Have fun exploring with mud water and learning about different types of soils!
Step 1: Gather the Necessary Supplies
To make mud water, you’ll need a few supplies. First, find a source of muddy water or dirt. You can use soil from your garden, dirt from a river bank or lake shore, or even soil from an excavation site. You’ll also need some clean water—preferably filtered if possible—and a container to mix your mud and water in. Finally, you’ll need something to stir the mixture with. A wooden spoon or stick is best for this purpose.
Step 2: Measure Out the Mud and Water
Next, measure out equal parts of mud and water into the container. Depending on how muddy you want the water to be, you can adjust the ratio accordingly. For instance, if you want a thicker mud consistency, use more mud than water; if you prefer a thinner consistency, use less mud and more water.
Step 3: Stir the Mixture Thoroughly
Once you have your desired ratio of mud and water in the container, stir them together until they are thoroughly blended together. Make sure to keep stirring until there are no lumps of mud left in the mixture and all of it has been dissolved in the water.
Step 4: Let It Sit
After stirring your mixture well, let it sit for at least an hour so that any sediment can settle at the bottom of the container. This will give you cleaner and clearer mud water when it’s ready to drink.
Step 5: Strain Out Any Remaining Sediment
Finally, strain out any remaining sediment from your mud water before drinking it or using it for other purposes such as bathing or gardening. It’s important to get rid of any leftover sediment as it could contain harmful bacteria or chemicals that could be hazardous to your health if ingested or used on your skin/plants.
Gather the Necessary Ingredients
Before you can start cooking, you need to make sure that you have all of the necessary ingredients. Take a few moments to read through your recipe and check off the items you need on a grocery list. When shopping for ingredients, be sure to look for the freshest and best quality items that your budget allows. It is also important to read labels and purchase only what is needed for the recipe.
Once you have all of your ingredients, it’s time to start prepping. Make sure that all of them are clean, peeled, and cut into the appropriate sizes as specified in your recipe. This step might take a bit longer than expected, but it will save time once you start cooking. If using canned or frozen ingredients, make sure that they are defrosted and drained before adding them to the dish. Finally, measure out each ingredient and set aside in separate containers so they are ready when needed during cooking.
Mix Soil and Water Together
Mixing soil and water together is a common practice in many areas of gardening and landscaping. Soil is made up of organic matter, minerals, and other materials. When it is combined with water, it forms a thick mixture that can be used to fill in holes or to create raised beds for plants. Adding water to soil increases its ability to hold nutrients, making it more effective for growth. It also helps to break down large clumps of soil, making it easier to work with.
When mixing soil and water together, it is important to use the right proportions. Too much water can make the mixture too soupy and unable to hold its shape when applied. Too little water will make the mixture too dry and difficult to work with. Generally, a ratio of one part soil to two parts water is ideal for most applications.
It is also important to ensure that the soil being used is free from any contaminants or pollutants that could harm plants or other living organisms in the area. If needed, the soil should be tested before mixing in order to ensure safety. Additionally, any organic matter such as leaves or grass clippings should be removed from the mixture before adding any other materials as they can quickly decay when wet and cause an unpleasant odor in the area.
Once all of these steps have been taken, then the soil and water can be mixed together using a garden fork or shovel until it reaches an even consistency throughout. This mixture can then be used for various landscaping tasks such as filling holes or creating raised beds for plants. With proper care and attention given during mixing, this combination of materials can provide excellent growing conditions for a variety of plants and vegetables!
Add Sand or Clay to the Mixture
Adding sand or clay to your soil mixture can help improve its texture and structure. Sand helps provide drainage and aeration, while clay helps hold moisture and nutrients. The type of sand or clay you add will depend on the type of soil you are trying to improve. For example, if you are working with sandy soils, adding a clay-based product will help the soil hold onto water and nutrients longer. You may also want to consider adding organic matter such as compost or manure to further improve the soil’s structure and fertility.
When adding sand or clay to your soil mix, it’s important to ensure that it is evenly distributed throughout. This can be done by using a garden fork or tiller to mix it in thoroughly before planting. It’s also important to make sure that any large clumps of sand or clay are broken down into smaller pieces before being added to the soil mix. If you are using a large amount of sand or clay, it is advisable to test the pH level of your soil after mixing it in as this could affect its suitability for growing certain plants.
Finally, if you are using a large quantity of sand or clay, bear in mind that this could have an impact on the overall nutrient content of your soil mix. Adding fertilizers and other nutrients can help counterbalance this loss and ensure that your plants get all the nutrients they need for healthy growth.
Making a Batter
Making a batter is an easy and straightforward process. All you need is a bowl, some ingredients, and a whisk or spoon to mix them together. Start by gathering all the dry ingredients – such as flour, baking powder, and salt – in one bowl. In another bowl, combine all of the wet ingredients – such as eggs, milk, and melted butter or oil. Slowly add the wet ingredients to the dry ingredients and stir them together until everything is combined into a thick batter. Make sure to stir the mixture thoroughly so that there are no lumps of flour remaining.
Greasing the Pan
Once the batter is ready, it’s time to prepare your baking pan. Grease your pan using butter or an oil spray before pouring in the batter. Make sure to coat all sides of the pan with an even layer of grease so that your finished product won’t stick to it. If you’re using a cake pan or other round baking dish, consider lining it with parchment paper for added protection.
Baking Your Batter
When you’re ready to bake your batter, preheat your oven according to recipe instructions. Once it’s heated up enough, pour the prepared batter into your greased pan or dish and spread it out evenly. Place it in the oven and bake for however long the recipe instructs you to do so – usually between 20-30 minutes for most batters. When finished baking, let it cool before serving or storing away for later use.
Let the Mixture Sit for 24 Hours
When making a yeast starter, it is important to let the mixture sit for 24 hours before using it. This allows the yeast to become active and ready to use. The mixture should be left in a warm, dark place, such as on top of a refrigerator or in an area that is away from direct sunlight. During this time, the yeast will begin to multiply and create bubbles on the surface of the mixture. This is an indication that the yeast is ready to be used for your recipe.
It is important to make sure that the mixture does not become too hot during this process as this could kill off some of the yeast cells. If you are using a glass container, make sure to cover it with a lid or plastic wrap so that it does not dry out during this time. If you are using a plastic container, make sure that it has enough air circulation so that the yeast can remain active.
Once your starter has been sitting for 24 hours, check to see if there are bubbles on the surface of the mixture and if it smells yeasty. If both of these conditions have been met, then your starter is ready to use in your recipe!
Conclusion
Mud water is a great way to conserve water and reduce runoff. It is an easy and inexpensive way to create a healthy environment for many different species of plants and animals. It also helps improve the quality of groundwater by filtering out pollutants. The process is simple, and it can be done in any size garden or yard.
The main ingredients required are soil, sand, and organic matter. A basic setup involves digging a trench or bed, adding soil and sand, then filling it with organic matter such as compost or leaves. The trench should be slightly sloped so that the mud water will flow downhill instead of pooling at one spot. Finally, the mud water should be tested for pH levels before being used in the garden or yard.
Overall, making mud water is an effective way to help conserve water and reduce runoff from gardens and yards while creating healthy habitats for plants and wildlife.