
If you are looking for a way to make fake water with glue, then you have come to the right place. Making fake water with glue is a fun and easy project that can be done with just a few simple items. In this article, we will discuss the materials and steps necessary to create your own fake water with glue. With the right supplies and some patience, you will have realistic-looking fake water in no time!To make fake water with glue, you will need a bottle of white school glue, a bowl, water, blue food coloring, and a stirring utensil.
Preparing Fake Water With Glue
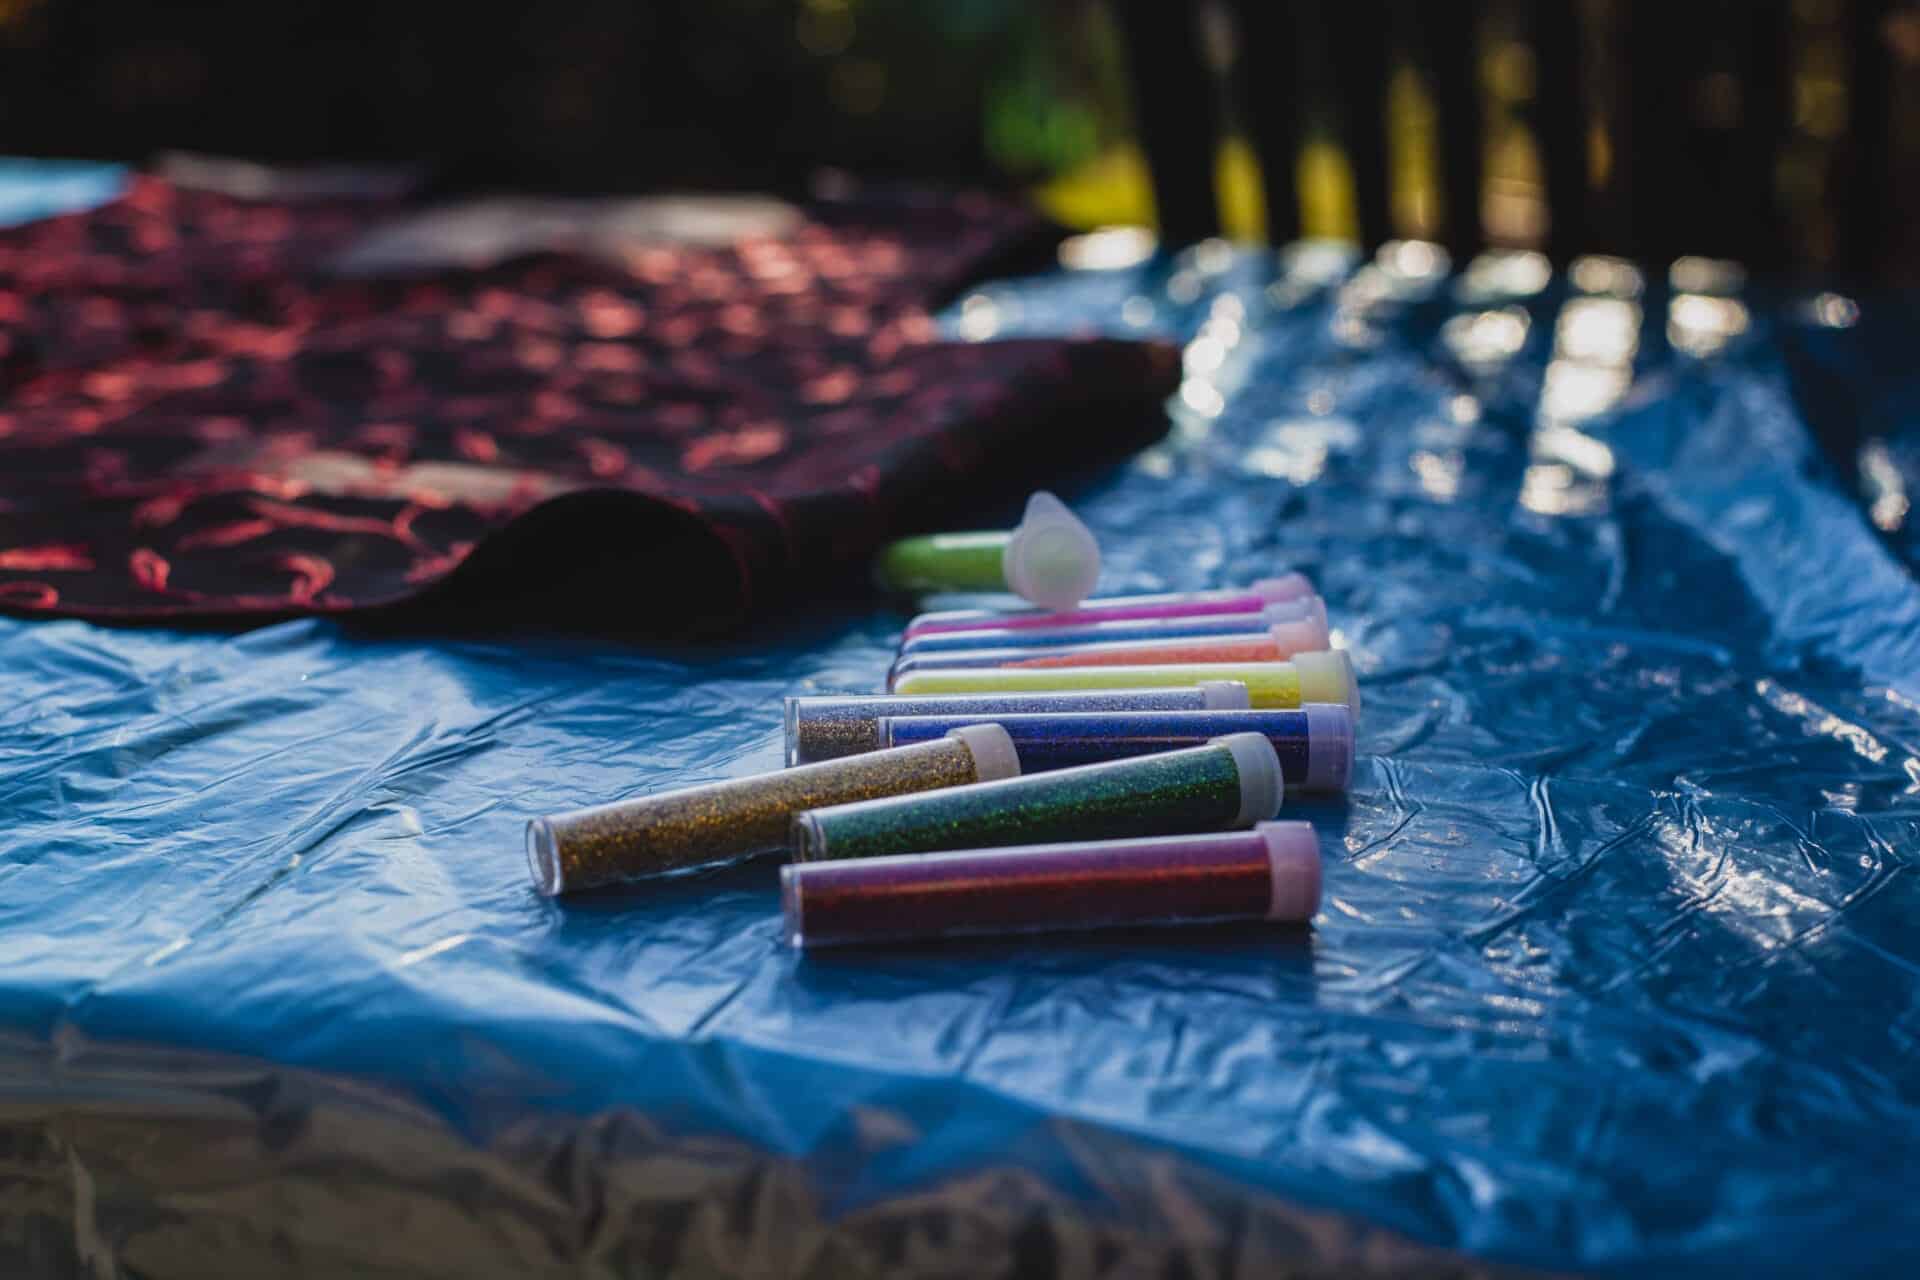
Making fake water with glue is an easy and fun way to create a realistic-looking liquid in a container. It’s often used as a prop in plays, movies, or other art projects. The process is fairly simple and only requires a few materials. All you need is some clear glue, food coloring, and some corn syrup or glycerin to give the liquid its shiny appearance. First, pour the glue into a container and then add the food coloring of your choice to create the desired color. If you want to make it look like real water, use blue food coloring. Then stir in the corn syrup or glycerin until it is fully incorporated into the mixture. Finally, let it sit for several hours so that it can fully dry and harden into a realistic looking fake water.
Creating fake water with glue is an easy way to make props for art projects or movies without having to buy expensive materials. It can also be used for science experiments or demonstrations where real water may not be available. The best part about this project is that it’s not very expensive or time-consuming to make fake water with glue, so anyone can do it!
Adding Color to Fake Water With Glue
Fake water is a great way to add an interesting and unique element to many craft projects. It can be used for aquariums, terrariums, and even dioramas. To make it look even more realistic, you can add color to the fake water with glue. This is a very simple process that requires just a few materials and a little bit of time.
To begin, you will need some clear glue and some acrylic paint in the color of your choice. You can also use food coloring if you do not have paint available. Start by mixing together a small amount of the glue and the paint or food coloring in a bowl. Make sure that the ratio of glue to paint is equal so that the mixture is not too thin or too thick.
Once you have your mixture ready, you can start adding it to your fake water. Pour it onto the surface of the water and use a stirring stick or brush to mix it around evenly until it is fully blended. You may need to add more color depending on how dark you want it to be.
When finished, let the mixture sit for a few minutes before adding any other elements such as plants or rocks. The glue will help keep everything in place while still allowing for some movement in the water if desired. Once everything has been added and dried completely, your fake water should now be colored with beautiful shades of blue, green, or whatever color you choose!
Adding color with glue is an easy way to make your fake water look more realistic and attractive in any craft project. Just remember that less is more when using this technique as too much glue can give your water an artificial look. With patience and practice, however, you’ll be able to create stunningly realistic looking waterscapes that are sure to impress!
Creating a Foamy Texture in Fake Water With Glue
Creating a foamy texture in fake water with glue is an effective way to give the illusion of a bubbling stream or fountain. It can be used in a variety of creative projects, such as creating a diorama, making an aquarium, or setting up a scene for photography. The process is simple and requires only a few supplies.
To begin, gather the supplies you will need for this project: school glue, water, and food coloring (optional). Mix the glue and water together in a bowl until it forms a thick liquid. If desired, add food coloring to create the desired color of your fake water. For example, adding green coloring can make your fake water look like pond water.
Next, take the mixture and pour it onto your project surface. You can use any type of surface you want – cardboard, foam board, plastic sheeting – depending on what type of project you are working on. Once you have poured out the mixture over your surface area, use a toothpick or other pointed object to create small bubbles throughout the mixture. This will give it a foamy texture that looks like real water with bubbles popping up.
Finally, allow your foam-covered project surface to dry completely before using it for whatever you have planned. Once dry, your fake water will look realistic and provide an interesting element to whatever project you are working on!
Making Waves in the Fake Water With Glue
Creating waves in fake water with glue has become an increasingly popular way of decorating for both special occasions and everyday décor. It’s not just a cheap way to make something look cool, but it can also be used to add texture and interest to any room. The technique is simple and the results are stunning. Here’s how you can make waves in the fake water with glue:
To begin, you’ll need some glue, fake water (or clear resin), and a few other supplies. You can find all of these items at craft stores or online. Start by pouring a small amount of glue into a container and then slowly adding the fake water (or clear resin) until it reaches the desired consistency. Mix the ingredients together until they form a thick paste.
Once you have your paste ready, take a shallow bowl or tray and spread it evenly across the bottom. Then use your fingers to create the desired wave pattern in the paste. For example, if you want to create large waves, start by pressing down firmly on one side of the bowl and slowly move your hand outward towards the other side, forming a long wave-like motion as you go along. If you want smaller waves, press down more gently and move your hand around in smaller circles or semicircles as you go along.
Once your desired wave pattern is complete, let it dry overnight before using it for decoration. Once dry, you can use this wave-like texture as is or paint over it with acrylic paint for more vibrant colors and patterns. You can also use different types of glue for different effects – for example, glittery glue will give off an iridescent shimmer when dry! No matter how you choose to use it, making waves in fake water with glue is an easy yet effective way to add some extra flair to any room or occasion!

Adding Bubbles to the Fake Water With Glue
Adding bubbles to fake water can help create a realistic aquarium environment. The process is relatively easy, and it can be done with a few simple materials. First, you will need some clear-drying glue, such as Elmer’s glue or a similar product. You will also need some bubble solution or ordinary dish soap, and a container that is deep enough for the water and bubbles to fit in.
Before you begin adding the bubbles, make sure that the container is clean and dry. Then, pour the glue into the container until it reaches about halfway full. Next, add some bubble solution or dish soap to the container and stir it gently with a spoon or stick until it is evenly distributed throughout the glue.
Once all of the ingredients are combined in the container, you can start adding bubbles to your fake water. To do this, use a straw or something similar to blow air into the mixture while stirring with your spoon or stick. This will create small bubbles that will float up to the surface of your fake water.
When you have finished adding all of your desired bubbles, let them sit for at least 24 hours so that they can form properly and adhere to each other without floating away. After this step is complete, you can add any additional decorations such as plants or rocks if desired. Your fake water aquarium should now look realistic and be ready for display!
Drying Fake Water with Glue
Fake water is a popular craft material used for various projects. It gives the appearance of a pool of water, or other wet surfaces, but is lightweight and safe to use. However, it needs to be dried with glue before it can be used in a project. Drying fake water with glue is an easy process that can be done at home with the right materials.
The first step in drying fake water with glue is to prepare the surface. If the surface is uneven or has any imperfections, sand it down to create a smooth and even surface. Afterward, use a damp cloth to wipe away any dust particles left behind from sanding.
Once the surface has been prepared, apply a thin layer of white glue over the entire surface of the fake water. Use a brush or sponge to spread the glue evenly and make sure that all areas are covered. Allow the glue to dry completely before proceeding.
The next step in drying fake water with glue is to apply a second layer of glue over the first one. Again, make sure that all areas are covered with an even layer of white glue before allowing it to dry completely. The second layer will help make sure that the fake water is completely sealed and protected from moisture damage or dirt accumulation over time.
Finally, once both layers of glue have dried completely, apply a coat of clear sealant over top for added protection against moisture and dirt build-up in the future. This will also help ensure that your project looks its best for years to come!
By following these simple steps, you can easily dry your fake water using white glue and sealant for lasting results that look great!
Creating Reflections on the Fake Water With Glue
Creating a realistic reflection on fake water can be a difficult task, but with the right materials, it is possible to achieve a stunning effect. The easiest way to create reflections on fake water is to use glue. Glue can be used to simulate the look of real reflections and create an authentic looking scene.
To start, you will need some clear glue and a paintbrush. Start by painting a thin layer of glue onto the surface of the fake water. This will act as a base for your reflections. Allow the glue to dry completely before continuing. Once it has dried, you can start adding additional layers of glue in specific areas to create your desired reflection effect. For example, adding more glue around edges or near objects in the scene will create more detailed reflections that look more realistic.
You can also use different colored glues for added effects or to create shadows and highlights within your reflections. Adding darker glues around edges or in shaded areas will help you create shadows and add depth to your scene. On the other hand, lighter glues can be used in lighter areas or around objects in order to make them stand out more and create highlights within your scene.
Once you have applied all the glues necessary for your desired effect, allow them to dry completely before continuing with any other details that may need adding such as painting or finishing touches. With patience and practice, you will be able to achieve stunningly realistic reflections on fake water with just glue!
Conclusion
Making fake water with glue is a simple and cost-efficient way to create realistic-looking water features in your crafts and projects. The glue can be used to imitate the look of still or moving water, and you can add glitter or food dye to give it an extra sparkle. Best of all, you don’t need any special tools – just items you already have around the house!
Creating fake water with glue is a great way for beginners to get into crafting and make fun decorations without needing expensive supplies. Even experienced crafters can benefit from this project, as it allows them to try new methods without spending too much money. So why not give it a try today?