
Making your own essential oil distiller is a great way to make your own fragrant, natural oils at home. Essential oil distilling is an age-old process that involves the extraction of aromatic compounds from plant materials, such as flowers, leaves, roots, and bark. Making your own essential oil distiller can be a fun and rewarding project that will allow you to create your own unique oils with just a few simple steps. In this guide, we’ll walk you through how to make an essential oil distiller and what supplies you will need to get started.To make an essential oil distiller, you will need a heat source, a vessel for water, a condensing system, and a collection container. The heat source can be something like an induction cooktop or even a gas stove. The vessel should be large enough to contain the water you’ll be using. A condensing system is what helps to collect the essential oils from the steam during the distillation process. This can be something like an essential oil still or condenser. Finally, you’ll need a collection container to store the essential oils once they have been collected from the distillation process.
Step 1: Gather Materials
The first step in building an essential oil distiller is to gather the materials you will need. This includes a metal pot, a heating element, a condenser, tubing, and a collection container. You should also have some basic tools on hand such as pliers, a screwdriver, and some wrenches. It may also be helpful to have gloves and safety glasses to protect yourself while working with the hot equipment.
Step 2: Assemble Pot
Once you have gathered all of your materials, it is time to begin assembling your essential oil distiller. Start by attaching the heating element to the bottom of the metal pot. Make sure it is securely fastened so that it does not move around while in use. Next, attach the condenser to the top of the pot with bolts or screws.
Step 3: Connect Tubing
The next step is to connect tubing from both the heating element and condenser to your collection container. This will allow for steam from inside the pot to be collected
How to Choose the Right Pot for Your Essential Oil Distiller
Choosing the right pot for your essential oil distiller is an important step in creating your own essential oils. The pot you choose should be able to withstand the high temperatures and pressures required for distilling your oils. It should also be large enough to accommodate the amount of oil you need to distill. Here are some tips on how to choose the right pot for your needs.
First, it’s important to understand what type of pot is best suited for your distilling needs. Copper is often used because it is a good conductor of heat and pressure, and it can withstand high temperatures without melting or becoming damaged. Stainless steel is also a good option as it does not corrode easily and can also withstand high temperatures and pressures.
Next, consider the size of the pot. You want a pot that is big enough to contain all of the ingredients you need to make your essential oils, including water and plant material. Depending on how much oil you need to distill, you may need a larger or smaller pot. Be sure that whatever size you choose will fit onto your dist
Setting Up the Condenser and Coil
Setting up a condenser and coil for an essential oil distiller is a relatively simple process. First, you will need to set up the condenser by placing it onto the distiller’s base. Make sure the condenser is securely attached and all connections are properly sealed. Once the condenser is set in place, you can begin connecting the coil to the condenser. The coil should fit snugly into the condenser, with one end of it extending outside of the condenser’s opening.
Next, you will need to connect the coil to a power source. This can be done using either an AC adapter or a DC transformer. Once connected, make sure that all wires are properly secured and that all connections are firmly in place. Finally, you’ll want to adjust the temperature settings on your distiller so that the desired temperature is achieved for your particular essential oil extraction needs.
Once everything is connected and set up properly, you’re ready to start extracting essential oils from your plant material! With a proper setup of your distiller’s condenser and coil, you can start
Attaching the Outlet Tube for Your Essential Oil Distiller
The first step in attaching the outlet tube to your essential oil distiller is to ensure the distiller is securely connected to a power source. Once that has been established, locate the outlet tube on the top of the distiller. This will usually be a flexible rubber tube, but may vary depending on the model and manufacturer of your distiller. Take one end of the tube and attach it to the connector on the top of the distiller. Then, tighten it firmly with a wrench or screwdriver until it is secure. The other end should be attached to either an empty container or a collecting vessel that has already been pre-filled with water. Make sure that this connection is tight as well so that no steam can escape during operation.
You may need to use additional hardware such as clamps or gaskets when attaching the outlet tube in order to ensure a tight seal between the two components. Once everything is connected properly, you can turn on your essential oil distiller and begin producing your desired essential oils!
What Kind of Heat Source Should You Use for Your Essential Oil Distiller?
The type of heat source you use for your essential oil distiller will depend on the type of distiller you have. Some distillers require a direct flame, such as a propane burner, while others may be heated with an electric or induction heater. If you are using an electric heater, make sure it is rated for the wattage your distiller requires and that it is equipped with an adjustable thermostat to ensure that the temperature remains consistent throughout the distilling process. If you are using a propane burner, make sure it is of sufficient size to provide the necessary heat and that it is located at least five feet away from any combustible materials. Additionally, you should always wear protective gear when operating a propane burner to reduce any risk of injury.
Regardless of the type of heat source used, make sure that all connection points are secure and that all safety precautions are followed. Additionally, keep an eye on the thermometer during the entire distillation process to ensure that the temperature remains consistent and within range for optimal efficiency and quality product results.
Monitoring the Temperature of Your Essential Oil Distiller
Monitoring the temperature of your essential oil distiller is important for ensuring that the product you produce is of the highest quality. It is also important to ensure that the distillation process is conducted safely and efficiently. To do this, it is necessary to have a reliable and accurate means of tracking and controlling the temperature of your essential oil distiller.
The most common way to monitor and control the temperature of an essential oil distiller is by using a thermometer. Thermometers come in a variety of shapes and sizes, so it is important to choose one that will work best for your particular distillation setup. Additionally, many thermometers come with features such as alarms or timers which can be used to ensure that you are monitoring temperatures accurately at all times.
Another common method for monitoring and controlling the temperature of an essential oil distiller is through the use of a PID controller. PID controllers are electronic devices that can be programmed to maintain temperatures within a set range. This type of device can be used to ensure that temperatures remain consistent throughout the entire distillation process, which will
Collecting the Resulting Essential Oils
Essential oil distillation is a wonderful way to create your own natural essential oils. However, it is important to understand how to properly collect the resulting essential oils in order to ensure that they are of the highest quality and potency. The following steps will help you collect the essential oils that result from your distilling process.
The first step is to allow the distiller to cool down after completion of the distillation process. Once it has cooled, you should remove any condensation and other liquid that may have collected in the device. This will help ensure that your essential oil is pure and free from any contamination.
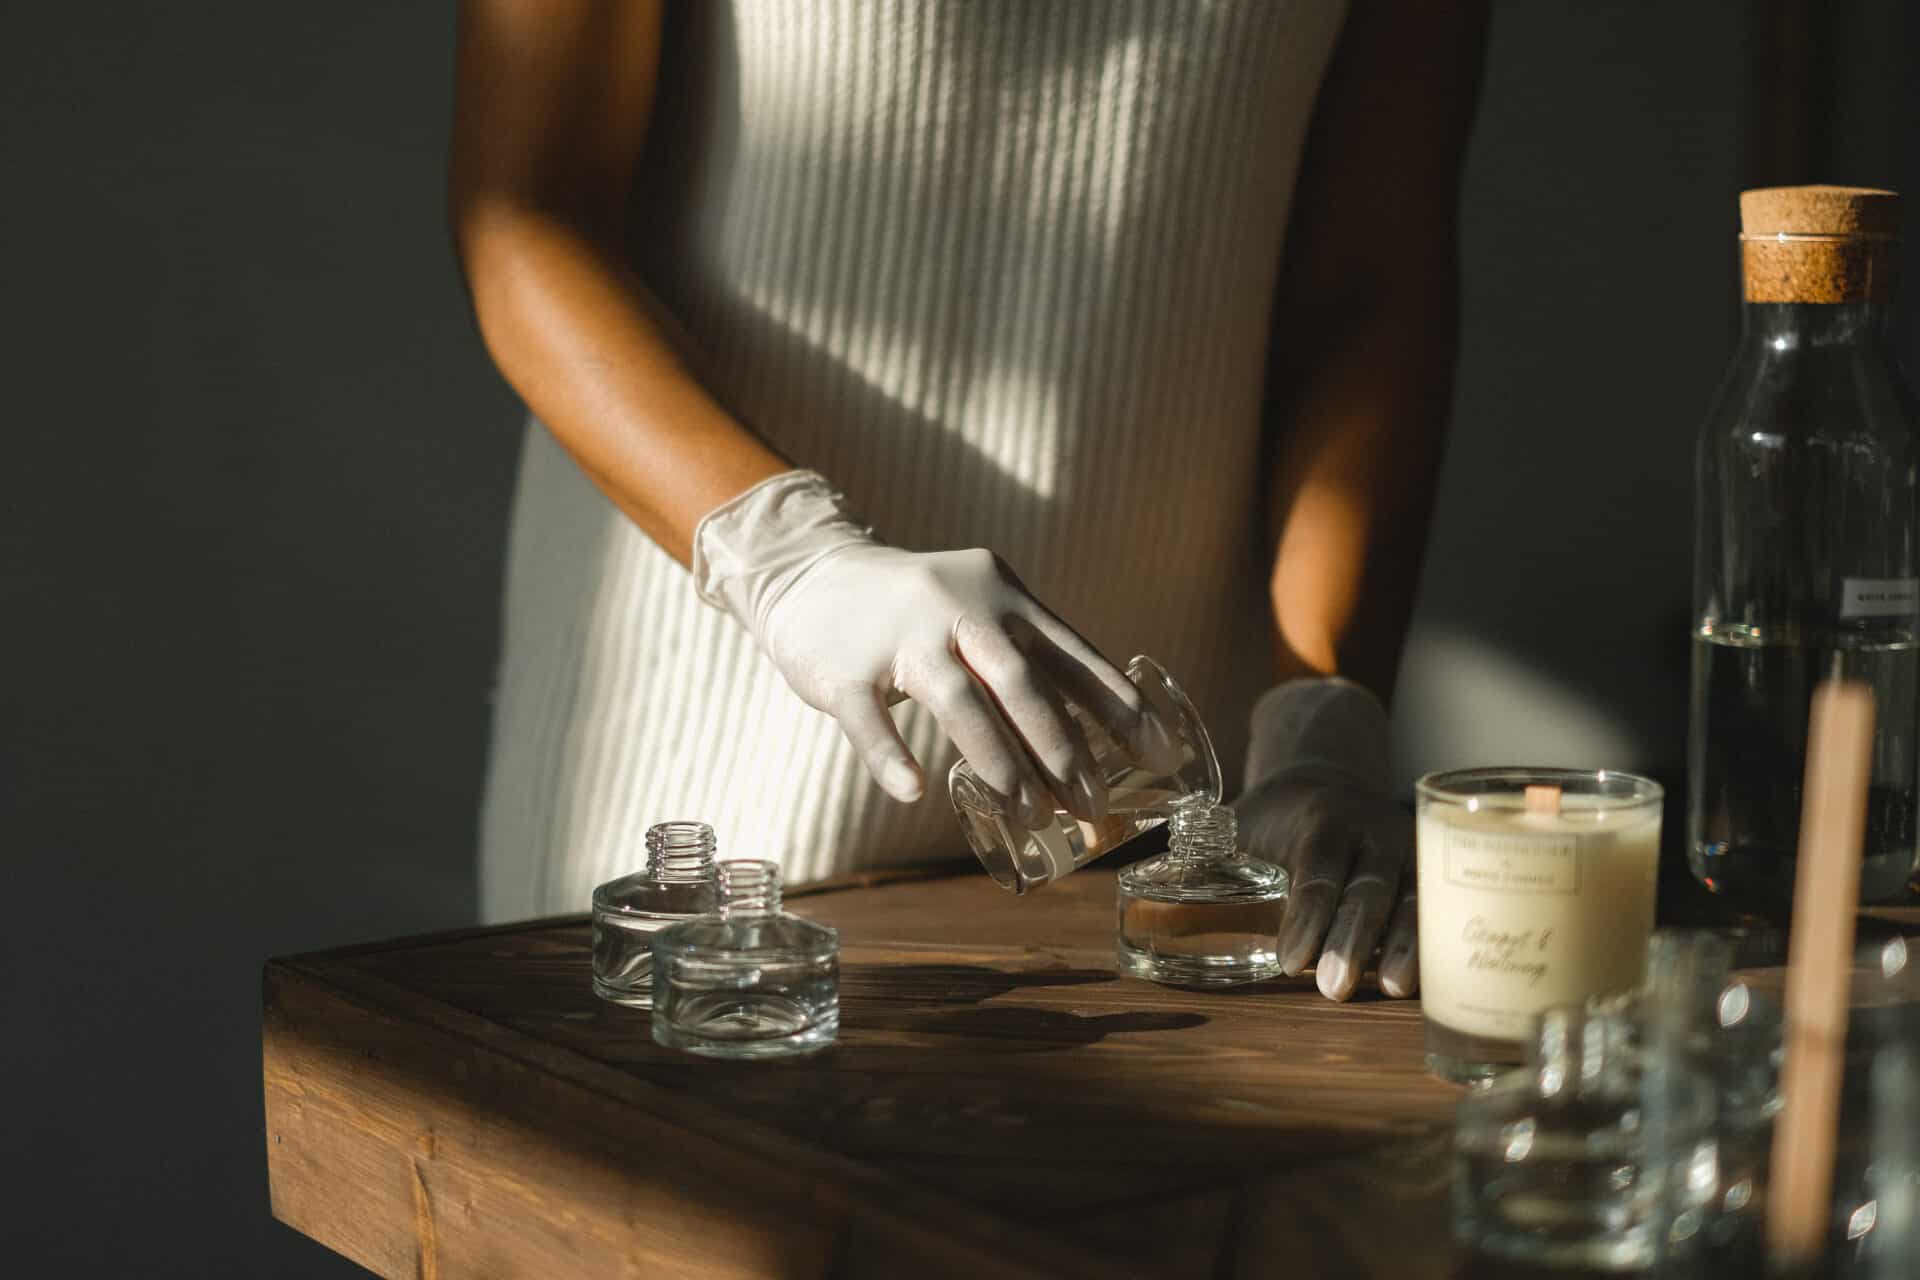
The next step is to locate a suitable vessel for collecting the essential oil. The ideal vessel should be made of glass or ceramic and should be able to withstand high temperatures. You can use a wide-mouthed jar, or a specialized container specifically designed for collecting essential oils. Make sure that you clean and sterilize your container prior to use in order to avoid any contamination of the oil.
Once you have located a suitable vessel for collecting
Conclusion
Making your own essential oil distiller is a great project for those who are interested in aromatherapy and natural remedies. It is also an easy and relatively inexpensive way to make your own essential oils on a small scale. With the right materials, you can build your own essential oil distiller in just a few hours. The process involves heating water to steam, capturing the steam, cooling it back into liquid, and collecting the essential oils from the liquid. When done properly, you can extract high quality essential oils from herbs, flowers, fruits, and other plant materials for use in aromatherapy or medicinal purposes.
Making your own essential oil distiller is a great way to get started with aromatherapy or natural remedies without spending too much money. Although it can be time consuming and requires special equipment and safety precautions, once you’ve got the hang of it you’ll be able to enjoy the benefits of making your own high quality essential oils at home.