
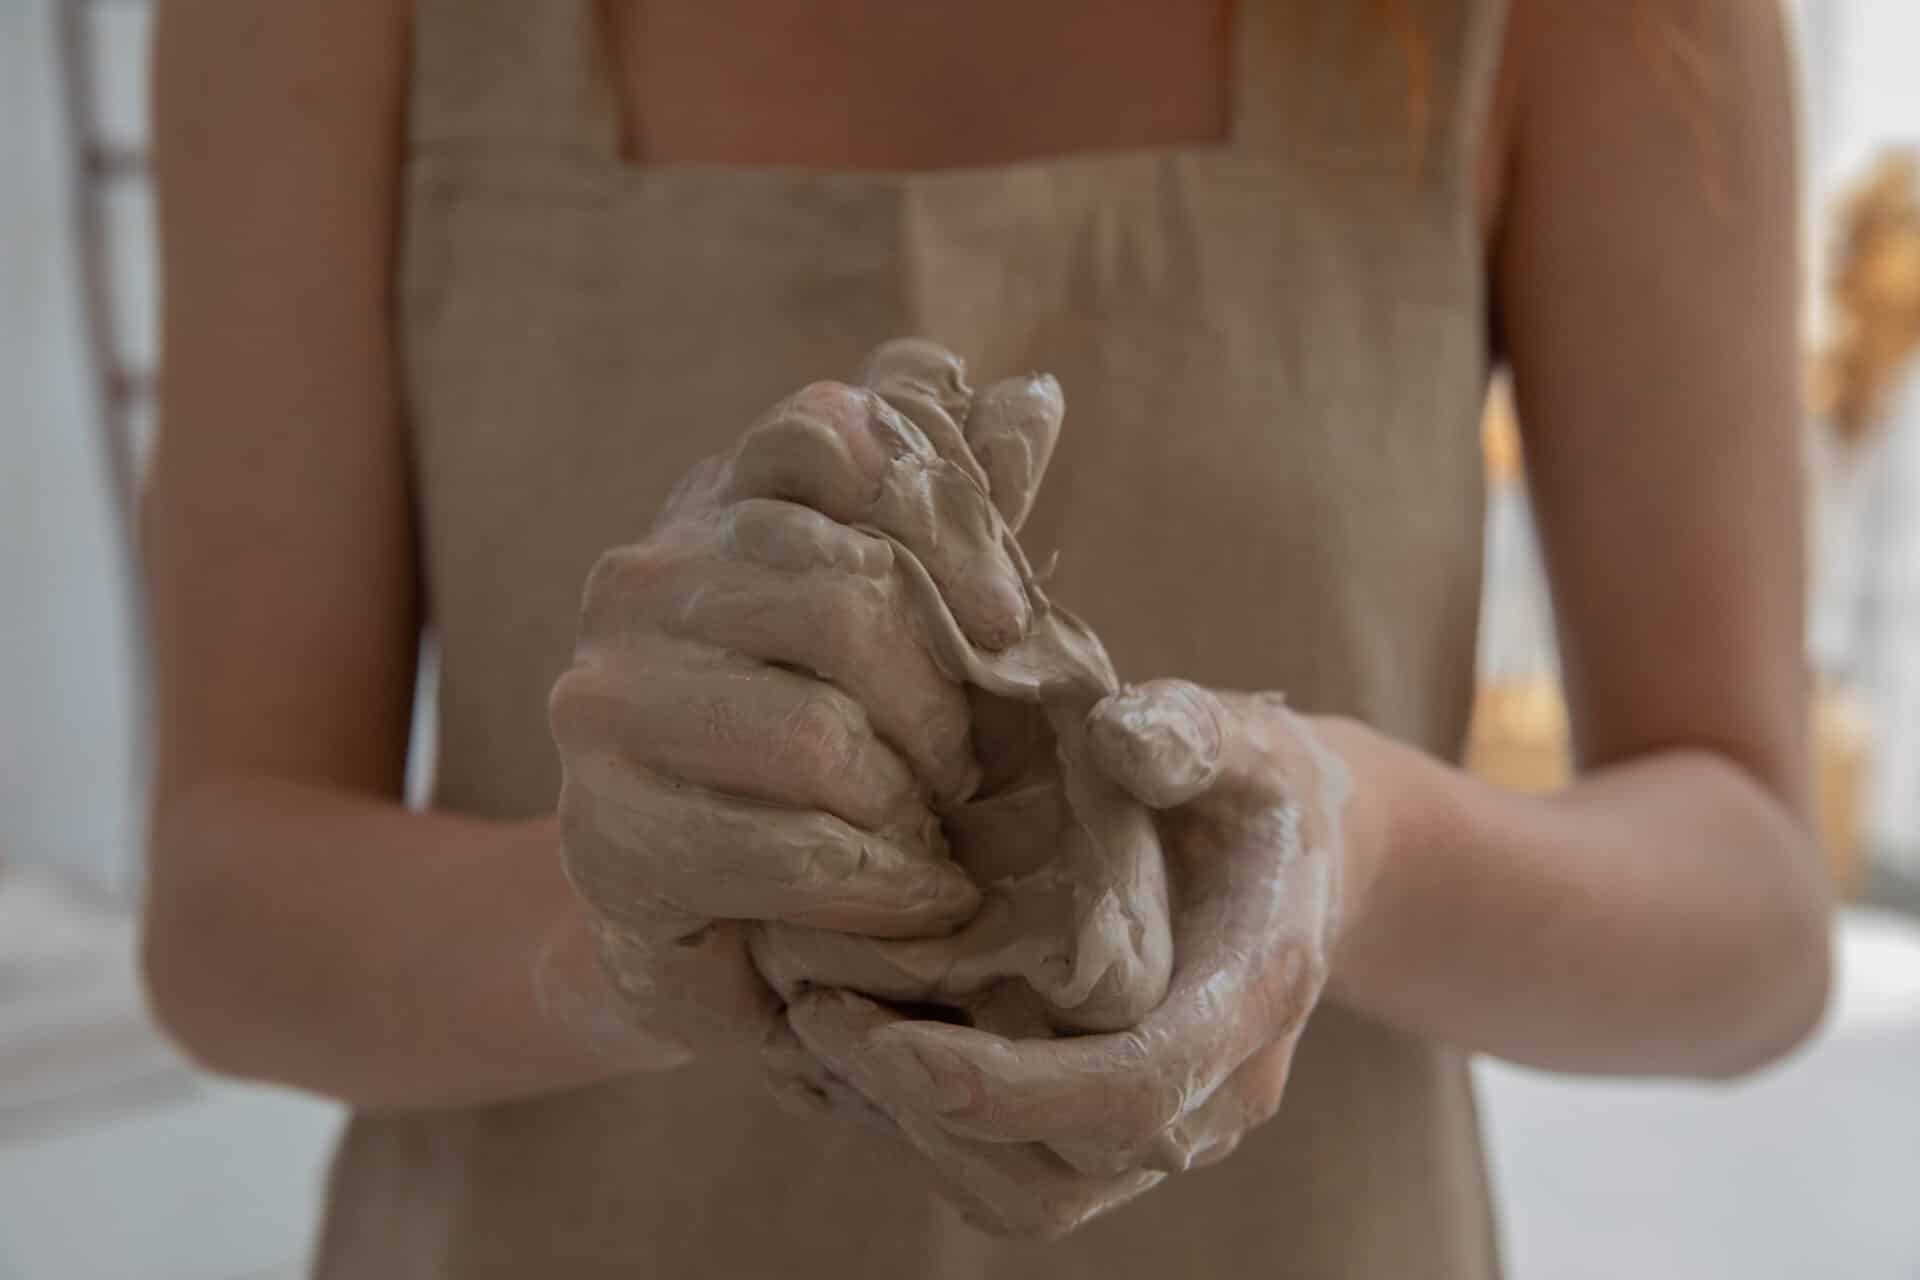
Making a mash for distilling is an important part of the distilling process. It is essentially the liquid that is used to create the spirit, and it is important that it is made correctly. The mash must be created with the right ingredients and in the correct proportions in order to achieve a quality distillate. In this article, we will discuss how to make a mash for distilling, including what ingredients to use and in what amounts. We will also discuss the different types of mashes and how they are used in the distilling process. By following these steps, you can ensure that your mash will produce a quality spirit.To prepare a mash for distilling, you will need to create a grain bill, measure out the correct amount of grain and water, and heat the mash until it reaches a temperature of approximately 150°F (65.5°C). Once the mash is at temperature, you will need to stir it to ensure that all of the grains are completely submerged in the water. Once this is done, you can add yeast and allow the mash to ferment for 4-7 days before distilling. After fermentation is complete, you will need to strain out any solids from the liquid and then boil it before distilling. Finally, you will be ready to begin your distillation process!
Selecting The Right Grains For Your Mash
Mashing is an essential part of the brewing process and selecting the right grains for your mash is critical to producing a great tasting beer. The grains used in mashing will determine the flavor, aroma, and body of the beer. To get the most out of your mashing process, you must select the right grains for your particular style of beer. There are many different types of malted barley, wheat, rye, oats, and other grains that can be used in mashing. Each grain brings its own distinctive flavor and character to a beer.
When selecting malted barley for your mash, consider characteristics such as protein content, color, diastatic power (enzymes that convert starch into fermentable sugars), and flavor profiles. Barley is typically kilned at a higher temperature than other grains which can provide a distinctive flavor and aroma to your beer. Barley also has the highest protein content which helps with head retention when brewing.
Wheat malt is also commonly used in mashing and brings crispness and lightness to a beer. Wheat malt contains low proteins
Soaking The Grains For The Mash
Soaking the grains for the mash is an important part of the brewing process. By soaking the grains before mashing, brewers can ensure that all of the necessary enzymes and starches are released from the grain husks, which will help to produce a more consistent product. Soaking also helps to remove any unwanted flavors or odors that may be present in the grain.
To begin soaking your grains, you will need to measure out your desired amount of grains and place them in a large container or bucket. Fill this container with enough warm water to cover all of the grains completely. A good rule of thumb is to use two quarts of water for every pound of grain being soaked. Allow the grains to soak for at least one hour, stirring occasionally to ensure even soaking.
Once this time has elapsed, drain off most of the water and fill the container with fresh warm water again. Allow the grains to soak for another hour before draining off most of this second batch of water as well. This double-soak method ensures that all of the starches and proteins are fully released from the grain husks, resulting in a
Mashing Temperature and Time
Mashing is the process of steeping grains in hot water before fermentation to extract fermentable sugars, which will then be turned into alcohol. The temperature and time of the mashing process can have a significant impact on the flavor profile of beer.
The ideal mashing temperature range is between 140°F (60°C) and 158°F (70°C). Lower temperatures produce a sweeter beer, while higher temperatures result in a more bitter brew. The length of the mash also impacts the flavor; a longer mash time can create more complex flavors and aromas, while a shorter duration produces simpler, more subtle tastes.
It’s important to note that different grains have different optimal mashing temperatures. For example, some dark malts require higher temperatures for proper conversion of starches into sugars, while pale malts require lower temperatures to avoid creating off-flavors. If you’re using multiple grains in your recipe, it’s best to find an average temperature that works well for all of them.
The pH level of your water can also affect the ideal mashing temperature and time for your beer. Water with higher
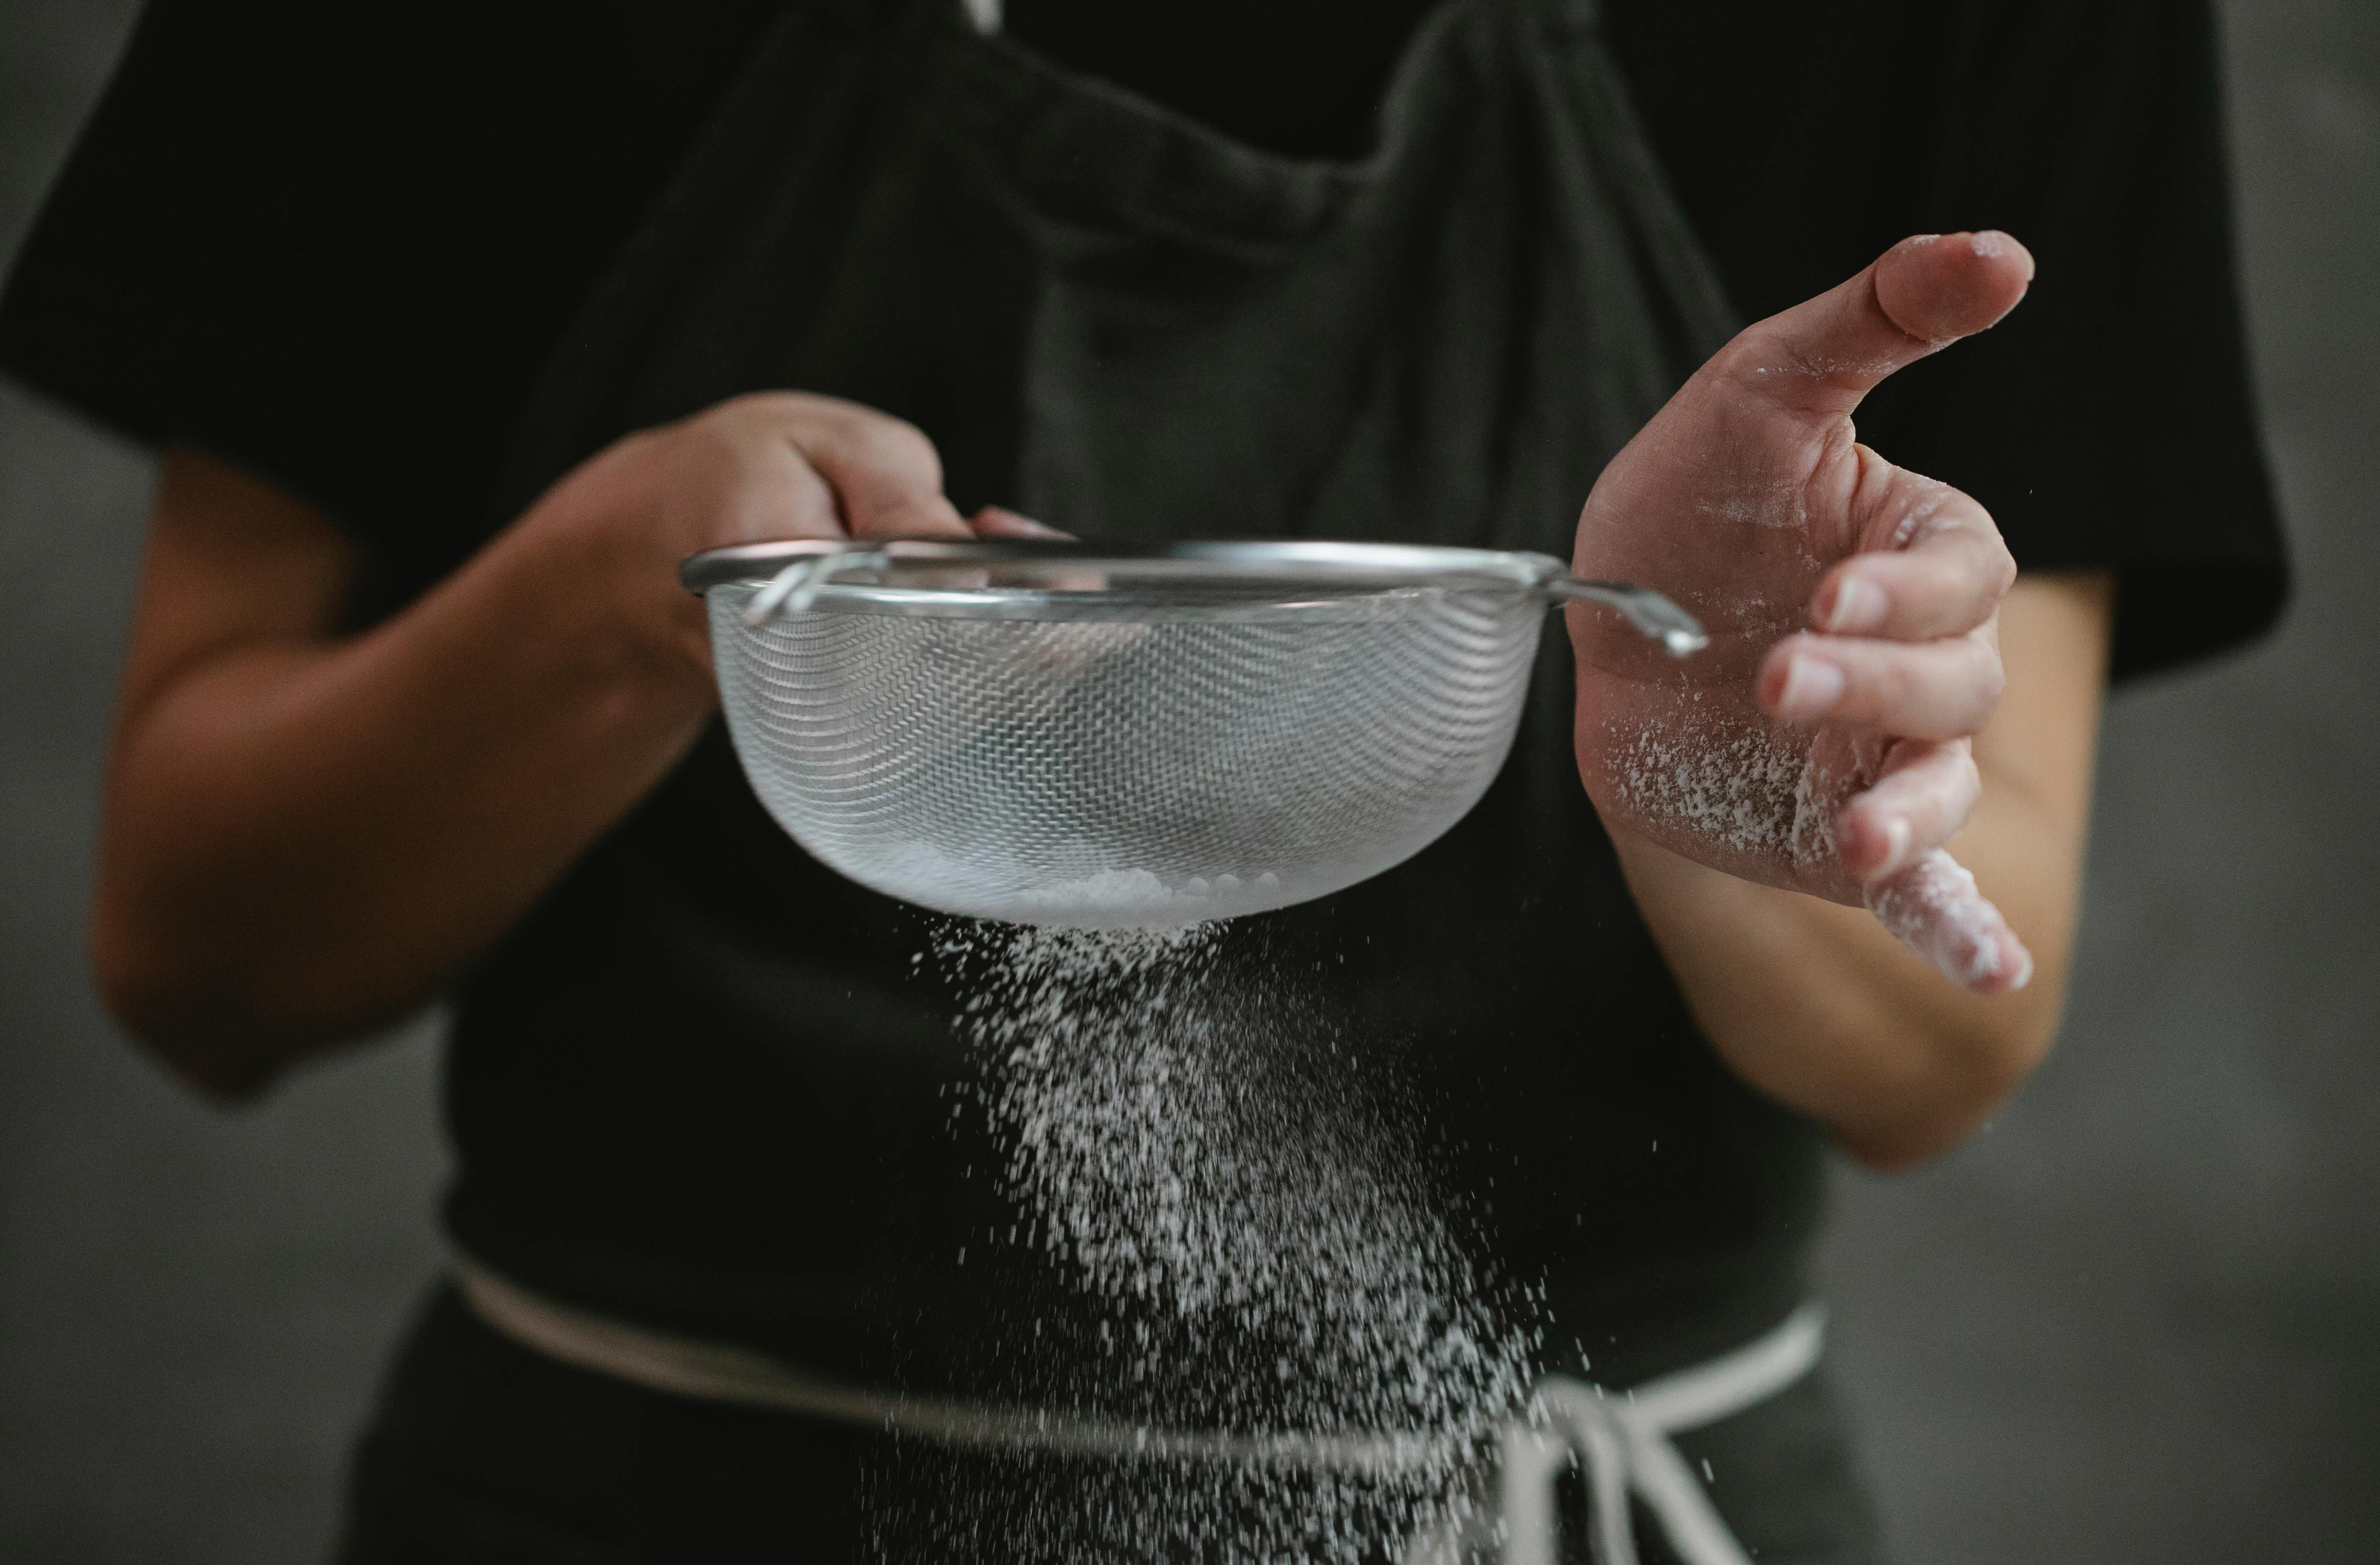
Strain The Wort From The Mash
Strain the wort from the mash is an important step in the brewing process. This is done by using a strainer or colander to separate the liquid, known as wort, from the solid matter, known as mash. The wort is then collected in a container such as a large pot or bucket. Once the wort has been separated from the mash, it can be boiled and then cooled. This process will help to remove any unwanted flavors and aromas that may have been present in the mash. After cooling, the wort can then be used to make beer or other fermented beverages.
The straining process should be done carefully to ensure that all of the solid particles are removed from the wort. If any large pieces of grain are left behind they can cause off flavors and aromas in your finished product. It is also important to be sure that all of the liquid has been strained out and that no bits of grain are left behind as this could lead to bacterial contamination.
Once all of the liquid has been removed from the mash, it is important to clean and sanit

Boiling The Wort For Distilling
Boiling the wort for distilling is an essential step in the process of brewing beer. It helps to extract the flavour and aroma from the grains used in the recipe, and it also helps to sterilize the wort so that no bacteria or wild yeast can contaminate the beer. The wort should be boiled for at least 60 minutes, but longer boils may be necessary depending on the recipe. During this time, hops are added at intervals as per the recipe to give bitterness and flavour to the finished beer. Once boiling is complete, it is important to cool the wort quickly to prevent any further contamination or oxidation. The cooled wort can then be transferred into a fermenter where yeast will be added and fermentation will begin. Boiling the wort for distilling is an important step in making great beer, so it’s important to get it right!
Cooling The Wort Before Fermentation
Cooling the wort before fermentation is a crucial step in making beer. During the brewing process, wort is boiled to extract flavor and bitterness from the hops and other ingredients. After boiling, it must be cooled quickly to prevent off-flavors from forming and to bring it to a temperature that is suitable for yeast. There are several methods that can be used to cool wort, including ice baths, immersion chillers, and counterflow chillers. Each has its own benefits and drawbacks, so it’s important to understand them all before deciding which one is best for your brewing process.
Ice baths have been used for centuries as a way to quickly cool down hot liquids. This involves filling a large container with ice and submerging the pot of boiling wort into it until it reaches the desired temperature. This method works well but can be time consuming and wasteful if you don’t have access to a large amount of ice.
Immersion chillers are popular among homebrewers because they are relatively easy to use and inexpensive compared to other methods. They consist of
Fermentation of the Wort
The process of fermentation is essential for the production of beer, and it begins with wort. Wort is a sugar-rich liquid created by the mashing process, which is then boiled and flavored with hops. Once cooled, it is ready for fermentation. During the fermentation process, yeast converts the sugars in the wort into alcohol and carbon dioxide. The yeast also adds flavor and aroma compounds to the beer, which are essential for creating a balanced beer. The length of time required for fermentation will depend on several factors such as temperature, type of yeast used, and gravity of the wort. After fermentation is complete, it is often necessary to condition or age the beer in order to mellow out any unwanted flavors or aromas that may be present in the beer. This can be done by storing it in a cool place for several weeks or months before bottling or kegging it.
The most common type of yeast used in brewing beer is Saccharomyces cerevisiae, although there are many other strains available that are designed to produce different flavors and aromas. Different styles of beer require different types of yeast; lagers
Conclusion
Making a mash for distilling is not overly complicated, but it does require some effort and attention to detail. It is important to understand the basics of malting, mashing, and fermenting so that you can create a mash that will produce the desired results. The right ingredients must be used in the right proportions to ensure the best outcome. With practice and patience, anyone can learn how to make a delicious and flavorful mash for distilling.
Once you have mastered the basics of making a mash for distilling, you can start experimenting with different ingredients and techniques to create your own unique recipes. This process can be very rewarding as you watch your efforts turn into something special that you can enjoy for many years to come.
Making a mash for distilling is an enjoyable way to experiment with different flavors and aromas while learning about the science behind fermentation. With some practice and dedication, anyone can master this skill and produce amazing results with their homemade brews.