
If you have noticed that the water level in your toilet bowl is lower than normal, there are a few steps you can take to increase it. In this guide, we will go through the process of how to increase the toilet bowl water level and help keep your bathroom clean and hygienic.To increase the water level in a toilet bowl, you can adjust the float ball in the tank. The float ball is connected to a rod that controls the amount of water that is released when you flush. To raise the water level, turn the rod clockwise to raise the float ball and decrease the amount of water released. Once you have adjusted it, flush the toilet and check if the water level is satisfactory. If not, repeat the process until it is at your desired height.
Adjusting the Fill Valve to Increase Toilet Bowl Water Level
To increase the water level in the toilet bowl, you must adjust the fill valve. The fill valve is located at the bottom of the tank and is responsible for controlling the amount of water that enters into the bowl after flushing. Adjusting this valve involves taking off the cap and turning it clockwise to increase the water level. It is important to check that the o-ring seal is properly seated in order to prevent any water leakage.
Once you have adjusted the fill valve, you should flush the toilet to see if the desired water level has been achieved. If not, you can repeat this process until it is correct. Make sure that when adjusting, you do not turn it too far as this may cause excessive filling or flooding of your toilet bowl. Additionally, ensure that you do not forget to put back on the cap after adjusting as this will help maintain a proper seal and prevent any further water leakage.
In summary, adjusting your toilet’s fill valve can be a simple process if done correctly. It can help maintain a higher water level in your toilet bowl which will result in more efficient flushing and less clogging. Just remember to be careful when making adjustments and to ensure all caps are replaced afterwards.
Checking the Float Ball and Float Cup on the Fill Valve
When it comes to diagnosing and repairing a malfunctioning toilet, it’s important to check the float ball and float cup on the fill valve. The float ball is a small rubber or plastic ball that sits inside the toilet tank and rises as the tank fills with water. The float cup is a small cup-shaped device that is attached to the fill valve, which controls how much water is allowed to enter the tank. If either of these components is not working properly, it can lead to problems such as constantly running toilets or toilets that don’t flush properly.
In order to check if either of these components are functioning correctly, you should first turn off the water supply to your toilet. This will prevent any unwanted water from spilling out of your tank while you are inspecting it. Once you have done this, use a flashlight if necessary and look inside your toilet tank for any visible signs of damage or malfunctioning parts. If you find any, then you will need to replace them with new ones.
If everything appears to be in working order, then you can now test out your float ball and float cup by manually raising them up with your finger while they are still in their respective positions inside the tank. If they both pop up easily and fall back down again without sticking or becoming stuck in position, then they are likely functioning correctly. However, if either of them become stuck in place when you try lifting them up, then this could indicate that they are not working properly and need to be replaced.
It’s also important to make sure that both components are connected securely and correctly onto their respective parts on the fill valve before testing them out for proper operation. If either component has become loose or disconnected from its attachment point on the fill valve, then this could cause problems such as leaking water or an inability for the toilet tank to fill up correctly with water when flushed.
In summary, checking for proper functionality of both the float ball and float cup on a toilet’s fill valve is an essential part of diagnosing and repairing any issues with a malfunctioning toilet system. By following these steps outlined here, you can easily determine whether or not either component needs replacing so that your toilet can start functioning correctly again soon.
Replacing Parts of the Fill Valve
A fill valve is an essential component of any toilet and can become worn over time. Fortunately, replacing the parts of a fill valve is not complicated and can be done with a few tools. You will need to locate the fill valve and then turn off the water supply to it. After that, you will need to remove any existing screws or bolts securing the old parts in place. Once these are removed, you can easily replace the necessary parts with new ones and secure them back into place. Finally, you will need to turn on the water supply again and test out your toilet to make sure it works properly.
It is important to note that replacing parts of a fill valve can be quite tricky depending on its model and type. If you are having trouble, it may be best to seek professional help from a plumber. They will be able to inspect your toilet and determine what needs to be replaced in order to get it working properly again.
Cleaning Out the Fill Valve
Cleaning out the fill valve is an important part of maintaining your toilet. When debris builds up in the fill valve, it can lead to decreased water flow and eventually a clogged toilet. To clean out the fill valve, you will need to shut off the water supply and remove the top of the tank. Once you have access to the inside of the tank, take a cloth and scrub away any dirt or debris that has collected on or around the fill valve. Once all of the debris is removed, be sure to reattach all pieces securely before turning on the water supply again.
Adjusting Water Flow
Adjusting water flow is also a necessary part of toilet maintenance. The amount of water that flows into your tank should be adjusted depending on how much you use your toilet and what type of toilets you have in your home. To adjust water flow, begin by shutting off your water supply and removing the top of your tank. Once exposed, locate the float arm inside and adjust it accordingly – if you want more water flowing in, raise it slightly and if you want less, lower it slightly. After adjusting, be sure to test it by flushing before reattaching all pieces securely and turning on your water supply again.

Inspecting and Adjusting the Flapper Valve
It is important to inspect and adjust the flapper valve of a toilet regularly in order to ensure efficient functioning. The flapper valve is a rubber or plastic disc that covers the drain opening at the bottom of the tank. It regulates the amount of water released from the tank into the bowl each time you flush. If it is not working properly, it can cause either too much or too little water to be discharged, resulting in ineffective flushing.
Inspection should be done on a regular basis to ensure that the flapper valve is in good condition and functioning properly. To inspect, first check for any signs of wear or damage to the rubber or plastic disc. If there are any cracks or tears, replace it immediately. Also check for any debris or sediment buildup inside the valve, which can cause it to stick open or closed and prevent proper operation.
If necessary, adjusting the flapper valve may also help optimize its performance. This can be done by using a flathead screwdriver to carefully turn one of its adjustable screws clockwise until it is snug against the seat at the bottom of the tank. This will make sure that no water is released until you flush and will help ensure that enough water flows into your bowl for an effective flush every time.
Upgrading to a High-Efficiency Toilet (HET)
Upgrading to a high-efficiency toilet (HET) can be a great way to save water and reduce your utility bills. HETs use less water than traditional toilets, meaning you can save up to 20 gallons of water per flush. This can significantly reduce your water bill over time. Additionally, HETs are designed to be more efficient in their use of energy, which can result in lower electricity bills as well.
HETs are generally easier to install than traditional toilets. Many models come with an easy-to-follow installation guide that even novice do-it-yourselfers can follow. Additionally, many municipalities offer rebates or incentives for homeowners who install HETs, making the installation even more affordable.
In addition to being more efficient in their use of water and energy, HETs also offer other advantages over traditional toilets. Many models feature dual flush technology, which allows you to choose between a full flush or a partial flush depending on the type of waste being flushed down the toilet. This helps conserve even more water in the long run. Some models also feature advanced flushing technologies, such as pressure-assisted flushing and vortex flushing, that provide more powerful flushes for superior waste removal performance.
Ultimately, upgrading to an HET is a great way to save water and money over the long run while still enjoying the convenience of modern plumbing technology. With easy installation and rebates available from many municipalities, it’s an investment that’s sure to pay off in the long run.
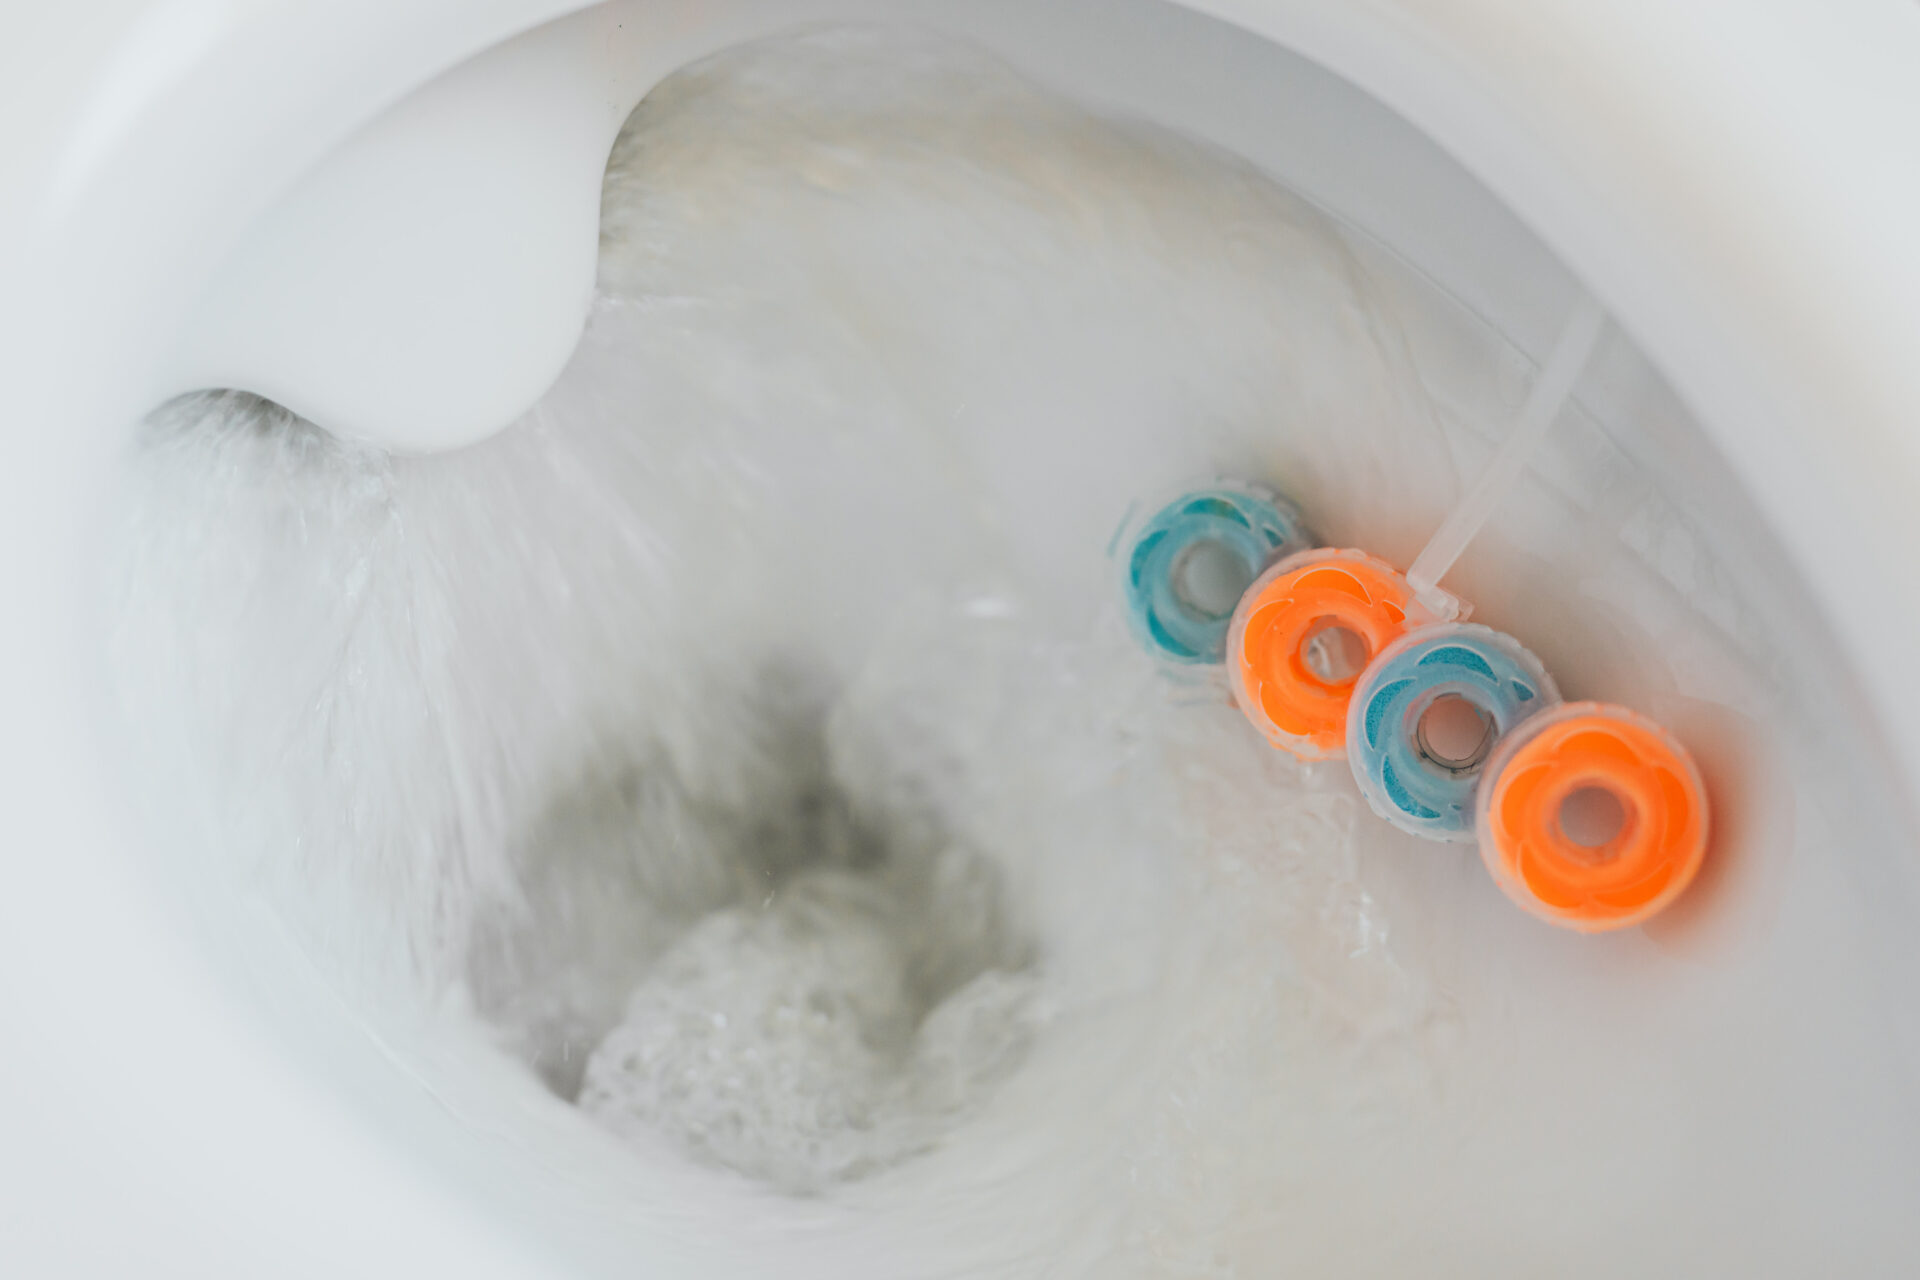
Installing a Toilet Tank Bank or Inserts in Your Toilet Tank
Installing a toilet tank bank or inserts in your toilet tank is an easy way to save water and money. Toilet tank banks are devices that fit inside the toilet tank and use less water than traditional toilets, while still providing adequate flushing power. Inserts are small devices that attach to the side of the tank and reduce water use with each flush. Both types of devices can be installed with minimal effort and can help you reduce your monthly utility bills.
The first step in installing a toilet tank bank or inserts is to turn off the water supply to your toilet. This can be done by turning off the valve located on the wall behind the toilet or by closing the shutoff valve located under the sink. Once the water supply has been turned off, flush your toilet to empty any remaining water from the tank.
Next, remove any bolts or screws that are holding down your current toilet lid. You may need to use a screwdriver or wrench to loosen these bolts. Once they have been removed, lift up on your current lid and set it aside. You should now see an opening at the top of your toilet tank where you can install either a bank or inserts.
For a bank, insert it into this opening and fit it snugly into place before securing it with screws or bolts (if needed). For inserts, attach them to either side of your existing lid using screws or bolts provided with the insert kit. Once both types of devices have been secured in place, replace your toilet lid and turn on your water supply to ensure that everything is working properly.
Installing a toilet tank bank or inserts is an easy way to save money on utility bills each month while still providing adequate flushing power for efficient waste removal from your home’s plumbing system. With minimal effort, you can make sure that you’re using as little water as possible without sacrificing performance!

Conclusion
The best way to increase the water level in a toilet bowl is to adjust the fill valve. It is important to ensure that the fill valve is correctly set and is not blocked by debris. Additionally, it is important to check for any signs of leaking or clogging and take action as soon as possible to prevent further damage. In some cases, a plumber may be needed to repair or replace any faulty parts in order to get your toilet bowl back up and running properly.
Overall, increasing the water level in a toilet bowl can be done with relative ease by making sure that the fill valve is correctly set and free from any debris or blockages. Taking regular maintenance steps will help keep your toilet functioning smoothly over time and prevent further damage that could otherwise occur due to negligence.