
Drawing waves in water can be a daunting task, but with practice and patience you can create beautiful, realistic waves. In this article, we will discuss how to draw waves in water by breaking down the process into simple steps. We will cover the use of basic tools and techniques such as shading, line work, and value to create a believable wave pattern. We will also discuss how to create a sense of movement in the water and the importance of perspective when depicting waves. Finally, we will explore some helpful tips for adding details such as surfers or boats to your wave drawings. With these tips and tricks in mind, you’ll be able to create stunningly realistic drawings of waves in no time!Drawing waves in water can be done by following a few simple steps.
First, draw a horizontal line that will represent the surface of the water. Then, draw small, curved lines above and below the line to create the shape of the wave. Make sure to add some variation when drawing the lines; each wave should look slightly different from one another.
Next, draw a slightly bigger curved line above each of the smaller lines to create a more defined wave shape. Add some shading around the edges of each wave to make it appear more realistic.
Finally, use lighter and darker shades of blue and green to color in the waves to give them more depth and dimension. If desired, you can also add some small whitecaps or white spray at the crest of each wave for extra detail.
Learning the Basics of Drawing Waves
Drawing waves can be a great way to express your creativity and add a beautiful touch to your artwork. Whether you’re a beginner or experienced artist, learning the basics of drawing waves is essential for creating great pieces. With practice and the right techniques, you can create realistic waves that look like they’re straight out of a fairytale. Here are some tips on how to draw waves that will help you get started.
Start by sketching out the basic shape of the wave on a piece of paper. You can use a pencil or pen, depending on how exact you want your drawing to be. Once you have the basic shape down, start adding details such as crests and troughs to give it more texture and depth. When adding details, make sure to pay attention to the direction of the lines in order to create realistic-looking waves.
To make your waves look more life-like, try adding shadows and highlights along their edges. You can use darker tones for shadows and lighter tones for highlights, or vice versa depending on what type of effect you are trying to achieve. Doing this will help bring out more dimension in your artwork and make it look even more realistic.
Finally, don’t forget about color! Adding color is an excellent way to bring life into your waves and truly make them stand out from other pieces of artwork. Experiment with different shades and hues until you find something that works well with your piece. With practice and patience, you’ll soon be able to create amazing looking waves that everyone will admire!
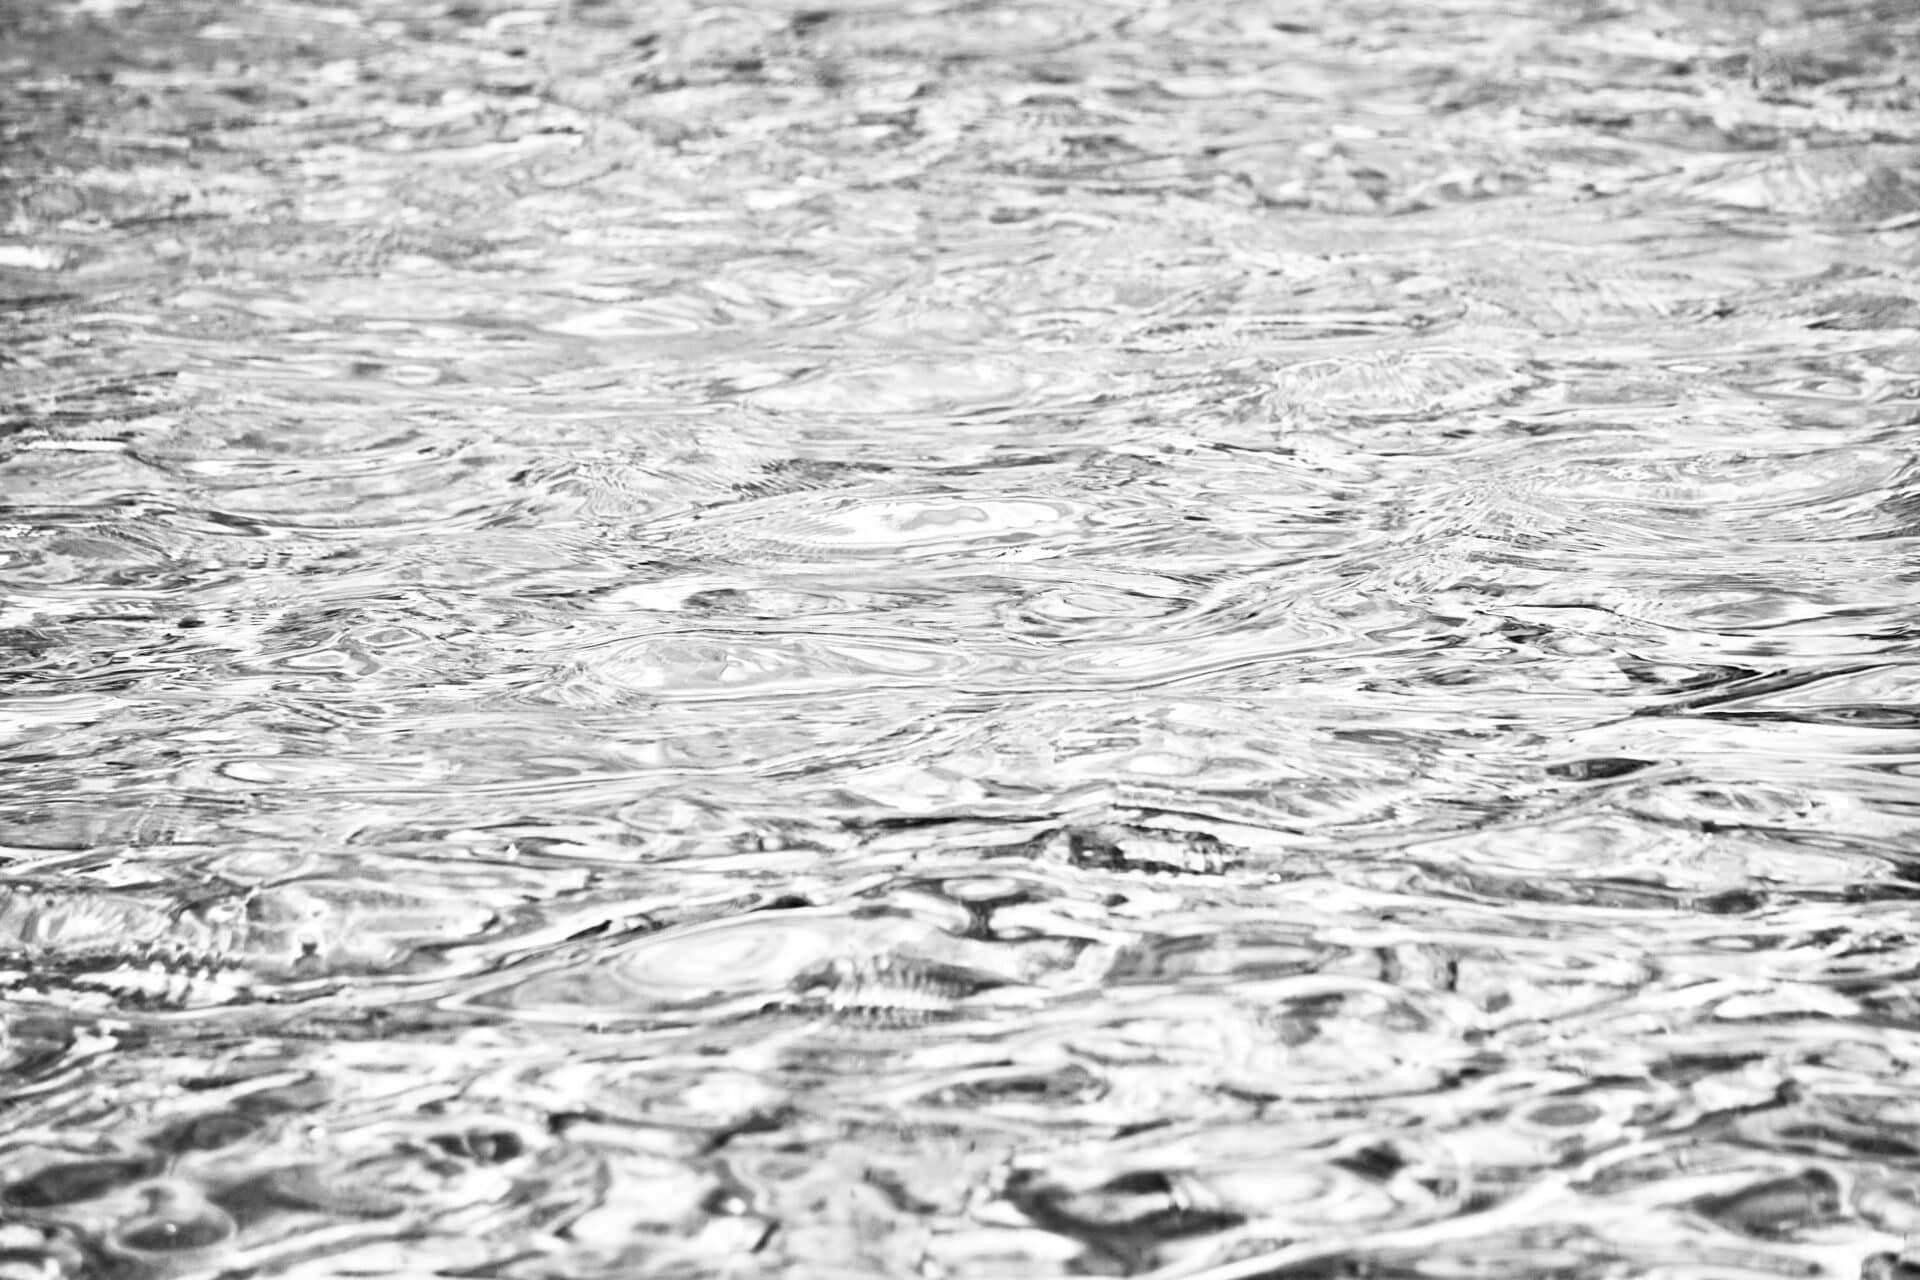
Identifying the Basics of a Wave
A wave is a disturbance in a medium that travels through space and time. Waves can come in many forms, including sound, light, and water. Understanding the basics of a wave can help us better understand our environment and how we interact with it.
The key components of a wave are its amplitude, wavelength, frequency, and speed. The amplitude is the maximum displacement from the equilibrium position of the wave. Wavelength is the distance between two successive peaks or troughs of the waveform. Frequency is the number of complete cycles per unit time, usually measured as Hertz (Hz). Speed is the rate at which a wave travels through its medium and is measured as meters per second (m/s).
In addition to these basic components, waves also have other characteristics that can be used to further classify them. For example, waves can be transverse or longitudinal depending on their orientation with respect to their direction of travel. Transverse waves move perpendicular to their direction of travel while longitudinal waves move parallel to their direction of travel. Waves can also be characterized by whether they are progressive or standing depending on whether they move forward or remain stationary relative to its medium.
By understanding these basics components and characteristics of waves, we are better able to identify different types of waves and how they interact with our environment. Knowing how to identify these different types of waves will help us make more informed decisions about how we interact with our environment and better protect it for future generations.
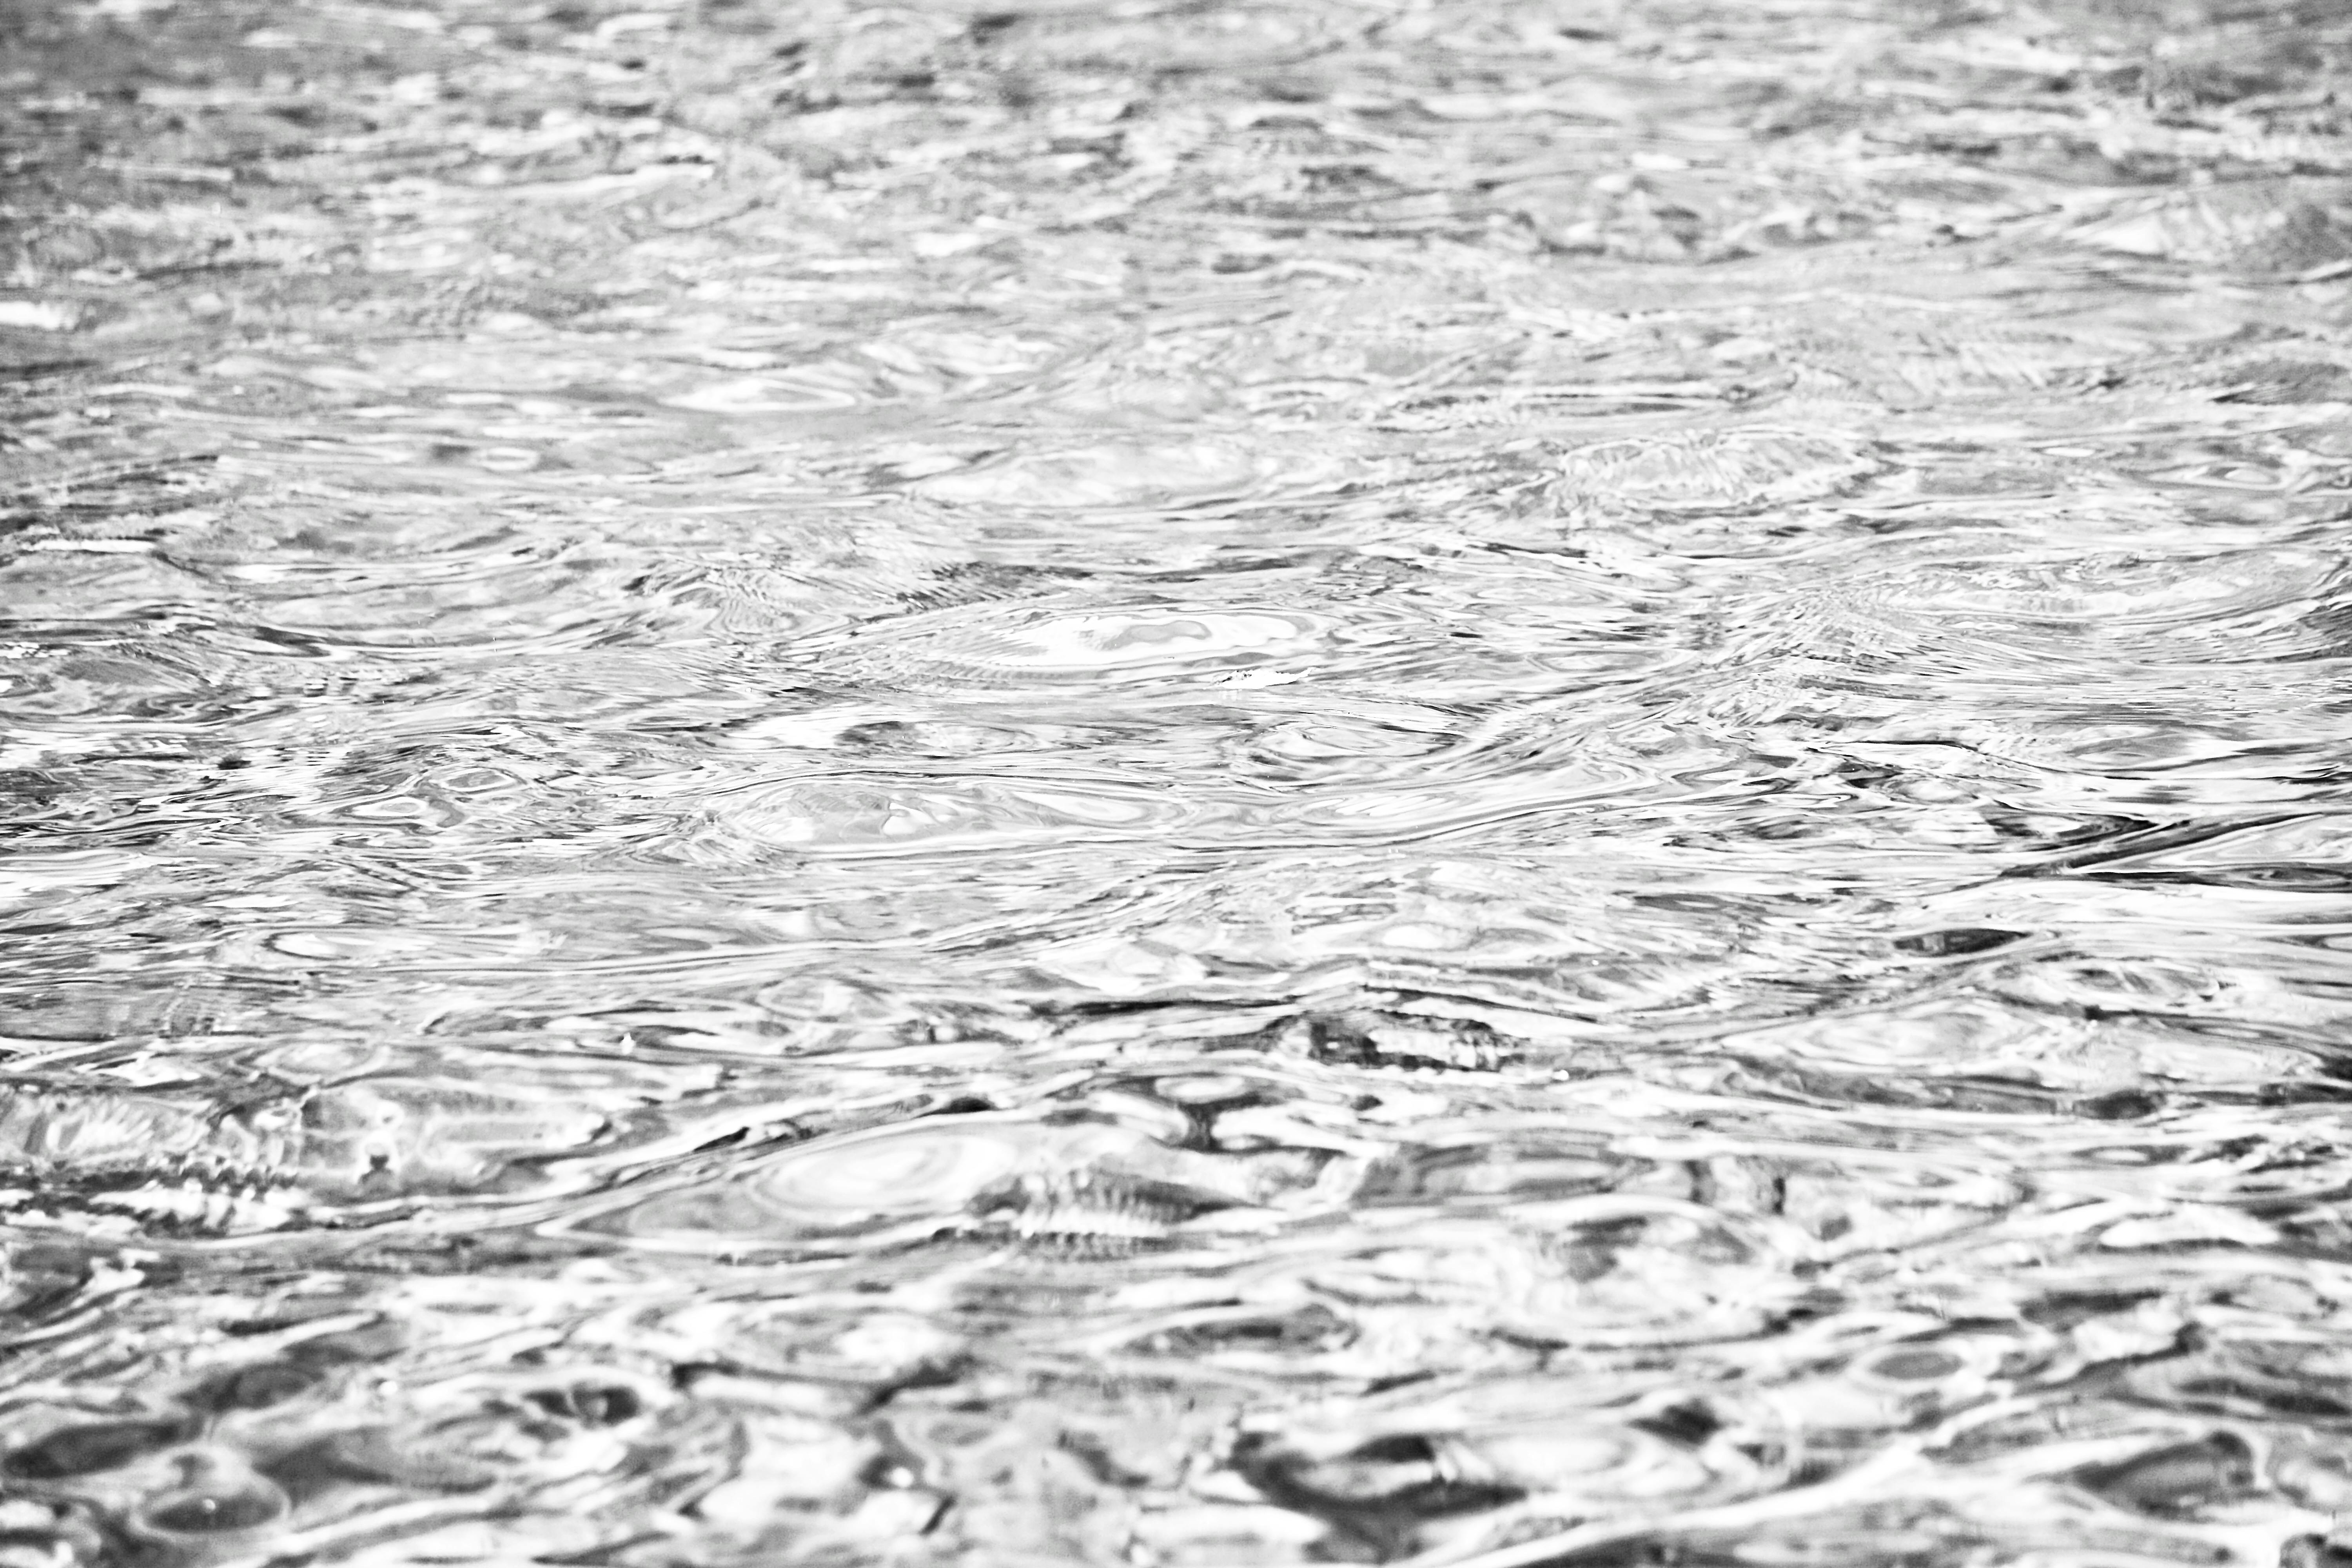
Drawing Waves of Different Types
Practicing drawing waves of different types can be a fun and rewarding task. Whether you are a beginner or an experienced artist, developing your skill in depicting the movement and texture of waves will enhance your artwork. To begin, it’s important to understand the different types of waves that can be depicted in art. Some common wave types include ocean waves, river waves, ripple waves, and wind-blown waves. Each type has its own characteristics that can be highlighted through careful observation and practice.
When starting out, it is best to focus on one type of wave at a time. This will help you understand the nuances of each type before moving onto more complex forms such as combination or hybrid wave forms. Begin by sketching out basic outlines for each type of wave, paying attention to details such as size, shape, texture and direction. Once you have a few sketches down, try adding color and shading to bring your images to life.
If you are feeling inspired to take your artwork further, consider incorporating more dynamic elements into your sketches such as movement lines or reflections on the water’s surface. You could also experiment with different mediums such as watercolor or gouache paint to create more vibrant visuals. As you become more comfortable with drawing waves of different types, try challenging yourself by attempting more intricate compositions or taking inspiration from photographs or artworks featuring these elements.
With practice and patience, you will soon become confident in your ability to draw beautiful wave forms in any style that suits your creative vision.
Understanding Different Ways of Drawing Waves
Drawing waves is an art form that has been used in artwork for centuries. It can be used to create a sense of movement and energy in a painting or to represent the ocean or other bodies of water. There are many different ways to draw waves, and each technique has its own unique look and feel.
One way to draw waves is by using curved lines. This method creates a smooth, curved wave that can be used to represent calm waters or rolling seas. To achieve this look, start by drawing a curved line from one side of the canvas to the other. Then, draw a second line slightly lower than the first one, creating a wave-like effect. Finally, repeat this pattern until you have created the desired number of waves.
Another way to draw waves is by using jagged lines. This technique gives the impression of choppy waters or turbulent seas. To achieve this look, start by drawing a jagged line from one side of the canvas to the other. Then, draw another line slightly lower than the first one, creating an uneven wave-like effect. Repeat this pattern until you have created the desired number of waves.
The third way to draw waves is by using abstract shapes and patterns. This method allows you create more artistic looking waves that can be used in abstract art pieces or as part of more creative compositions. To achieve this look, start by drawing an abstract shape on one side of the canvas and then repeating it on the other side in a slightly different position so that it appears as if it is moving across the canvas like a wave. You can also add details such as shading or highlights to give your wave an extra dimension and depth.
No matter which technique you choose to use, keep in mind that practice makes perfect when it comes to drawing waves! With enough practice and experimentation, you will be able to create stunning works of art with any method you choose!
Utilize Different Colors and Textures for Your Drawing
Using color and texture to create a unique drawing can be a great way to express yourself. Color is the most important element of your drawing, as it helps to convey the mood and emotion you wish to portray. It’s important to consider how certain colors will interact with each other, and how they can be used to create depth. Texture is also an important aspect of drawing, as it adds a sense of realism to your work. By combining different textures with various colors, you can create a more dynamic image that will draw in viewers. Experimenting with different combinations of colors and textures can help bring your drawings to life!
When using color in your drawings, it’s important to understand that different colors have different meanings. For instance, warm colors are often associated with happiness or energy, while cool colors are often associated with sadness or tranquility. You should also pay attention to the contrast created when using multiple colors in a single drawing. Light and dark colors can help create depth, while bright and muted colors can be used together for a more subtle effect. Additionally, remember that certain colors may be easier on the eyes than others when used in large amounts.
When adding texture to your drawings, consider how various textures will interact with each other. A rough texture may provide a sense of drama or intensity while softer textures may help create a more calming atmosphere. Experimenting with different combinations of textures can help you create unique effects that draw viewers into your artwork. Additionally, keep in mind that some materials may have their own unique textures which could add additional interest or complexity to your artwork.
Using color and texture together when creating drawings can be an excellent way to express yourself artistically. By understanding how different colors interact together and experimenting with various textures, you’ll be able to create dynamic images that draw viewers in and tell stories through visual elements alone. With enough practice you’ll soon become an expert at utilizing different colors and textures for all of your drawings!
Experiment with Different Shapes and Sizes
When it comes to creating a unique design, experimenting with different shapes and sizes is the key. By using unconventional shapes and sizes, you can create eye-catching visuals that stand out from the crowd. For example, instead of using traditional rectangular or circular shapes, you can opt for more organic ones such as hearts or diamonds. You can also experiment with different size variations to create contrast and depth in your design.
Using different shapes and sizes also allows you to explore new ideas and concepts. For example, if your design is based on a theme of nature, you can use various shapes such as leaves or flowers to express the idea visually. Similarly, if your design has an abstract element to it, then experimenting with different sizes can help you create balance and harmony in your composition.
In addition to exploring new ideas and concepts through shape and size variations, experimenting with different shapes can also help you create dynamic visuals that attract attention. For example, by combining various shapes together in an interesting way, you can create a complex visual that will be sure to draw the eye.
Overall, exploring different shapes and sizes is a great way to create unique designs that stand out from the crowd. Experimenting with new ideas and concepts through shape variations can help you come up with creative visuals that are sure to capture attention. Additionally, combining various shapes together in an interesting way helps you create dynamic visuals that are sure to draw the eye.
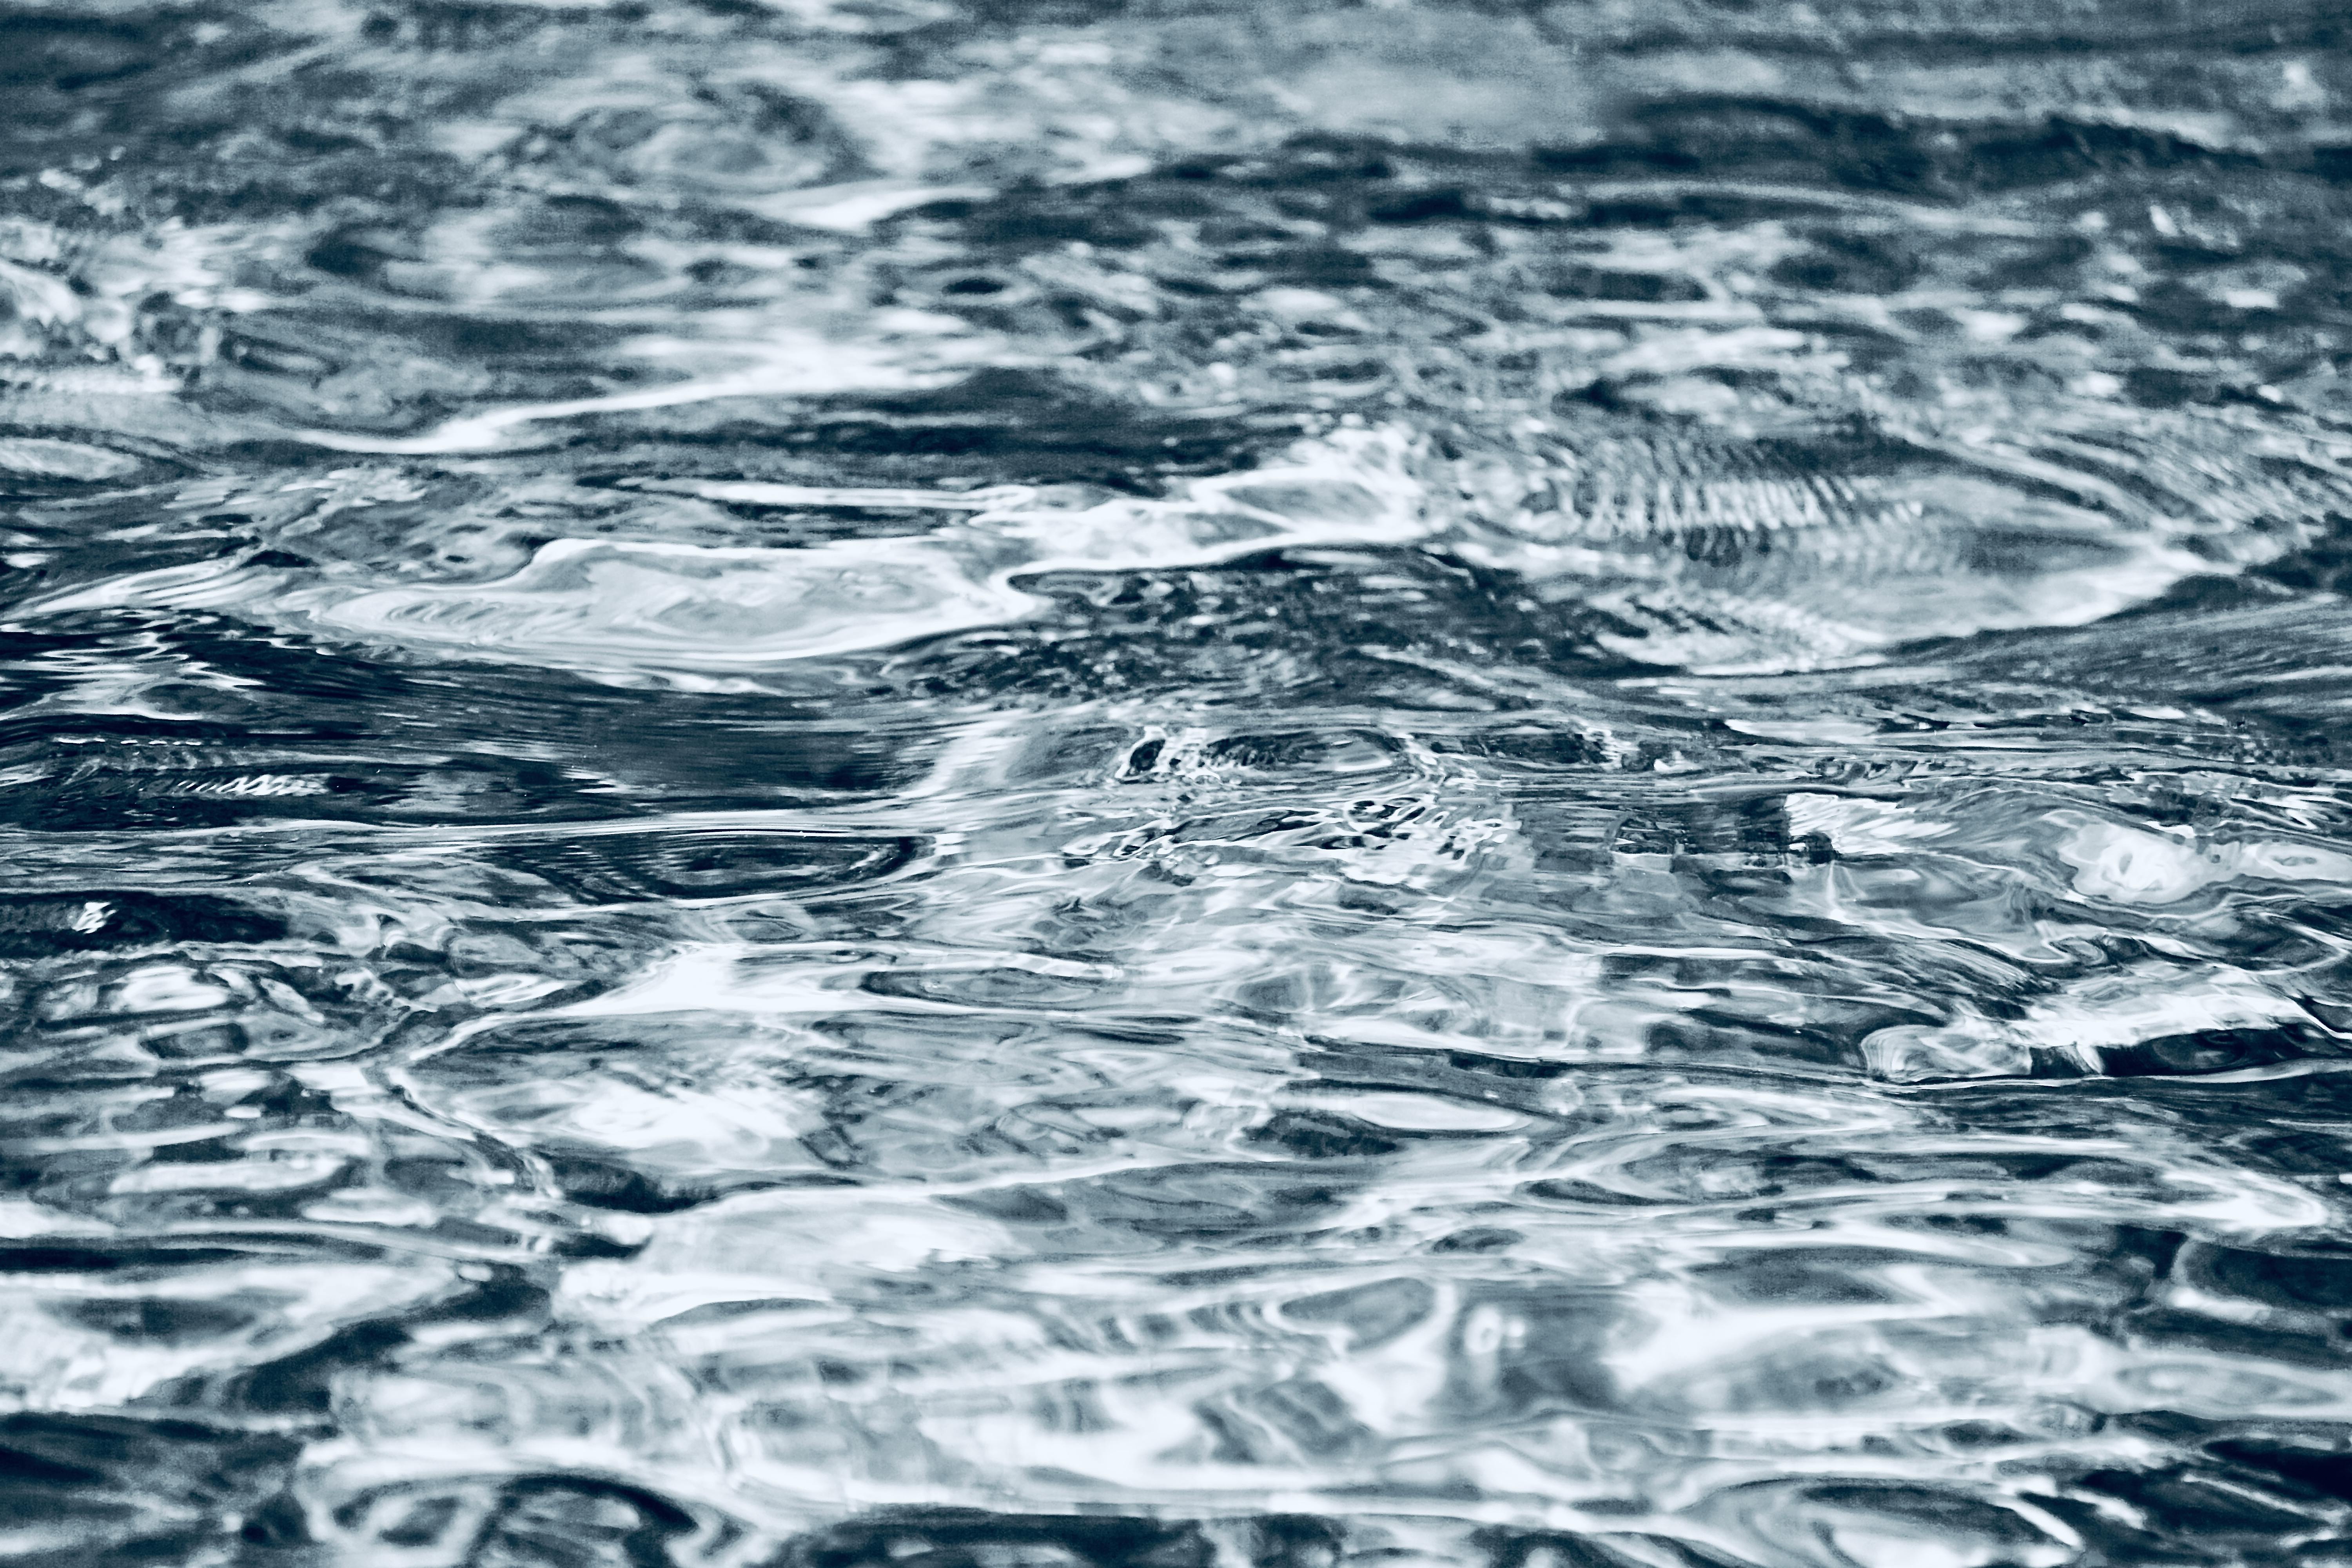
Highlights and Shadows to Create Depth
Creating depth and dimension in a photograph or artwork can be achieved by adding highlights and shadows. Highlights are the bright areas of an image that draw the eye to a particular area. Shadows are darker tones that give the illusion of three-dimensional form by creating contrast between light and dark. Understanding how to effectively use highlights and shadows is an important skill for creating compelling 2D artworks.
When creating a composition, it is important to consider the placement of highlights and shadows. For example, if you want to emphasize a certain element within the composition, you can use highlights to draw attention to it. On the other hand, shadows can add depth by creating contrast between light and dark tones, which makes elements appear more three-dimensional.
In addition, highlights and shadows can also be used to create atmosphere in your artwork or photograph. For example, adding warm hues in highlight areas will create a warmer atmosphere while cool hues in shadow areas will create a colder atmosphere. Furthermore, highlights can also help draw attention towards certain elements within your composition while shadows can help de-emphasize certain elements of your work.
When working with highlights and shadows, it is important to remember that these elements should work together rather than overpower one another. A successful composition relies on balance between both light and dark tones so that neither one overpowers the other. When creating depth in an artwork or photograph, it is important to consider where you place both your highlights and shadows so that they complement each other without being too overwhelming or distracting from the overall composition.
By understanding how to effectively use both highlights and shadows, you will be able to create more dynamic compositions with greater visual impact. By combining strategic placement of both light and dark tones within your artwork or photograph, you will be able to create depth and dimension that adds interest and intrigue for viewers of your work.
Conclusion
Drawing waves in water can be a challenging task, but with practice and patience, anyone can master the techniques needed to create realistic-looking waves. Taking the time to understand the basics of how light interacts with water and how to layer different shades of blue, white and black onto the canvas will help you create believable waves. Additionally, experimenting with different brush strokes can add a unique touch of realism to your paintings. With these tips in mind, you’ll be able to draw beautiful waves in no time!
Whether you’re an aspiring artist or a professional looking to hone their skills, learning how to draw realistic-looking waves is an essential skill that will take your artwork to the next level. Be sure to practice often and keep these tips in mind when drawing your own wave-filled creations.