
Water softeners are common home appliances that help to reduce the amount of calcium and magnesium present in water. The process of draining a water softener is relatively simple, but it is important to ensure that it is done correctly in order to maintain the effectiveness and efficiency of the appliance. This guide will provide a step-by-step list of instructions on how to drain a water softener.1. Shut off the main water supply to the water softener system.
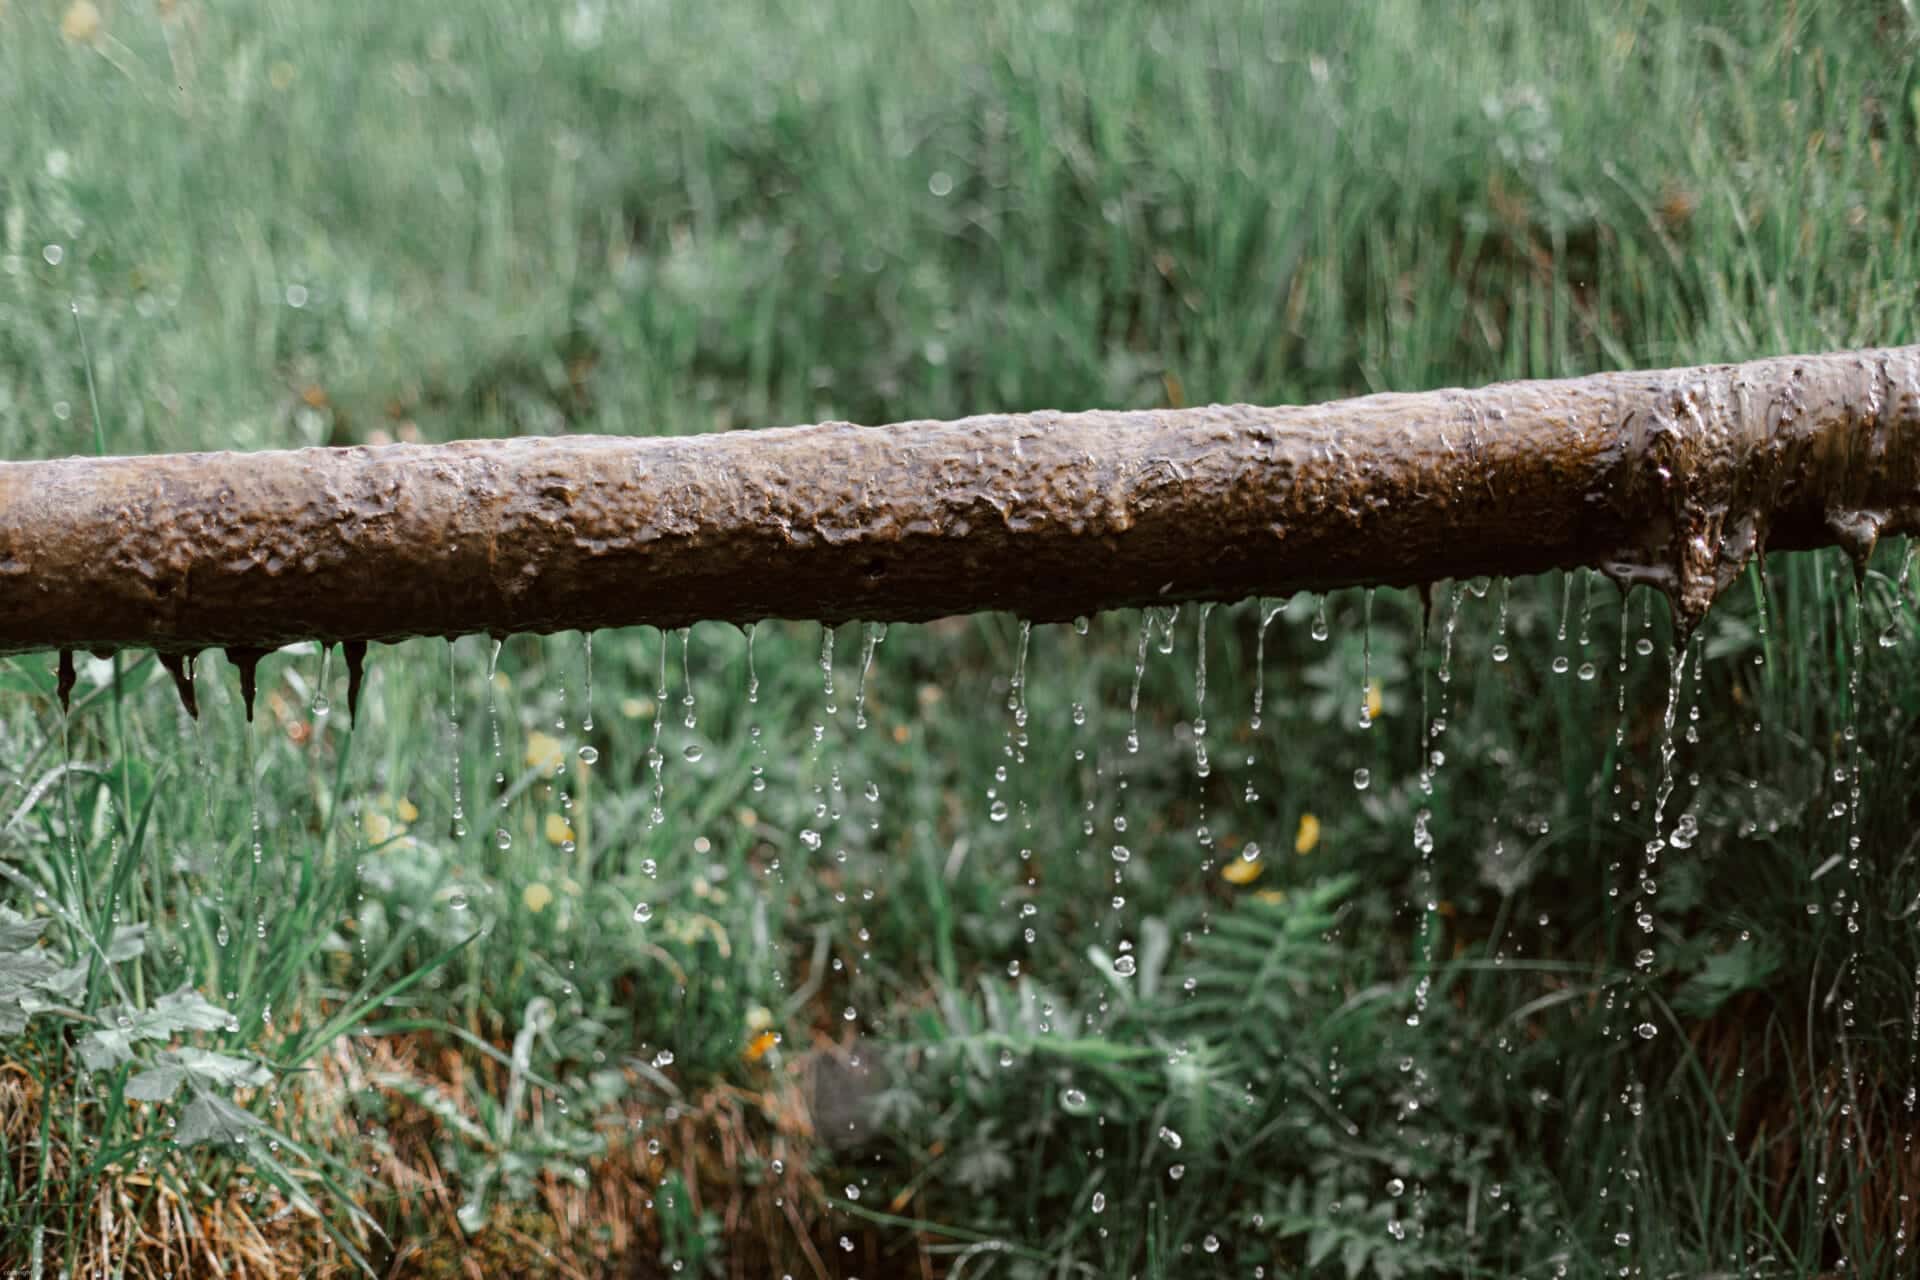
2. Locate the drain line from the water softener and attach a garden hose to it.
3. Place the other end of the garden hose into a floor drain or bucket.
4. Open up the bypass valve on your water softener and allow it to drain completely.
5. Once all of the water has been drained, turn off the bypass valve and remove the garden hose from the drain line.
6. Close the main water supply to complete draining your water softener system.
Step 1: Shut Off Water Supply
The first step to empty a water softener tank is to shut off the water supply. This will prevent any water from entering the tank while it is being emptied. It is important to make sure the water valve is completely closed before proceeding.
Step 2: Disconnect Power Source
Once the water supply has been shut off, it is important to disconnect the power source from the water softener. This can be done by unplugging the unit or turning off the circuit breaker. This will ensure that no electricity is going to the unit during the emptying process.
Step 3: Drain Water Softener Tank
The next step in emptying a water softener tank is to drain any remaining water out of it. This can be done by using a garden hose or some other type of draining device. It is important to make sure that all of the water has been drained out before proceeding.
Step 4: Remove Sediment
Once all of the water has been drained out, it is time to remove any sediment that may have accumulated in the bottom of the tank. This can be done by using a scrub brush or some other type of cleaning tool. It is important to make sure that all sediment has been removed before putting the tank back together.
Step 5: Reassemble Tank
Finally, once all of the sediment has been removed, it is time to reassemble the tank and reconnect it to its power source and water supply line. It is important to make sure that all connections are secure before turning on the power and allowing water back into the tank.
Draining Water Softener
Draining a water softener can be an important part of maintaining the system’s performance. In order to successfully drain a water softener, certain supplies are required. These supplies include a hose, bucket, wrench and screwdriver. The hose is needed to transport the drained water away from the softener tank and into a suitable drainage area. A bucket is also necessary in order to catch any remaining water that may escape from the hose connection. A wrench and screwdriver are needed to remove the drain valve from the tank.
Once all of these supplies have been gathered, it is time to begin draining the water softener. First, turn off the power to the unit by either unplugging it or turning off the circuit breaker in your home’s electrical box. This will ensure that there is no electricity running through the unit while it is being worked on. Next, locate the drain valve at the base of the tank and remove it using a wrench and screwdriver. Once removed, attach one end of a garden hose to the drain valve and secure it with a hose clamp or pliers for added security.
Then place one end of the hose in a suitable drainage area such as a sewer cleanout or yard drain, making sure that no dirt or debris enters into the system during this process. Place a bucket under any remaining areas where water may escape during this process and then open up both ends of the hose while collecting any remaining water with your bucket. When finished draining, turn off both ends of your garden hose and then reinstall your drain valve with a wrench and screwdriver before restoring power to your unit.
Shutting Off The Water Supply
Water supply is a critical component of any home or business, and it is important to know how to properly shut off the water supply in case of an emergency. Knowing how to turn off the water supply can help prevent major damage from water leaks or other plumbing issues. The process for shutting off the water supply may vary depending on the type of home or building, so it is important to familiarize yourself with the system before you need to shut it off.
In most cases, there will be a main shut-off valve located near the main water line coming into the building. This shut-off valve should be easy to identify and will usually have a lever or knob for turning it off. Turning this valve clockwise will close it and stop the flow of water into the house or building. It is important to make sure that this valve is completely closed before leaving the area, as any residual water pressure can cause leaks or flooding if left unchecked.
In addition to the main shut-off valve, there may also be additional valves located throughout the home or building that control specific fixtures such as toilets, showers, sinks, etc. These additional valves can be used to isolate individual fixtures in case of an emergency, allowing you to turn off only that one fixture instead of having to cut off all of the water supply at once. It is important to locate and label these valves before you need them so you know where they are in case of an emergency.
It is also important to check your plumbing regularly for any signs of wear or damage that could lead to a leak or other issue requiring you to turn off your water supply. Regular maintenance and inspection can help catch small issues early on before they become major problems, saving time and money in repairs down the line. By following these steps you can ensure that your home’s plumbing system stays safe and reliable for years to come.
Connecting A Garden Hose To The Drain Valve
Connecting a garden hose to the drain valve of your washing machine is a relatively straightforward process. The first step is to locate the drain valve on the back of the machine. It will typically have a threaded end that is used for attaching the hose. Once you have located the valve, you can begin to attach the hose. You should make sure that the hose is securely connected to both the valve and the faucet before turning on the water.
You will need to use an adapter if your faucet does not match the size of the hose. Once you have connected both ends of the hose and secured them with an adapter, you can start running water through it. Make sure that all connections are tight and secure before doing so. You should also check for any clogs or blockages in both ends of the hose before turning on the water.
Once you have successfully connected your garden hose to your washing machine’s drain valve, you can turn on the water and begin draining out any excess water from your machine. You should be sure to monitor how much water is being drained out so that you don’t overfill or flood your home with too much water. It’s always best to err on the side of caution when dealing with plumbing issues such as this one.

Draining The Tank
Draining the tank is a necessary maintenance task that helps keep your fish tank healthy and clean. It can be tedious, but with the right tools and technique, it’s relatively easy to do. Before you start draining the tank, make sure you have all the necessary materials on hand, such as a bucket, siphon hose, and gravel cleaner. Once you have everything ready, it’s time to begin.
The first step in draining the tank is to turn off all of the filtration equipment in your tank. This will help prevent debris from getting into the filter while you are draining the water. Next, use a siphon hose to start sucking out water from the tank. As you siphon out water, use a gravel cleaner to remove any debris that has settled at the bottom of the tank. Once most of the water has been removed from the tank, it’s time to start refilling it with fresh water.
When refilling your fish tank with fresh water, make sure that it is as close to room temperature as possible before adding it to your fish tank. This will help prevent shock from occurring when introducing new water into an established environment. You should also check for any pH imbalances or ammonia levels before adding new water to ensure that your fish are safe and healthy.
Finally, when finished draining and refilling your fish tank with fresh water, turn on all of your filtration equipment again so they can begin filtering again. Be sure to rinse off any gravel or decorations in warm tap water before returning them back into your aquarium so they don’t introduce any bacteria or waste into your clean environment.
Draining and refilling a fish tank can be a labor-intensive task but with proper preparation and technique it’s relatively easy to do. With regular maintenance like this one you can ensure that your aquarium remains healthy and clean for many years to come!
Draining Brine Tank Of Water Softener
Draining the brine tank of a water softener is an important part of maintaining your system. The brine tank is where salt is stored, and over time it can accumulate dirt, sediment, and other debris. Draining the brine tank will help keep your water softener running efficiently and extend its lifespan. Here’s how to do it:
First, turn off the water supply to the water softener. Then locate the drain valve at the bottom of the brine tank. Make sure you have a container large enough to hold all of the water that will be drained out of the tank. Connect a garden hose to the drain valve, then open it up.
Be sure to place your container far enough away from your home that any spilled water won’t damage anything. Allow all of the water to drain out until you can see salt crystals at the bottom of the tank. This will take approximately 10 minutes or more depending on your system’s size and type. Once you’ve drained all of the water, close off the valve and disconnect your garden hose from it.
Now it’s time to rinse out your brine tank with fresh water. Connect a garden hose to a nearby source of fresh water and run it into your brine tank until you can see clear water in it. Allow this fresh water to run through for several minutes before turning off both valves and disconnecting your garden hose from them.
Finally, fill up your brine tank with new salt and turn on the water supply again so that you can operate your system as normal. Be sure to check your owner’s manual for specific instructions on how much salt to use in order to maintain proper functioning of your system. With regular maintenance like this, you can ensure that your water softener will keep running efficiently for years to come!
Removing Residual Salt From The Brine Tank
Removing residual salt from the brine tank is an essential part of the water softening process. The brine tank is a large container that holds a mixture of salt and water. As the softening process occurs, the salt in the brine tank becomes saturated and must be removed in order to prevent clogging and other issues. In order to remove the residual salt, it is necessary to flush out the tank with fresh water. This can be done manually or with an automatic system.
Manually removing residual salt from a brine tank involves disconnecting the pump, draining all of the water, and then filling it back up with fresh water. It is important to note that when doing this manually, all of the salt must be removed and not left behind, as this can cause clogging issues down the line. Additionally, it is important to clean out any sediment that has built up in the bottom of the tank as this can also lead to problems.
If an automatic system is used for removing residual salt from a brine tank, it will typically involve a series of pumps connected to a control panel that will flush out all of the old water and replace it with fresh water on a regular basis. This method ensures that any excess salt or sediment is completely removed from the system on a regular basis. It also eliminates any potential for clogging or other issues caused by leaving behind too much residue in the brine tank.

Conclusion
Draining a water softener is a relatively easy task and can be done with a few simple steps. First, you will need to turn off the power to the unit, either by unplugging it or switching off the breaker. Then, you will need to locate the drain line and connect it to a hose for draining. Once connected, you will then need to open the drain valve and allow the water to flow out of the unit. Finally, use a damp cloth or sponge to wipe down any remaining water from within the unit. With these steps completed, your water softener should now be properly drained and ready for use again.
In conclusion, draining your water softener is an easy task that can help keep it in good running condition. It should only take a few minutes of your time and with minimal effort, you can maintain your water softener and keep it running smoothly.