
Distilling whiskey is an art form that has been passed down through generations. It requires knowledge, skill and patience, but with practice and dedication, anyone can learn the basics of distilling. By following a few simple steps, you can create a smooth, flavorful whiskey that will become a favorite of your friends and family. In this guide, we’ll discuss the process of distilling whiskey from start to finish, including the equipment needed and how to create your own unique blend. Whether you’re just getting started or you’re an experienced distiller looking for new ideas, this guide will provide all the information you need to make your own delicious whiskey.In order to distill whiskey, you will need some basic equipment and supplies. These include a still, such as a pot still or column still; fermentation vessels; a heat source; cooling water; thermometers; hydrometers; measuring containers; and specialty items like filter presses. You will also need ingredients like grain, yeast, and water. Once you have the necessary supplies and equipment, you can begin the distilling process.
Obtaining the Necessary Permits
Obtaining the necessary permits for a business is an important step in ensuring that the business is compliant with all applicable regulations and laws. Depending on the type of business, there may be a variety of permits that need to be obtained, from building permits to health department permits. It is important to research what types of permits are required in order to avoid any potential fines or penalties for not having them. Additionally, it is also important to keep these permits up-to-date as regulations can change over time.
The process for obtaining the necessary permits varies depending on the type of permit and where it needs to be obtained. Generally, the process involves filling out an application and submitting it with any required documents or fees. Depending on the type of permit, there may be a review process involved which can take several weeks or months. Once approved, the permit will need to be renewed periodically in order to remain valid.
It is important to remember that obtaining the necessary permits is an essential part of owning and operating a business legally. Taking the time to research what types of permits are needed and submitting all required applications and documents can help ensure that a business remains compliant with all applicable laws and regulations.
Selecting the Right Ingredients
Cooking is an art, and selecting the right ingredients for a dish is an important part of that art. Knowing what ingredients to buy and how to use them can make all the difference in the flavor, texture, and presentation of a meal. In order to select the right ingredients for your recipes, there are several factors to consider.
First and foremost, it is important to consider the type of cuisine you are preparing. Different cuisines have different flavors and textures that need to be taken into account when selecting your ingredients. For instance, Chinese cuisine generally calls for ingredients like soy sauce and sesame oil while Italian cuisine often uses olive oil or butter.
Another factor to consider when selecting ingredients is freshness. Fresh produce, meats, and dairy products will make a big difference in flavor compared to older or frozen items. Additionally, look for organic products whenever possible as these are usually fresher than their non-organic counterparts.
Finally, it is important to pay attention to any allergies or special dietary needs when selecting your ingredients. If someone in your household has allergies or special dietary requirements like veganism or gluten-free diets, you should take this into consideration when choosing what items to buy for your meal preparation.
Selecting the right ingredients is an important part of cooking a delicious meal. By taking into account factors like the type of cuisine you’re preparing, freshness of ingredients, and any allergies or special dietary needs in your household you can ensure that you have all the right ingredients on hand for a tasty meal!
Preparing the Mashing Process
Mashing is an essential part of homebrewing beer and it involves combining hot water with malt grains to help extract the sugars that will be used to ferment the beer. The mashing process is an important step in the brewing process and requires careful preparation to ensure that you get the best results.
Before beginning the mashing process, it’s important to make sure you have all of your supplies ready. You’ll need a large pot or a mash tun, malt grains, hot water, a thermometer, and any other ingredients you may need for your recipe. You’ll also need a strainer or sieve to strain out the spent grains after the mashing is complete.
Next, measure out your malt grains and add them to your pot or mash tun. Make sure that all of your grains are evenly distributed before adding water. Once all of your ingredients are in place, slowly add hot water to your mash tun until it reaches the desired temperature for mashing. A typical mashing temperature range is between 148°F (65°C) and 158°F (70°C). Use a thermometer to check that you’ve reached the correct temperature before beginning the mashing process.
Once you’ve reached the desired temperature, leave your mash undisturbed for about 60 minutes while enzymes present in the malt break down starches into fermentable sugars that can be used by yeast during fermentation. During this time, make sure that you monitor your temperature regularly to ensure it remains within range. If it begins to drop too low, add some more hot water as needed.
When your mashing is complete, strain out all of your spent grains using a sieve or strainer so that only liquid remains in the mash tun. This liquid is known as wort and will be used during fermentation along with yeast and other ingredients to create beer! With careful preparation and monitoring throughout the mashing process, you can ensure that you get great results every time!
Sanitizing the Equipment
Before beginning the fermentation process, it is essential to sanitize all the equipment that will be used. This includes anything that will come into contact with the wort such as fermentation vessels, airlocks, thermometers, hydrometers, stirring spoons and thermowell immersion chillers. Sanitation is an important step in ensuring that no unwanted bacteria or microorganisms contaminate your beer and spoil it. There are several types of sanitizers available for this purpose, such as chlorine-based cleaners, iodine-based solutions and Star San. It is important to follow the manufacturer’s instructions for use when applying any type of sanitizer to your equipment.
Transferring the Wort
Once all of your equipment has been properly sanitized, you can begin to transfer the cooled wort into a fermenter. This should be done carefully so as not to disturb the sediment at the bottom of the boil kettle. If you are using a carboy or other large fermenter, it is recommended that you use a racking cane or tube to transfer all but the last few inches of wort, leaving behind any solids or trub that have settled during cooling. You can then top up your fermenter with cold water to bring it up to its final volume and pitching temperature before adding yeast.
Adding Yeast
The final step before fermentation can begin is adding yeast to your wort. This should be done after your wort has been cooled and transferred into a fermenter and brought up to its desired pitching temperature (usually between 65-75°F). There are many different types of yeast available for brewing beer and each will impart its own unique flavor profile on your finished beer. It is important that you select a yeast strain that is suited for the style of beer you are trying to create and follow any instructions given by the manufacturer regarding how much yeast should be used for optimal results. Once added, give your wort a good stir with a sanitized spoon or paddle to ensure that all of the yeast is evenly dispersed throughout before sealing up your fermenter with an airlock or stopper fitted with an airlock.
Fermenting the Wort
Once everything is in place, fermentation can begin! The exact length of time this process takes will depend on several factors including temperature control and yeast strain used but typically takes between one week and two weeks for most beers. During this time it is important not to disturb or move your fermenter as this can lead to oxidation which can affect both flavor and aroma in undesirable ways. After fermentation has completed you can then proceed with either bottle conditioning or kegging depending on your desired method of serving your beer.
Distilling the Alcohol
Distilling alcohol is the process of separating and purifying a liquid via vaporization and condensation. It is a very old technique that has been used to produce various types of alcoholic beverages, such as whisky, brandy, vodka, and rum. In distilling alcohol, a fermented mash of grain or other carbohydrate material is heated in a still, causing the liquid to evaporate and rise through a condenser. The vaporized alcohol then passes through several stages of cooling until it reaches its final form. Depending on the type of still used, the resulting liquid may be flavored with different herbs and spices. Distilled spirits are typically higher in alcohol content than other alcoholic beverages due to the process of distillation.
The process of distilling alcohol involves several steps. First, fermentation takes place in which yeast consumes sugars from a mash and converts them into ethanol (alcohol). This mixture is then heated in a still where the ethanol vapors separate from the water and other impurities. The vapors then pass through a condenser which cools them back into their liquid form. Depending on the type of still used, additional flavoring agents may be added at this point as well. Finally, after several rounds of distillation and cooling, the final product is ready for bottling or packaging.
The quality of distilled spirits depends largely on how they are produced. The quality of ingredients used can also affect how well they age over time. For instance, some whiskies are aged in wooden barrels that impart unique characteristics to their flavor profile while others are stored in stainless steel tanks that preserve their flavor profile better over time. Additionally , how long an alcoholic beverage has been aged can also affect its flavor profile; whiskeys aged for longer periods tend to have more complex flavors while those aged for shorter periods have simpler flavor profiles.
Distilling alcohol can be an enjoyable experience for home brewers as well as professional distillers alike . With careful attention to detail and careful monitoring throughout the entire process , it is possible to create unique spirits with unique flavors that can be enjoyed by many .
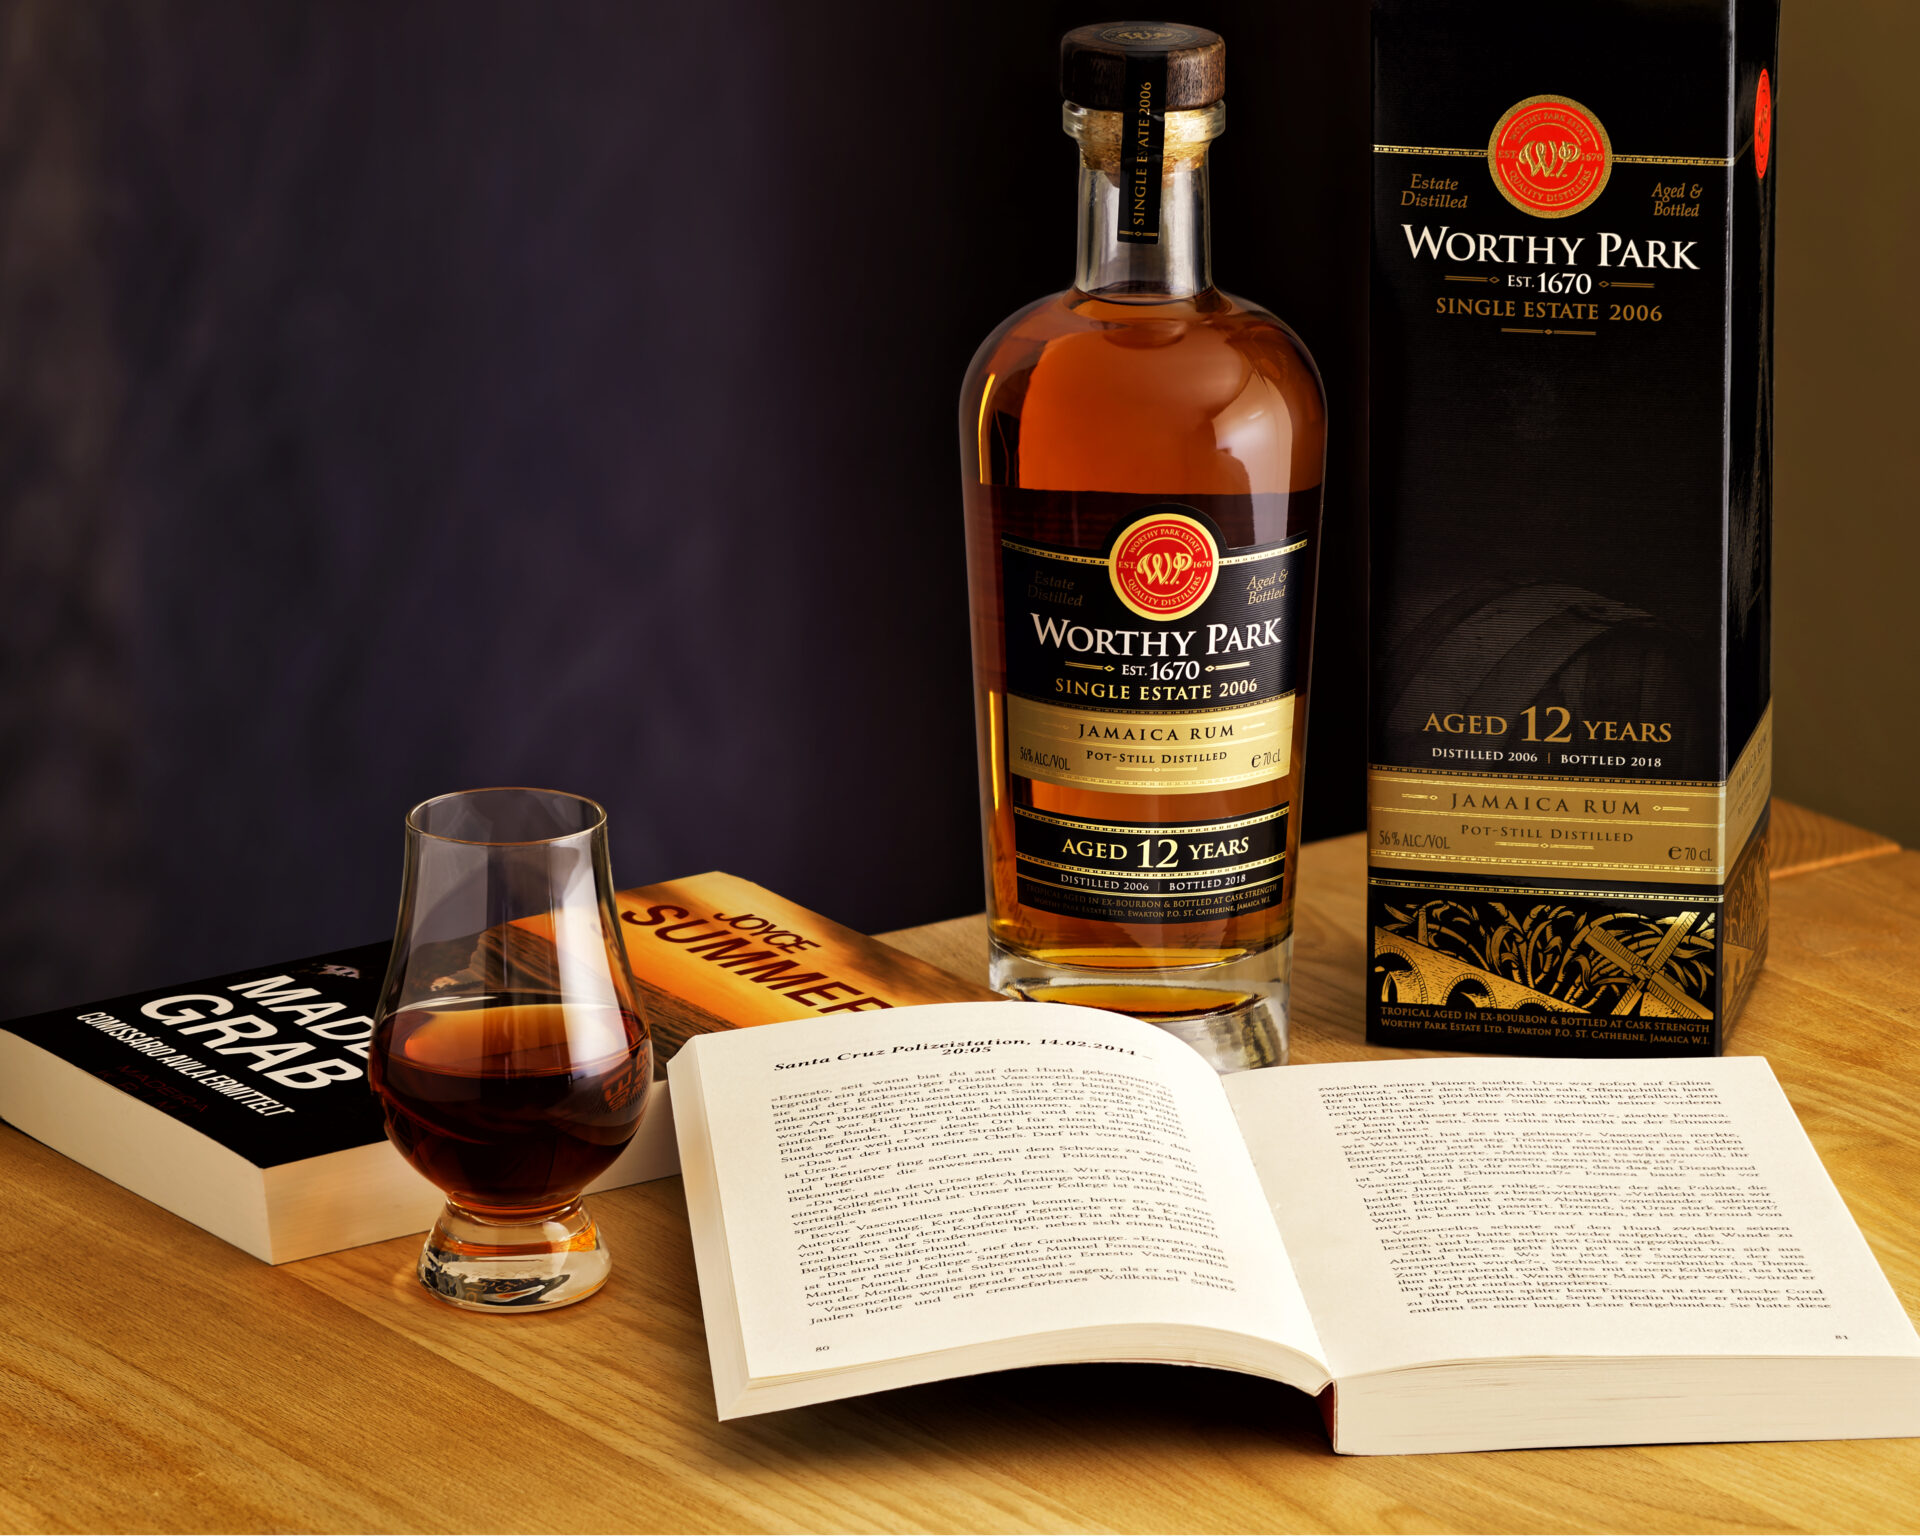
Storing Your Whiskey
When it comes to storing your whiskey, there are a few key points that you should consider. First and foremost, it is important to keep your whiskey away from direct sunlight. Exposure to sunlight can cause the whiskey to become “lightstruck” and have an off-flavor. Secondly, you should store your whiskey at a consistent temperature between 50-60 degrees Fahrenheit. Extreme temperatures can cause the whiskey to evaporate more quickly and alter its flavor. Lastly, keeping your whiskey in a closed container will help preserve its flavor and aroma for longer periods of time.
It is also important to note that while storing your whiskey, you should avoid exposing it to any sudden changes in temperature or humidity. Sudden changes can cause the liquid in the bottle to expand and contract, which can lead to leakage or other damage. Additionally, it is best to store whiskey bottles upright so that any sediment in the bottle will settle at the bottom as opposed to collecting at the neck of the bottle.
Overall, with proper storage and care for your whiskey, you can ensure that it will remain enjoyable for years to come.
Adding Flavors and Aromas to Your Whiskey
Whiskey is a complex spirit that can be enjoyed in many different ways. While some people prefer to drink it straight, others enjoy experimenting with the flavors and aromas of their whiskey. Adding flavors and aromas to whiskey can enhance its complexity, creating a unique and enjoyable drinking experience. In order to do this, there are a few things you should know about adding flavors and aromas to your whiskey.
The first step in adding flavor and aroma to your whiskey is selecting the right ingredients. There are a wide variety of ingredients that can be used, including herbs, spices, fruits, vegetables, honey, maple syrup, coffee beans, molasses and more. When selecting ingredients for your whiskey infusion, it’s important to consider the flavor profile of the whiskey itself before adding anything else. For instance, if you have a sweet-tasting whiskey like bourbon or rye, you may want to stay away from bitter-tasting or earthy ingredients like cloves or cardamom.
Once you have selected the right ingredients for your infusion experiment, it’s time to prepare them for use. If you are using whole spices or herbs (such as cinnamon sticks or rosemary sprigs), they should be lightly crushed with a mortar and pestle before being added to the whiskey infusion container. This will help release more of the flavor and aroma from the ingredients into the liquid itself. Fruits can be cut into slices or cubes before being added as well; this will help release their juices and other flavor compounds into the infusion container as well.
Once all of your ingredients have been prepared for use in your infusion experiment, it’s time to combine them with your chosen whiskey spirit in an appropriate container (such as a glass jar). Make sure that all of your ingredients are totally submerged in the liquid; otherwise they may not be able to impart their flavor into the spirit itself. Also make sure that you leave enough headspace (approximately 1 inch) at the top of the container so that gas produced during fermentation can escape freely without overflowing any contents out of the jar or bottle.
Once all of these steps have been taken care of it’s time to let your infusion experiment sit for at least two weeks so that all of those delicious flavor compounds have time to infuse into your spirit properly! After two weeks has passed simply strain off any solid materials from your infusion mixture (such as herbs or spices) and bottle up whatever liquid remains—you now have an infused whiskey! Enjoy responsibly!
Conclusion
Distilling whiskey is a complex and lengthy process that requires a great deal of knowledge, experience, and patience to produce a quality product. It also requires an investment in equipment and supplies to ensure a successful distillation. With the right ingredients and proper techniques, anyone can learn how to distill whiskey and make their own unique spirit. Distilling whiskey is not only a rewarding experience, but it can also be an interesting hobby that can provide years of enjoyment.
Making your own whiskey can be both fun and educational, but it should always be done responsibly. Before beginning the distillation process, make sure you understand all safety precautions and regulations regarding the production of spirits. With the right approach and dedication to learning, anyone can become an expert in the art of distilling whiskey.
In conclusion, distilling whiskey should always be done with care and precision. Knowledge of the process is essential for producing a quality product that will have you proud of your accomplishments as a distiller. With practice, patience, and dedication, anyone can create their own unique spirit to enjoy or share with friends.