
Distilling gin is an easy and rewarding process that anyone can do at home. With the right ingredients and equipment, it’s possible to make a high-quality spirit without a lot of fuss. This guide will walk you through the basics of distilling gin, from preparing your equipment to bottling the final product. Once you understand the process, you’ll be ready to start crafting your own unique gin creations.Making gin at home is a fun and rewarding way to create your own unique spirit. It requires some basic ingredients and equipment, as well as some patience and precision. Here’s how to make gin at home:
1. Gather all the necessary equipment, including a large saucepan, a jigger, a funnel, and a gallon-sized glass jar with an airtight lid. You will also need juniper berries, coriander seeds, angelica root, citrus peels (lemon or orange), cardamom pods and any other botanicals you would like to include.
2. Start by steeping the juniper berries in the saucepan for about five minutes over medium heat. Then add the coriander seeds and angelica root to steep for an additional five minutes.
3. Once the botanicals have fully steeped, remove them from the heat and transfer them into the gallon-sized jar using a funnel. Be sure to press down on the botanicals with a spoon or spatula while transferring them so that they fit evenly in the bottom of the jar.
4. Once all of your botanicals are in the jar, add one cup of sugar for every two cups of grain alcohol (or vodka). Securely close your jar lid and shake vigorously for two minutes until all of your ingredients are evenly distributed throughout the mixture.
5. Now it’s time to distill your gin! Place your mixture into a still (or large pot) and set it over low heat on your stovetop or barbecue grill until it reaches 175°F. As it heats up, you should begin to see steam rising from it – this is when you know it is ready for distillation!
6. When your mixture has reached 175°F, turn off the heat source and allow it to cool down before transferring it back into your gallon-sized jar using a funnel. Securely close your lid again tightly and shake vigorously one more time before straining out any solids with cheesecloth or paper towels if desired.
7
What You Need To Distill Gin
Distilling gin requires a few basic ingredients and supplies, including a base spirit, botanicals, a still and some form of collection vessel. Most people start by purchasing a kit that includes all the necessary supplies for making gin.
The base spirit for distilling gin is typically neutral grain alcohol or vodka. This type of spirit is made from grains such as wheat or corn and has no flavor. The base spirit is then flavored with botanicals, which are typically either dried herbs, spices or citrus peel. Popular botanicals used in gin include juniper berries, coriander seeds and orange peel.
The next step in distilling gin is to put the base spirit and botanicals into a still and heat the mixture up until it evaporates. The vaporized mixture then cools down and condenses back into liquid form, which is collected in a vessel such as a bottle or jar. This liquid is now ready to be enjoyed as gin!
Distilling gin can be an enjoyable way to make your own unique spirit at home. With the right ingredients, equipment and know-how, you can craft your own delicious gin in no time!
Understanding The Basics Of Distilling Gin
Distilling gin is an art form that requires a lot of skill and knowledge. It is one of the oldest and most popular spirits in the world, and its popularity has only grown over the years. Whether you are looking to make your own gin or just want to learn more about distilling, understanding the basics of distilling gin is essential.
The process of distilling involves boiling a liquid to vaporize it, then condensing the vapor back into liquid form. This process is used for many different kinds of spirits, including whiskey, rum, and gin. When it comes to gin, the main ingredient used for distillation is juniper berries. Juniper berries give gin its distinct flavor and aroma.
The first step in distilling gin is mashing. Mashing is when the juniper berries are crushed and mixed with water. This mixture is then heated in a still until it boils and evaporates into vapors. The vapors are then cooled in a condenser before being collected as a clear liquid which is then known as ‘the wash’.
The next step in distilling gin involves adding botanicals to the wash. Botanicals are what give each brand of gin its unique flavor profile. Common botanicals used in making gin include coriander, cardamom, angelica root, citrus peels and other herbs or spices. Once the botanicals have been added to the wash they must steep for several hours or days depending on their type.
Finally, after steeping, it’s time for distillation. During this process, the wash is heated up in a still until it boils off into vapor again. This vapor passes through a condenser where it cools back down into liquid form once more before being collected as clear liquid which we now know as ‘gin’.
Understanding the basics of distilling gin can be an intimidating prospect but with practice and patience anyone can master this complex skill set. Whether you’re looking to make your own delicious concoction at home or simply want to learn more about this fascinating craft there’s never been a better time than now to dive into learning about how to craft your own spirit from scratch!
Preparing The Ingredients
Preparing the ingredients is one of the most important steps in cooking. It involves washing, chopping, slicing and dicing the ingredients to the desired size and texture. This step is necessary to ensure that all the flavors are properly incorporated into the dish. Additionally, it helps to reduce cooking time and make sure that everything is cooked evenly.
When preparing ingredients for a recipe, it is important to follow any specific instructions given in the recipe. This includes washing and drying produce, chopping vegetables into uniform pieces, shredding cheese or grating spices. For certain dishes like salads, some ingredients may need to be cut into smaller pieces or diced so they are easier to eat.
When possible, it is best to buy fresh produce as they will have more flavor and nutritional value than canned or pre-packaged ingredients. However, if fresh produce isn’t available or isn’t in season, then frozen or canned can be used instead. It’s also important to read labels on any packaged ingredients you purchase to make sure they don’t contain any unwanted additives or preservatives.
After all of the ingredients are prepared according to the recipe, they should be measured before being added to the dish. This will ensure that each ingredient is used in the proper proportions and that there’s enough of each ingredient for all of your guests. Once everything has been measured out and added to a pot or pan on the stovetop, you can begin cooking your delicious meal!
Setting Up Your Distilling Apparatus
Distilling is the process of separating a liquid from its components by boiling it and collecting the vapors. Distillation can be used to make alcohol, essential oils, water, and other products. To get started, you will need to set up your distilling apparatus. Here’s what you’ll need:
A large pot or container that can hold at least two gallons of liquid. This is where you will boil your mixture to separate the components. Make sure it is made of a material that won’t react with the ingredients being distilled.
A condenser, which is a tube or container that will capture the vapors as they cool and turn them back into liquid form. You can buy one or build one yourself using copper tubing.
A collection container for the finished product. This should be made of glass or plastic and have a spout for easy pouring.
Heat source such as a stove or hot plate.
Something to stir the mixture with such as a spoon or whisk.
Once you have all your supplies gathered, it’s time to set up your distilling apparatus. Start by filling your pot or container with water and setting it on your heat source. Slowly bring the water to a boil and add in the ingredients that you want to separate. For example, if you are making vodka, add in grain alcohol and sugar. Stir occasionally to prevent sticking.
Next attach your condenser to the top of your pot or container so that the vapors will pass through it as they rise up from boiling liquid inside. Make sure there is a tight seal between the pot and condenser so that no vapors escape during distillation process.
Finally, attach your collection container to the bottom of your condenser so that any liquid produced by cooling of vapors will collect in it. Now you are ready to start distilling!
Distilling Your Gin
Distilling your own gin is a great way to create a unique and delicious drink that you can enjoy with friends and family. It’s also an exciting activity that will give you a sense of accomplishment. The process of distilling your own gin involves several steps, including obtaining the necessary equipment, selecting the ingredients, and finally distilling the gin itself.
The first step in distilling your own gin is to acquire the necessary equipment. This includes a still, which is used to heat the ingredients and separate them into liquid components. You will also need bottles to store your gin in and jugs or funnels for transferring it from one container to another during the distillation process. You may also want to purchase some additional equipment such as thermometers or hydrometers for measuring temperature and alcohol content respectively.
Once you have all the necessary equipment, it’s time to select the ingredients for your gin. Generally, this includes juniper berries, coriander seeds, citrus peel, and other herbs or spices depending on your preferences. Depending on where you live, you may be able to find these ingredients at specialty liquor stores or online retailers. If not, you may be able to source them from local farmers or grocery stores if they are available seasonally.
The final step in distilling your own gin is to actually perform the distillation process itself. This involves combining all of your ingredients in the still with hot water and heating everything up until it begins boiling off into vapor form. As this vapor rises up through the still it is then cooled down through condensation which allows it to become liquid again and be collected for consumption as gin!
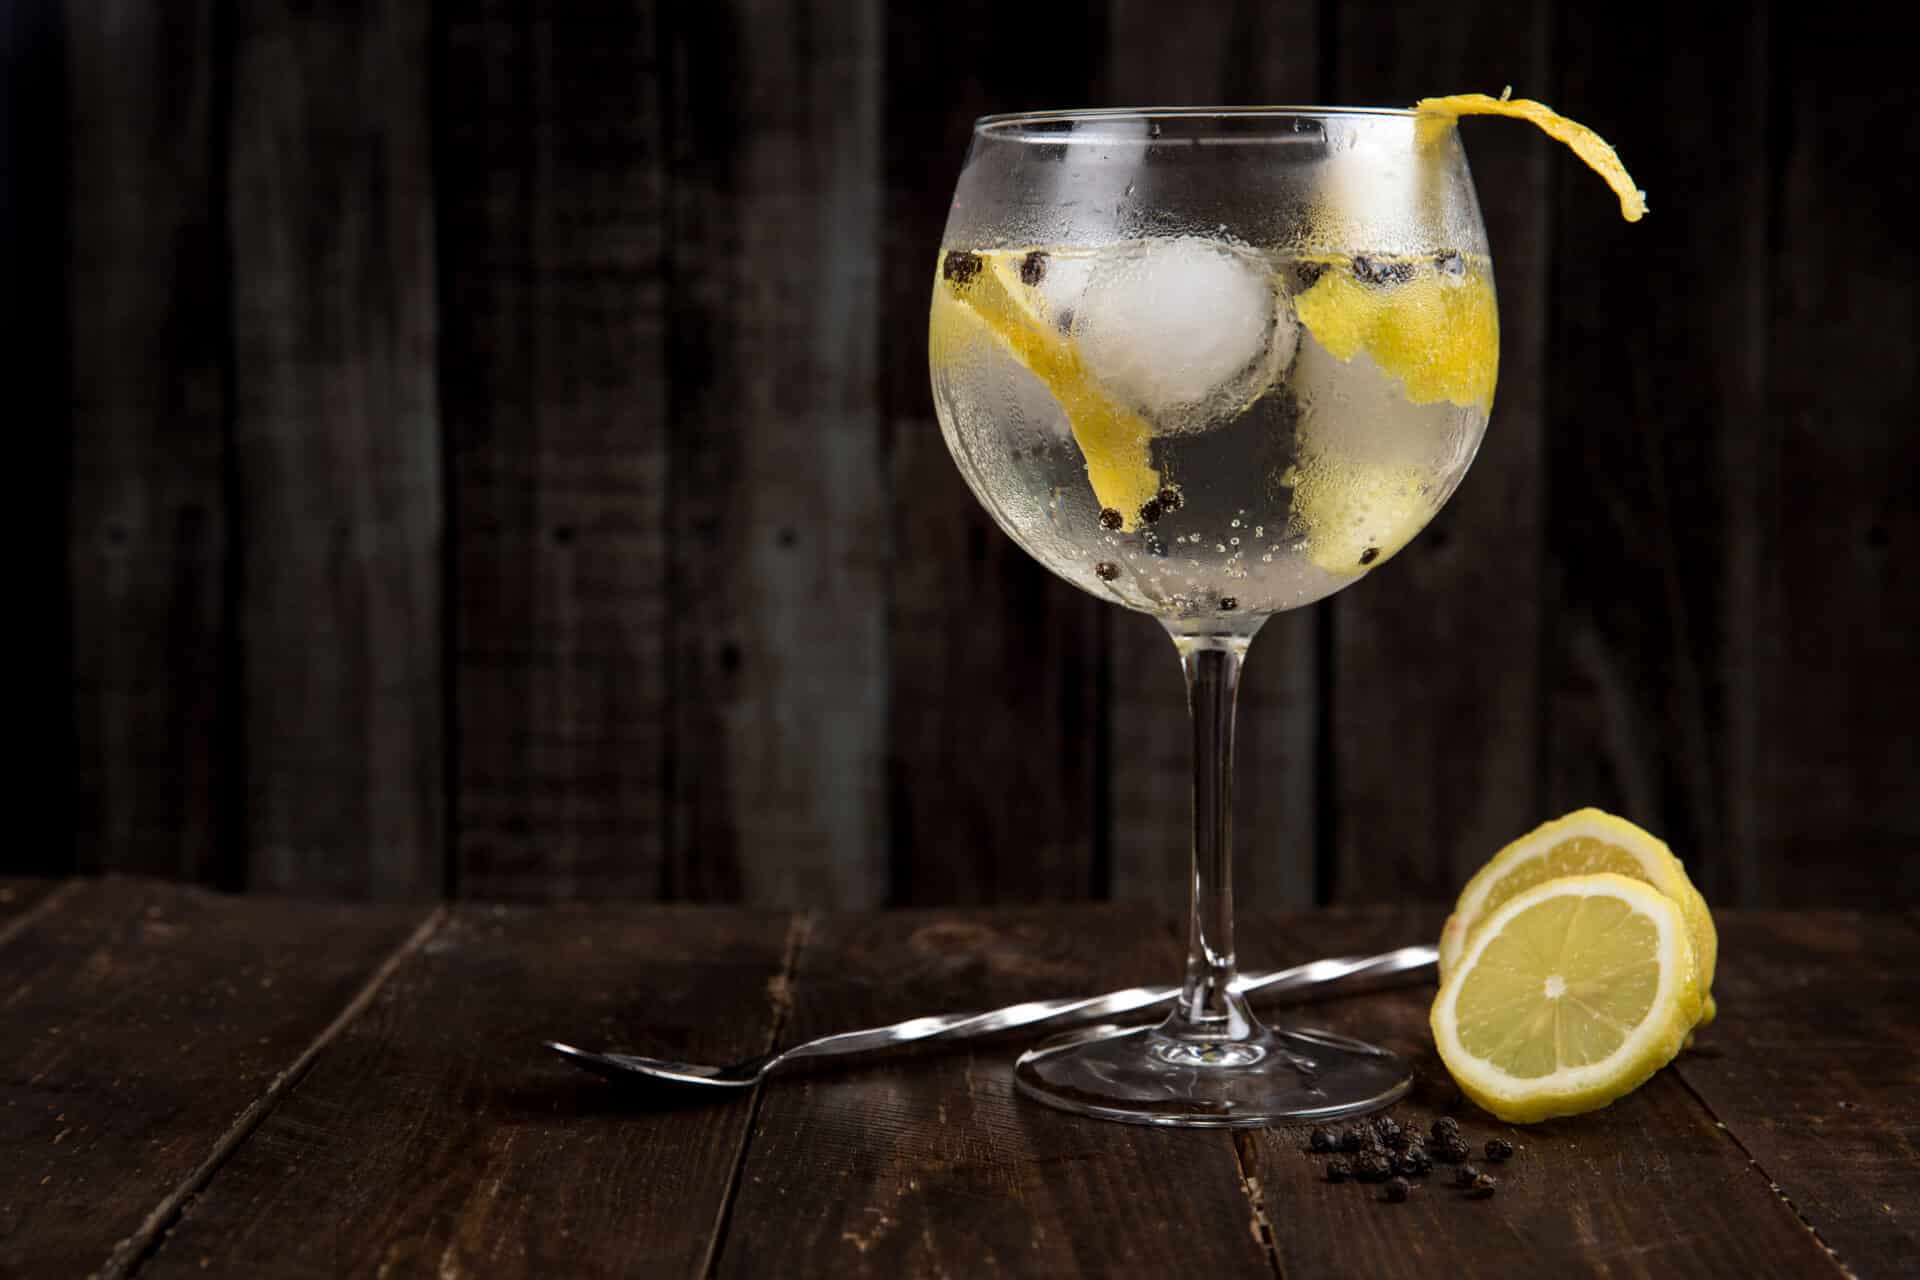
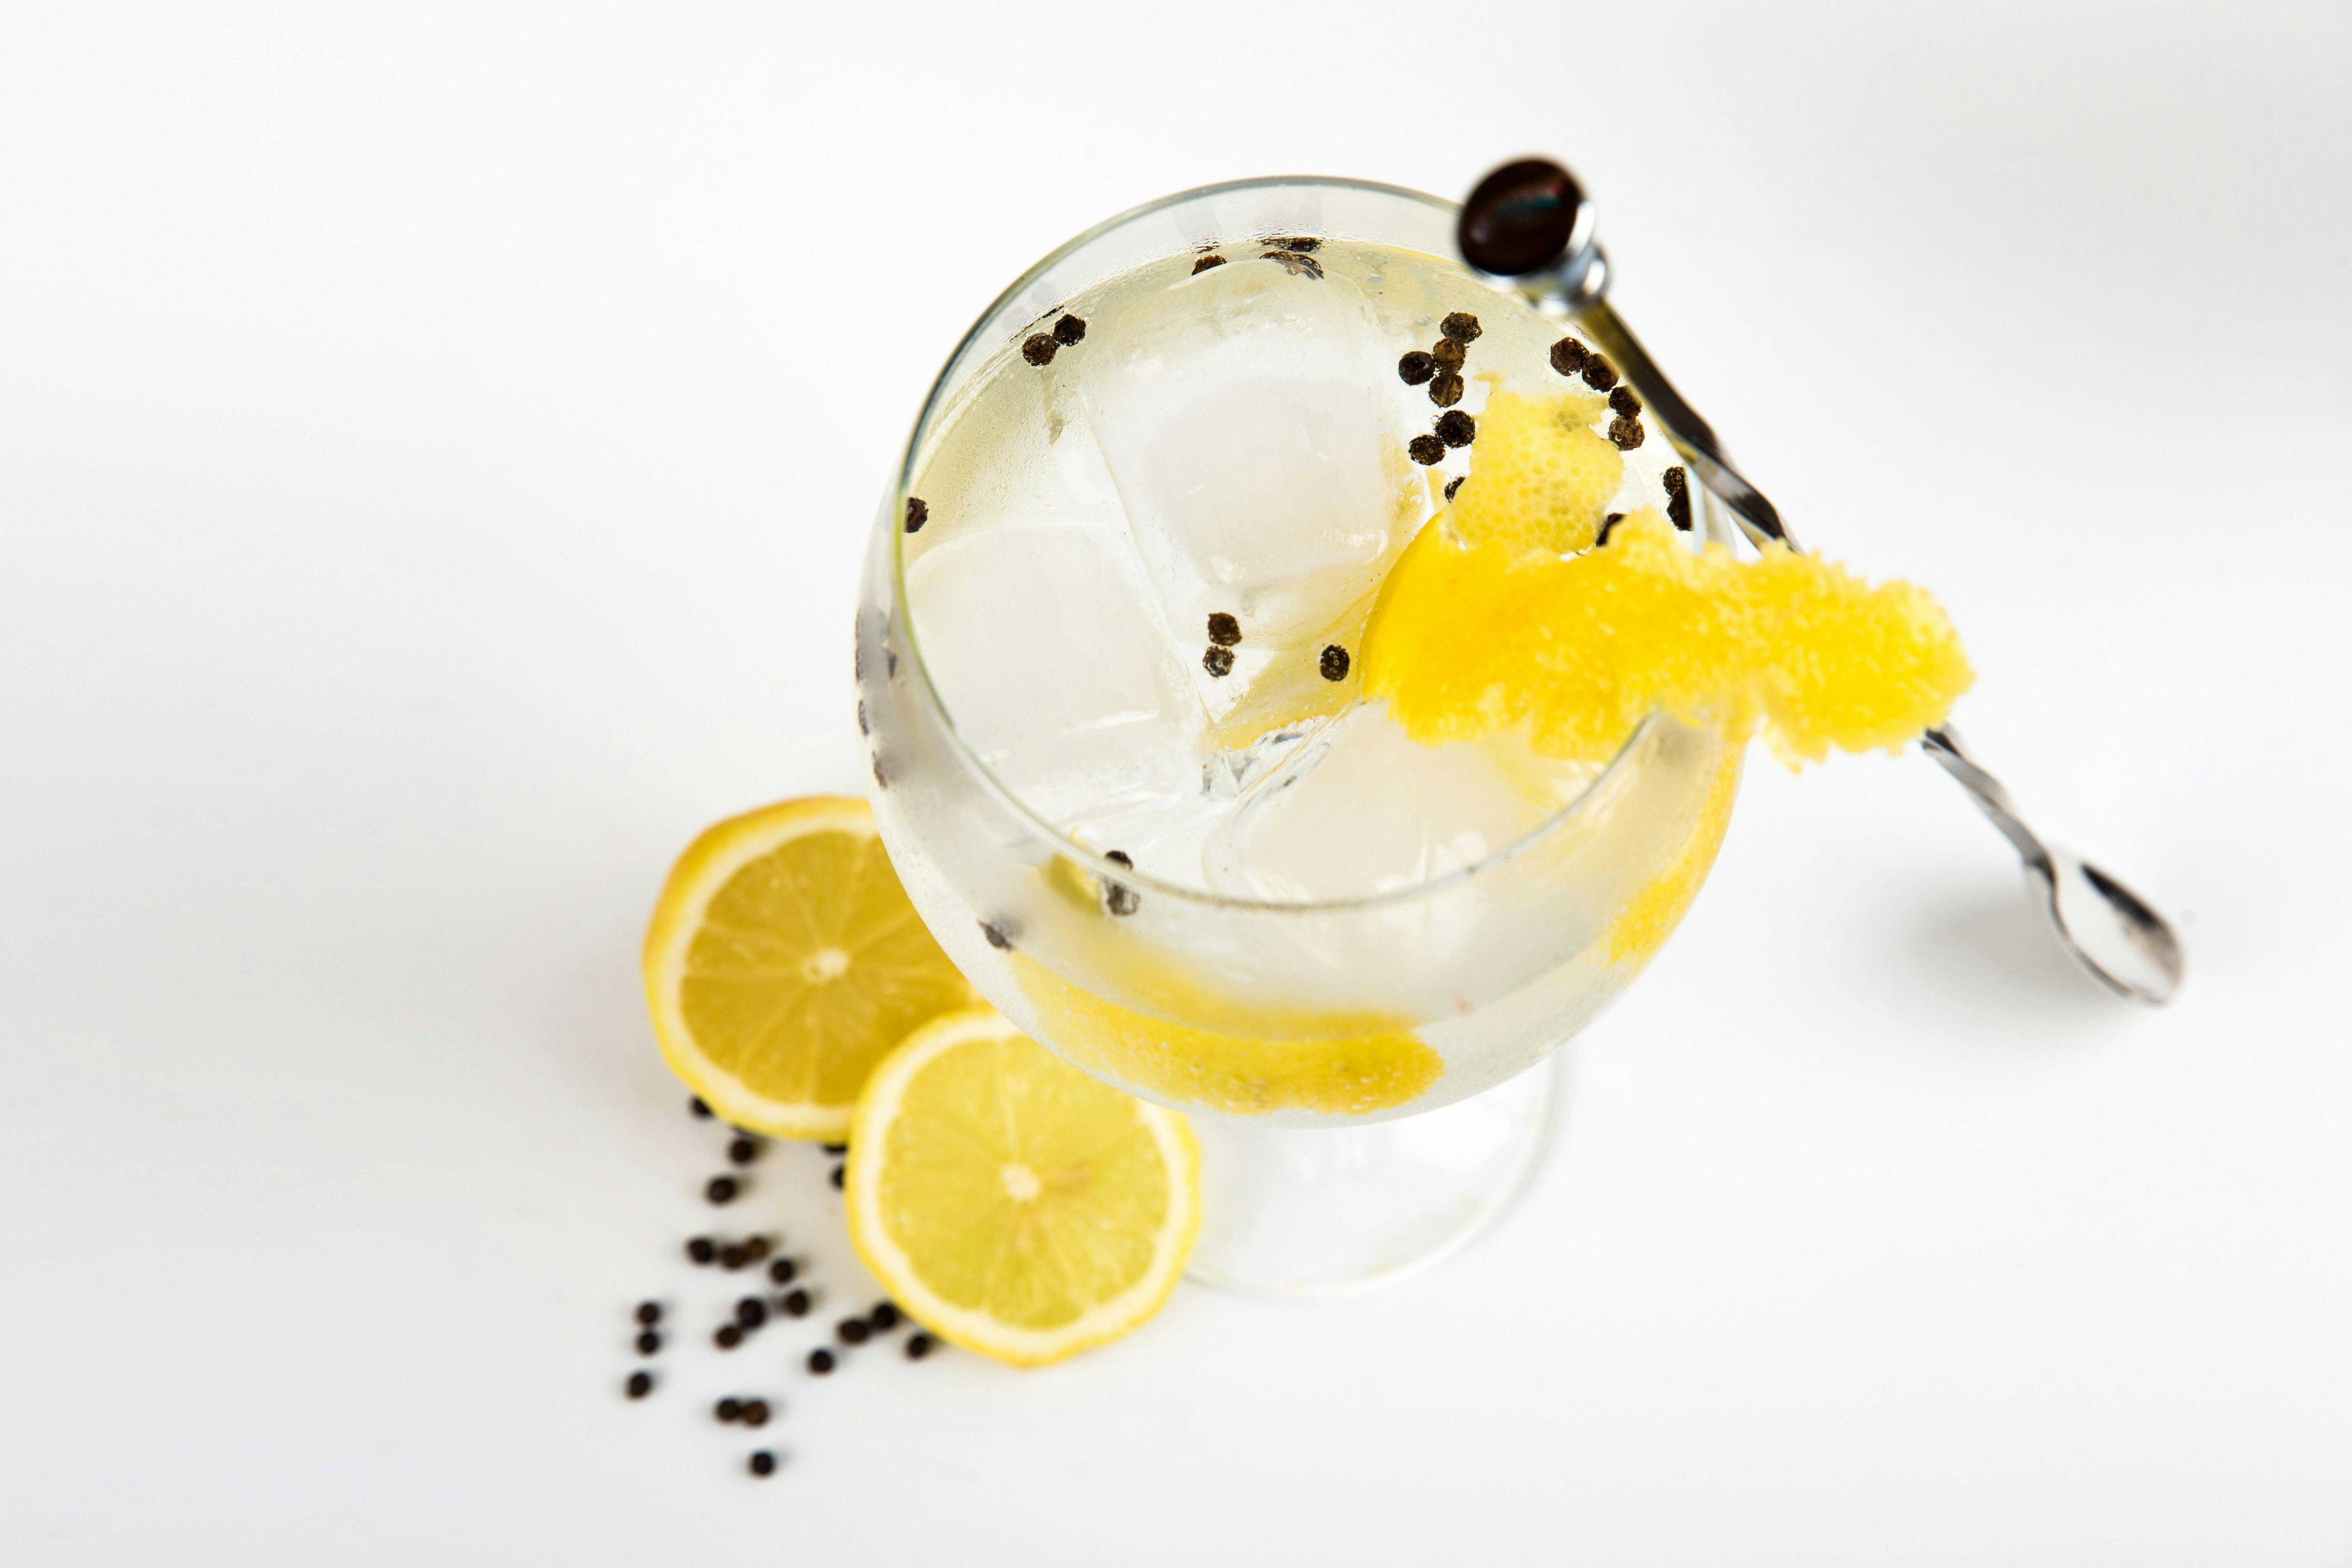
Refining the Taste of Your Gin
Gin is a versatile spirit that can be enjoyed in a variety of ways. Whether you prefer your gin neat, on the rocks, or mixed into a cocktail, there are some simple steps you can take to refine the taste of your gin and make it even more enjoyable. Here are some tips for refining the taste of your gin:
First, choose a gin that has been distilled using traditional methods and quality ingredients. Look for gins made with natural botanicals such as juniper berries, coriander, and citrus peel. These botanicals will add complexity and depth to the flavor profile of your gin.
Second, consider adding a few drops of tonic water or soda water when enjoying your gin neat or on the rocks. This will help to mellow out any harsh notes and bring out the subtle flavors in the spirit.
Third, if you’re mixing your gin into cocktails, pair it with complimentary flavors such as lemon juice or elderflower liqueur. The right combination of ingredients can transform an ordinary cocktail into something extraordinary.
Finally, take the time to experiment with different types of ice when serving your gin neat or on the rocks. Different types of ice can impact both the temperature and texture of your drink in ways you may not expect.
By following these simple tips for refining the taste of your gin, you’ll be able to create unique flavor profiles that will make every sip an unforgettable experience!
Storing Your Homemade Gin
Storing your homemade gin is an important part of the process, and there are a few things to keep in mind. The most important detail is that you should store your gin in a cool, dark place. Sunlight can cause the flavors and aromas to degrade over time, so it’s best to avoid storing them in direct light if possible.
Make sure that the storage container for your gin is airtight, as oxygen can also have a negative effect on the flavor of your gin. Keeping it in a dark glass bottle or other opaque container is one way to ensure this. You should also make sure that the lid or cork of whatever container you use is sealed tightly.
You should also pay attention to temperature when storing your homemade gin. It’s best to keep it stored at room temperature, as anything too hot or too cold could have an adverse effect on its taste and smell. If you plan on storing gin for extended periods of time, try to keep it at a constant temperature whenever possible.
When stored properly, homemade gin can last for up to two years before its flavor begins to degrade significantly. However, if you want the best possible taste from your homemade gin, you’ll want to consume it within six months of making it.
Overall, proper storage is key when it comes to preserving the quality and taste of your homemade gin for longer periods of time. Make sure that you store it in a cool, dark place away from sunlight and oxygen exposure, and always make sure that any containers used are airtight with secure lids or corks. Additionally, try to maintain a consistent temperature when storing your homemade gin over long periods of time if possible.
Conclusion
The process of distilling gin is fairly simple. You just need to have the right ingredients, appropriate equipment, and knowledge of the process. Once you have everything ready, you can start distilling your own gin. It requires a bit of patience and skill, but it can be done. The end result is a unique and delicious gin that’s sure to impress your friends and family.
Distilling gin at home can be an exciting and rewarding experience, but it’s important to remember safety first. Always use caution when working with heat and alcohol. If you follow the instructions carefully, you’ll be able to create a delicious batch of homemade gin that you’ll enjoy for years to come.
No matter what type of gin you decide to make, the process will remain the same. Distillation is an art form that has been around for centuries and it’s not something that should be taken lightly. With patience and practice, anyone can create their own unique batch of homemade gin that will leave everyone wanting more!