
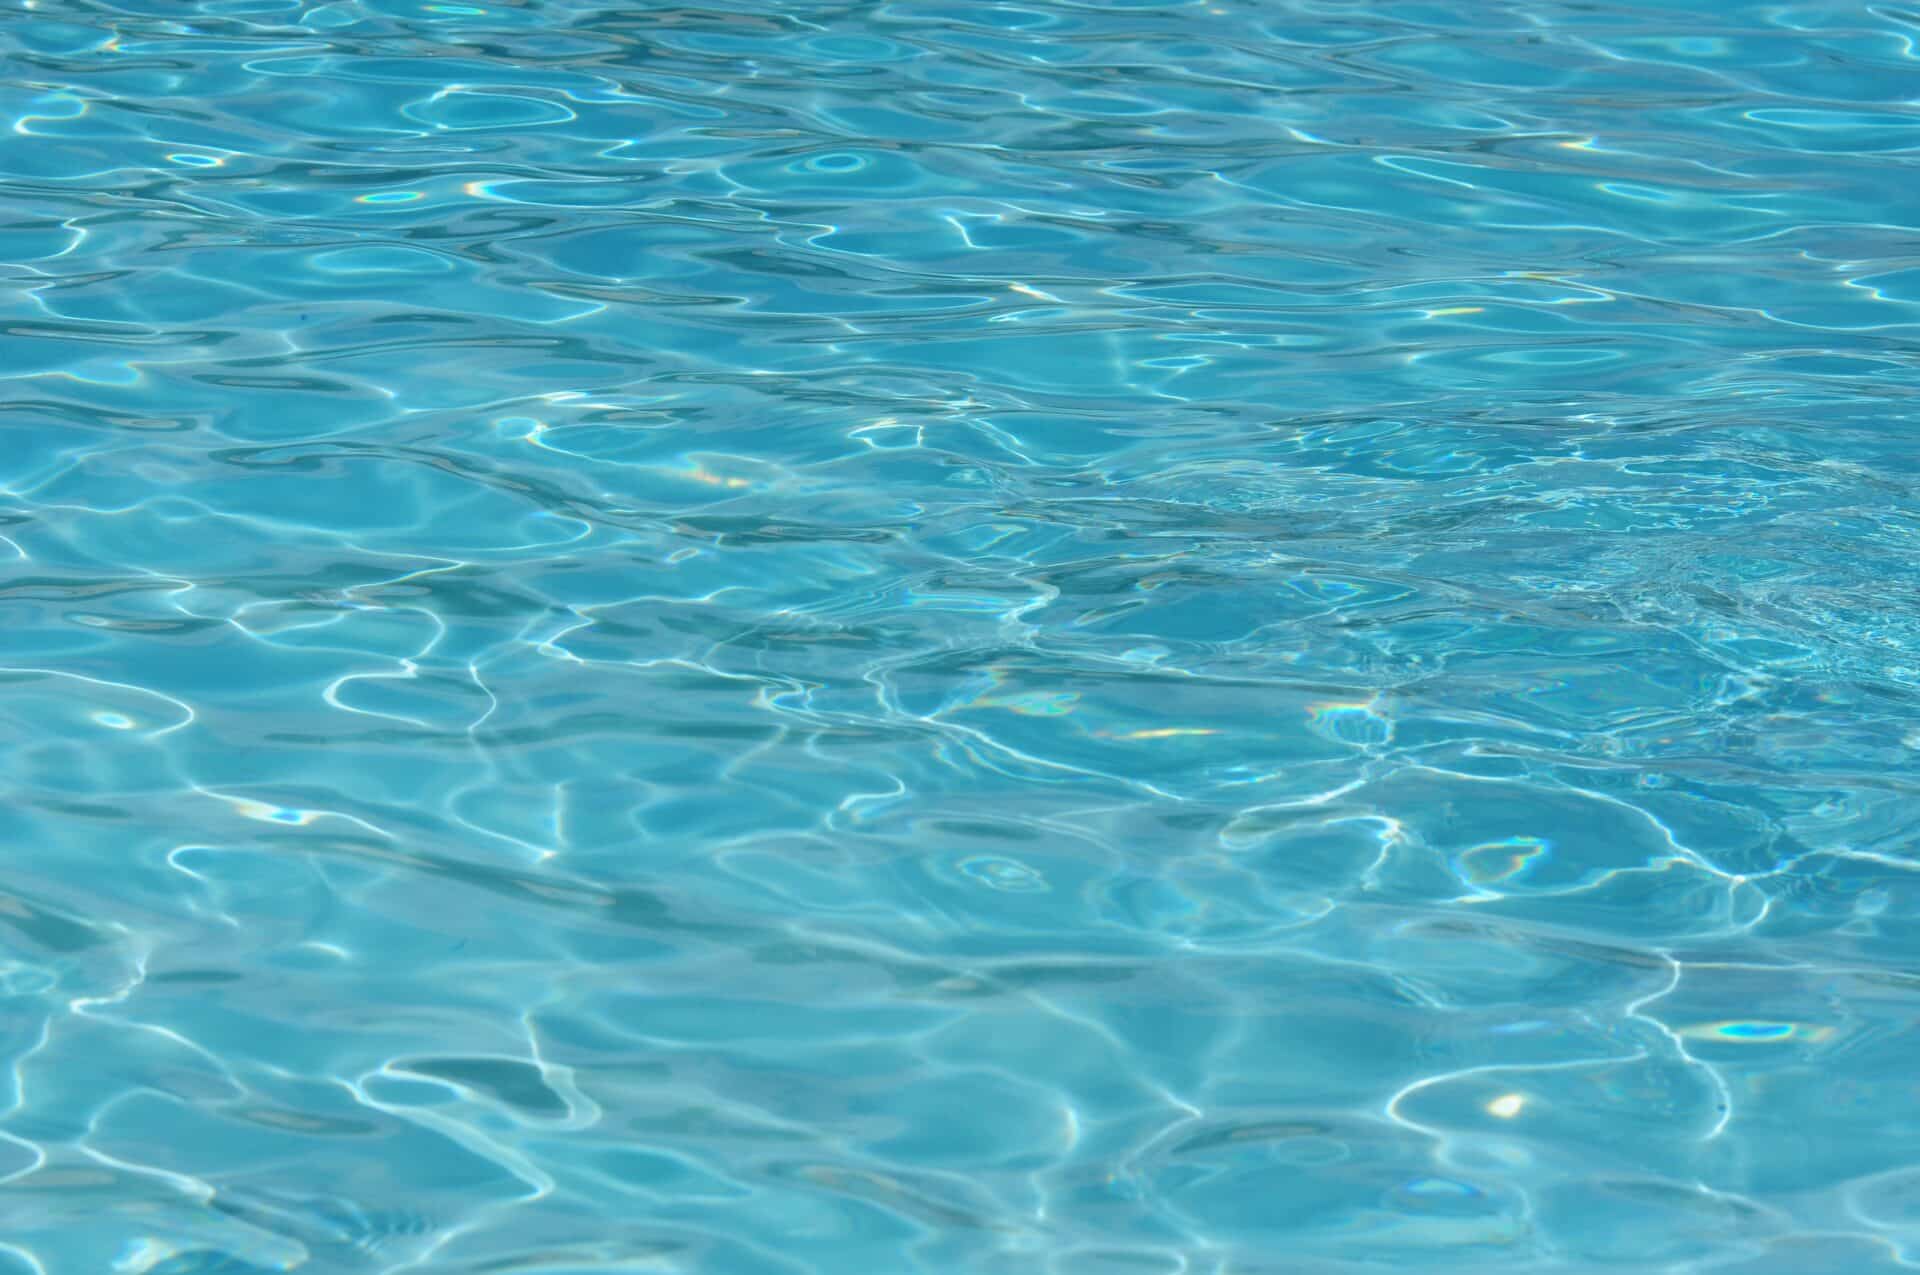
Cleaning your Megahome Water Distiller with vinegar is a great way to ensure your distiller is free of any sediment, scale or bacteria. Vinegar is a natural cleaning agent that can effectively remove build up, while also being gentle on the components of the distiller. This guide will provide you with step by step instructions on how to clean your Megahome Water Distiller with vinegar.To clean your Megahome Water Distiller with vinegar, you will need: a container large enough to hold 1 gallon of vinegar, a funnel, and Megahome Distiller Cleaner. Fill the container with 1 gallon of vinegar and use the funnel to pour the vinegar into the distiller. Turn the distiller on and let it run for two cycles. Once complete, turn off the distiller and discard any remaining liquid in the reservoir. Finally, add 1 tablespoon of Megahome Distiller Cleaner to a gallon of water and run one more cycle through the distiller. This will flush out any remaining vinegar and help clean your distiller.
Prepare the Vinegar Solution
Creating a vinegar solution is a simple and effective way to clean many surfaces. To make the solution, mix equal parts of white vinegar and water in a spray bottle. Shake the bottle to mix the solution well before using it. When using the vinegar solution, be sure to wear rubber gloves and open windows for ventilation. Spray the solution onto the surface you wish to clean and let it sit for a few minutes before wiping it away with a damp cloth or sponge. You may need to use more than one application of the vinegar solution to remove tough dirt or grime. When finished cleaning with vinegar, rinse the surface with warm water and dry it with a soft cloth.
Vinegar is an effective cleaning agent because it is acidic and can break up dirt and debris on surfaces. It also has antibacterial properties which make it an excellent tool for disinfecting surfaces such as countertops, sinks, toilets, showers, and tubs. Be sure to check that your surface is not damaged by vinegar before using it as an all-purpose cleaner.
Step 1: Remove the Distiller Container
The first step in emptying the distiller container is to remove it from the machine. This can be done by unplugging the power cord and gently pulling out the container. Make sure to securely hold onto it while removing it, as it may contain hot liquids or steam. Once the container has been removed, you can set it aside and begin preparing for the next step.
Step 2: Empty the Distiller Container
The next step is to empty out the distiller container. This should be done carefully, as there may still be hot liquids inside. You can empty out the liquid by pouring it into a separate container or simply discarding it down a sink drain. Be sure to dispose of any remaining material or waste properly before returning the container to its original place in the machine.
Fill the Distiller Container With Vinegar Solution
Filling the distiller container with a vinegar solution is an important step in distilling water. The vinegar helps to reduce bacteria and other impurities that may be present in the water. To begin, mix a cup of household white vinegar with two cups of cold water in a large bowl. Place the bowl in a safe area, away from direct sunlight or heat, and stir until the mixture is evenly distributed. Once complete, pour the solution into the distiller container, making sure to fill it up to maximum capacity. After filling, securely close the lid on the container and you are ready to begin distilling your water.
It’s important to remember that using too much or too little vinegar can have an effect on how pure your distilled water will be. It is recommended that you use one cup of vinegar for every two cups of cold water when filling your distiller container. Additionally, you should not use any type of metal utensil when stirring or transferring the vinegar solution as it can react with certain metals and cause discoloration in your distilled water.
Step 1: Prepare the Cleaning Supplies
Before you start any cleaning process, it is important to have all the necessary supplies ready. This includes items like sponges, rags, mops, brooms, buckets, and cleaning solutions. You should also make sure you have the right kind of protective gear such as gloves and safety glasses. If you are using any kind of chemicals, make sure that they are safe for use in your home.
Step 2: Assess the Situation
Take a look around your home before you start cleaning and assess what needs to be done. Make a list of all the tasks that need to be completed so that you can work efficiently. You should also consider which areas need the most attention and prioritize accordingly. This will help make sure that everything gets done in an orderly fashion.
Step 3: Set Up a System
Once you have identified what needs to be done and in what order, set up a cleaning system that will help you stay organized and on track. This could include organizing your supplies into categories or setting up a schedule for when certain tasks will be completed. Having a system in place will help ensure that everything gets done in an efficient manner.
Step 4: Start the Cleaning Process
Now it’s time to get started with the actual cleaning process. Begin by tackling one room at a time so that you can focus on getting each area clean without becoming overwhelmed. Start from top to bottom when possible so that dust and debris do not fall onto surfaces that have already been cleaned. Pay special attention to hard-to-reach places such as behind furniture or appliances where dirt and dust can accumulate quickly.

Setup the Distiller
The first step in distilling is to setup the distiller with the appropriate settings. This includes selecting the type of spirit you are making, as well as any additional ingredients you wish to add. The distiller should also be set up to collect and measure the output of your spirit. Once everything is set up and ready to go, it’s time to start distilling.
Choose Your Ingredients
The next step is to choose what ingredients you will be using in your spirits. Depending on what type of spirit you are making this can include anything from grains, fruits, and spices, to herbs and even certain types of wood. It’s important that you select ingredients that will create a flavor profile that suits your tastes.
Mash Your Ingredient
Once you have selected your ingredients, it’s time to mash them together in order to extract the liquid or “mash” from them. Mashing involves heating the ingredients and breaking down their cell walls in order to release their flavors and aromas into a liquid form. This liquid can then be used as part of the distillation process.
Ferment Your Mash
Once the mash has been extracted from your ingredients, it’s time to ferment it. Fermentation involves introducing yeast into the mash which then consumes the sugars present in it and converts them into alcohol. This process can take anywhere from a few days to several weeks depending on what type of spirit you are making.
Distill Your Spirits
Once fermentation has finished, it’s time to begin distilling your spirits. Distillation involves heating up the fermented mash which causes volatile compounds like alcohols and esters evaporate off while leaving behind heavier compounds like fats and proteins behind. This separates out different components of your mixture allowing for a more concentrated end product.
Let The Distiller Run
Once all of these steps have been completed, it’s time to let your distiller run its course. Depending on what type of spirit you are making this could take anywhere from a few hours up to several days or even weeks before completion. During this time it’s important that you monitor both temperature and pressure levels so that everything remains safe during the process.<
Step 6: Empty the Distiller Container After Cleaning
Once you have finished cleaning the distiller container, it is important to empty it out properly. First, remove the filter from the distiller and place it in a bowl or sink for rinsing. Next, pour out any excess water from the distiller into a separate container. Finally, discard any leftover contaminants from the cleaning process into a trash can or other appropriate receptacle. After all of the liquid has been emptied out of the container, it is important to rinse it out thoroughly with hot water and mild soap. Once you have finished rinsing and drying off your distiller container, you can now store it away for future use.
It is important to note that your distiller should always be completely emptied and cleaned out after each use in order to ensure optimal performance and longevity of your machine. Additionally, regular cleaning and maintenance will help keep your distiller running effectively and efficiently over time. Therefore, following these simple steps will help ensure that your distiller provides many years of reliable service.
Rinse the Tank
Begin the fish tank cleaning process by rinsing the tank with cool running tap water. Make sure to rinse all of the surfaces of the tank, including the walls and decorations. Avoid using any soaps or cleaning agents when rinsing the tank, as these can be harmful to your fish. Rinse until all visible dirt is gone and then let it dry completely before you move on to the next step.
Remove Fish
The next step is to remove your fish from the tank. Place them in a separate container filled with water from their own tank, so that they don’t suffer any shock or stress from a sudden change in temperature or pH levels. This container should be covered with a lid or some other type of cover to prevent any accidental escapees.
Empty and Clean Tank
Once your fish are safely removed from their home, empty out all of the water from the tank into a bucket or sink. Then use a sponge and some hot water mixed with a mild detergent to clean out all surfaces inside the tank, including decorations, rocks, gravel and any other items that may have accumulated dirt over time. Make sure to rinse everything off after you are done cleaning.
Replace Gravel
If you have live plants in your aquarium, it’s important to take special care when removing and replacing gravel. Use a small net or aquarium vacuum cleaner to gently remove any debris that may have accumulated at the bottom of your tank before replacing fresh gravel. When replacing new gravel, make sure not to overfill it as this can lead to an oxygen deficiency in your fish’s environment.
Clean Filter
Next up is cleaning out your filter. Unplug your filter then remove it from its housing in order to access its components for cleaning. Depending on what type of filter you have, this process may vary slightly but generally involves removing and then rinsing off both mechanical and biological media components such as sponges and carbon cartridges. Once this is done, place them back in their housings before plugging it back in.
Clean Decorations
Once you’ve finished cleaning out all of the components inside your aquarium and filter system, it’s time to move on to decorations such as rocks, plants and other items that were placed inside for aesthetic purposes. To clean these items simply rinse them off using warm tap water before placing them back into their original positions within your aquarium.
Rinse and Refill With Fresh Water
Finally, once everything has been thoroughly cleaned it’s time for one last step: rinsing out your tank again with cool running tap water before refilling it with fresh dechlorinated water. This is important because chlorine can be toxic for fish if left in high concentrations so make sure to fully rinse out your tank before adding new water into it. Once everything has been done properly you can now reintroduce your fish into their clean home!
Conclusion
Cleaning your Megahome Water Distiller with vinegar is an easy process that should be done regularly to ensure the purity of the resulting distilled water. It is important to follow the steps outlined in this article to properly clean your distiller and keep it in top condition. Doing so will not only help you enjoy the best tasting water, but also extend the life of your distiller.
It can be beneficial to use a water filter on top of cleaning your Megahome Water Distiller with vinegar in order to maximize the purity of your distilled water. This can help reduce any potential impurities that might be present in the water and make sure you are drinking clean and healthy drinking water.
Overall, cleaning your Megahome Water Distiller with vinegar is an easy and effective way to maintain your distiller and make sure it is producing safe and pure drinking water for you and your family.