
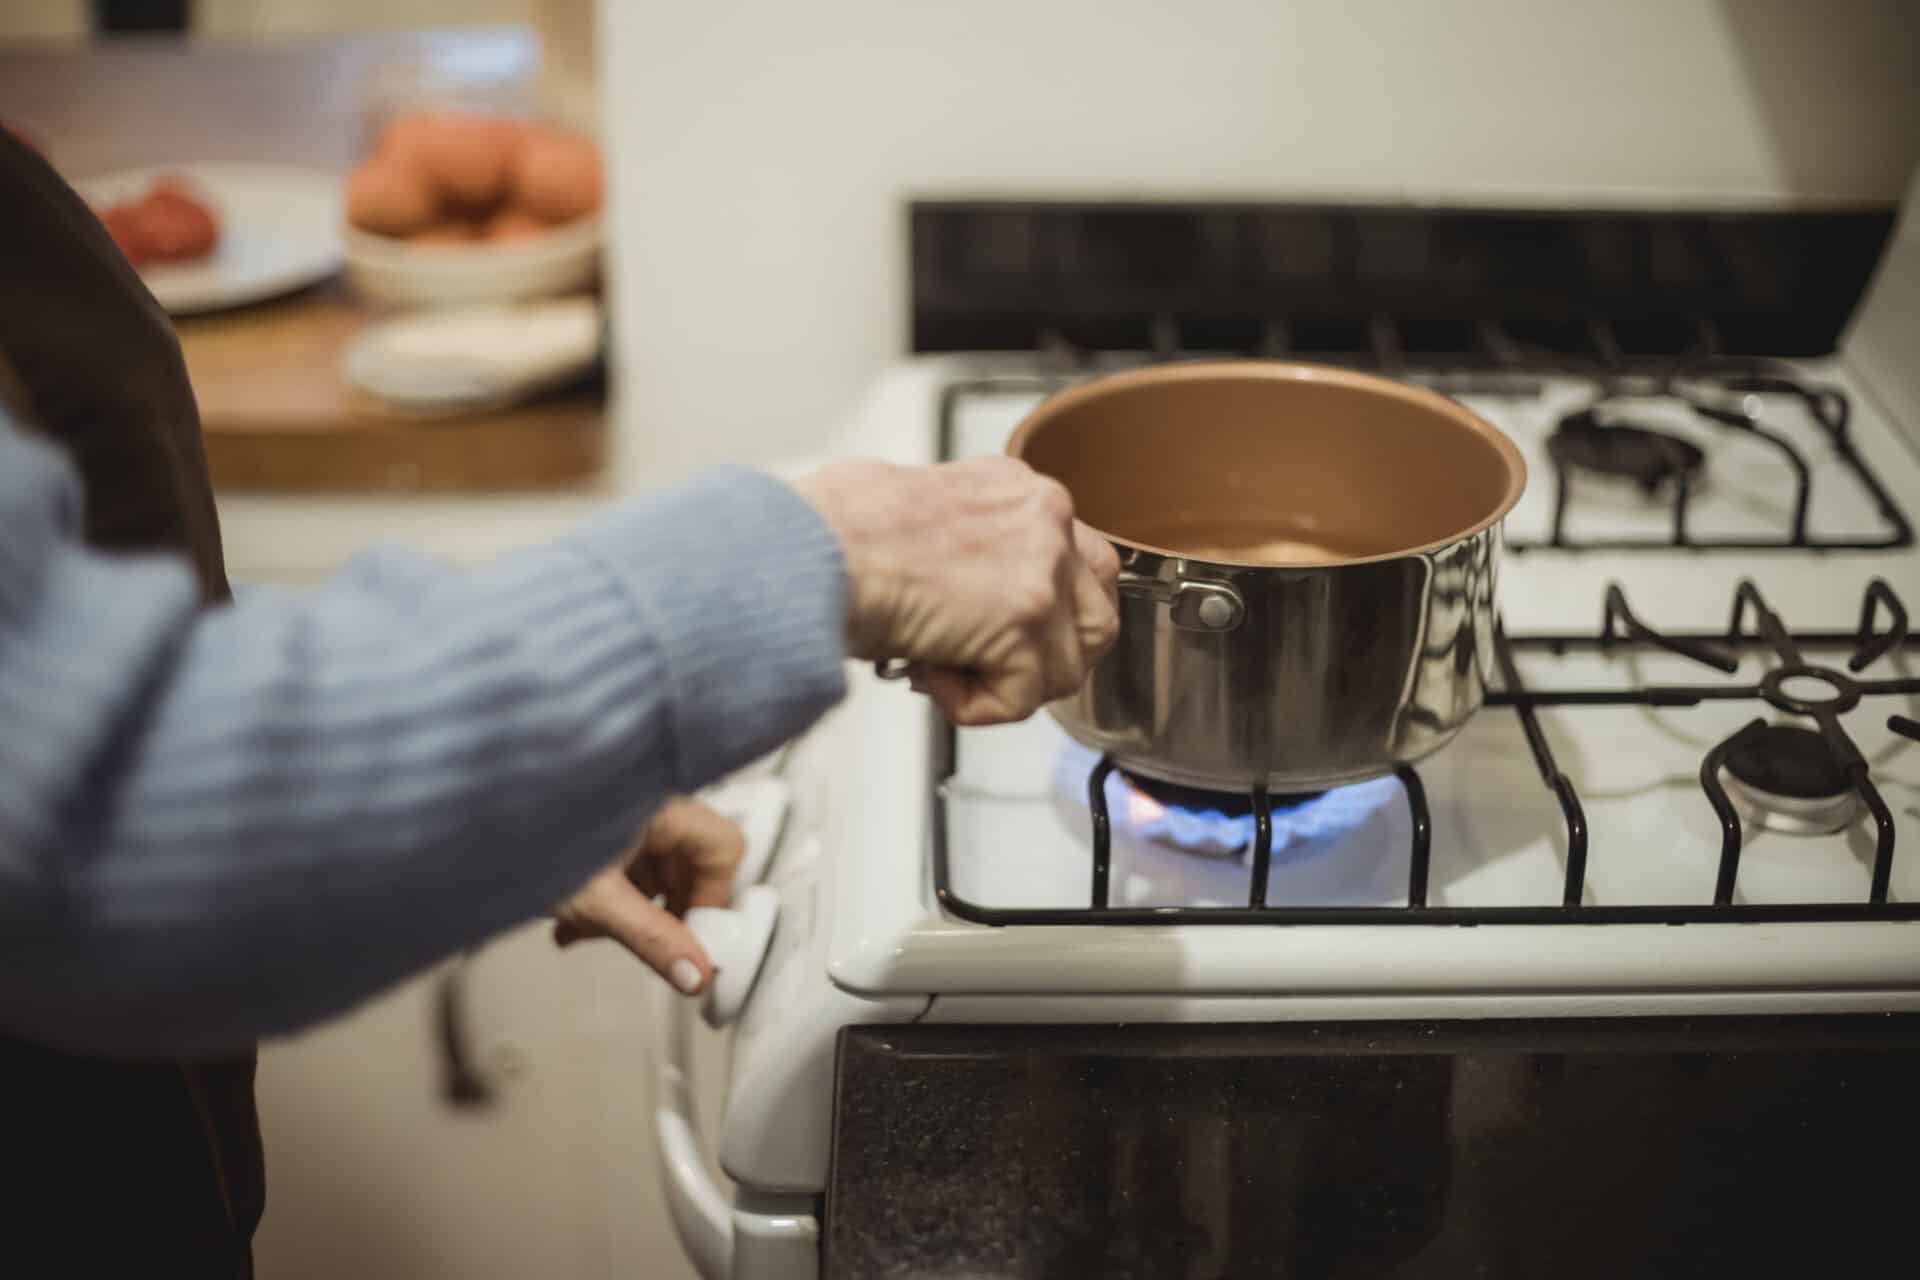
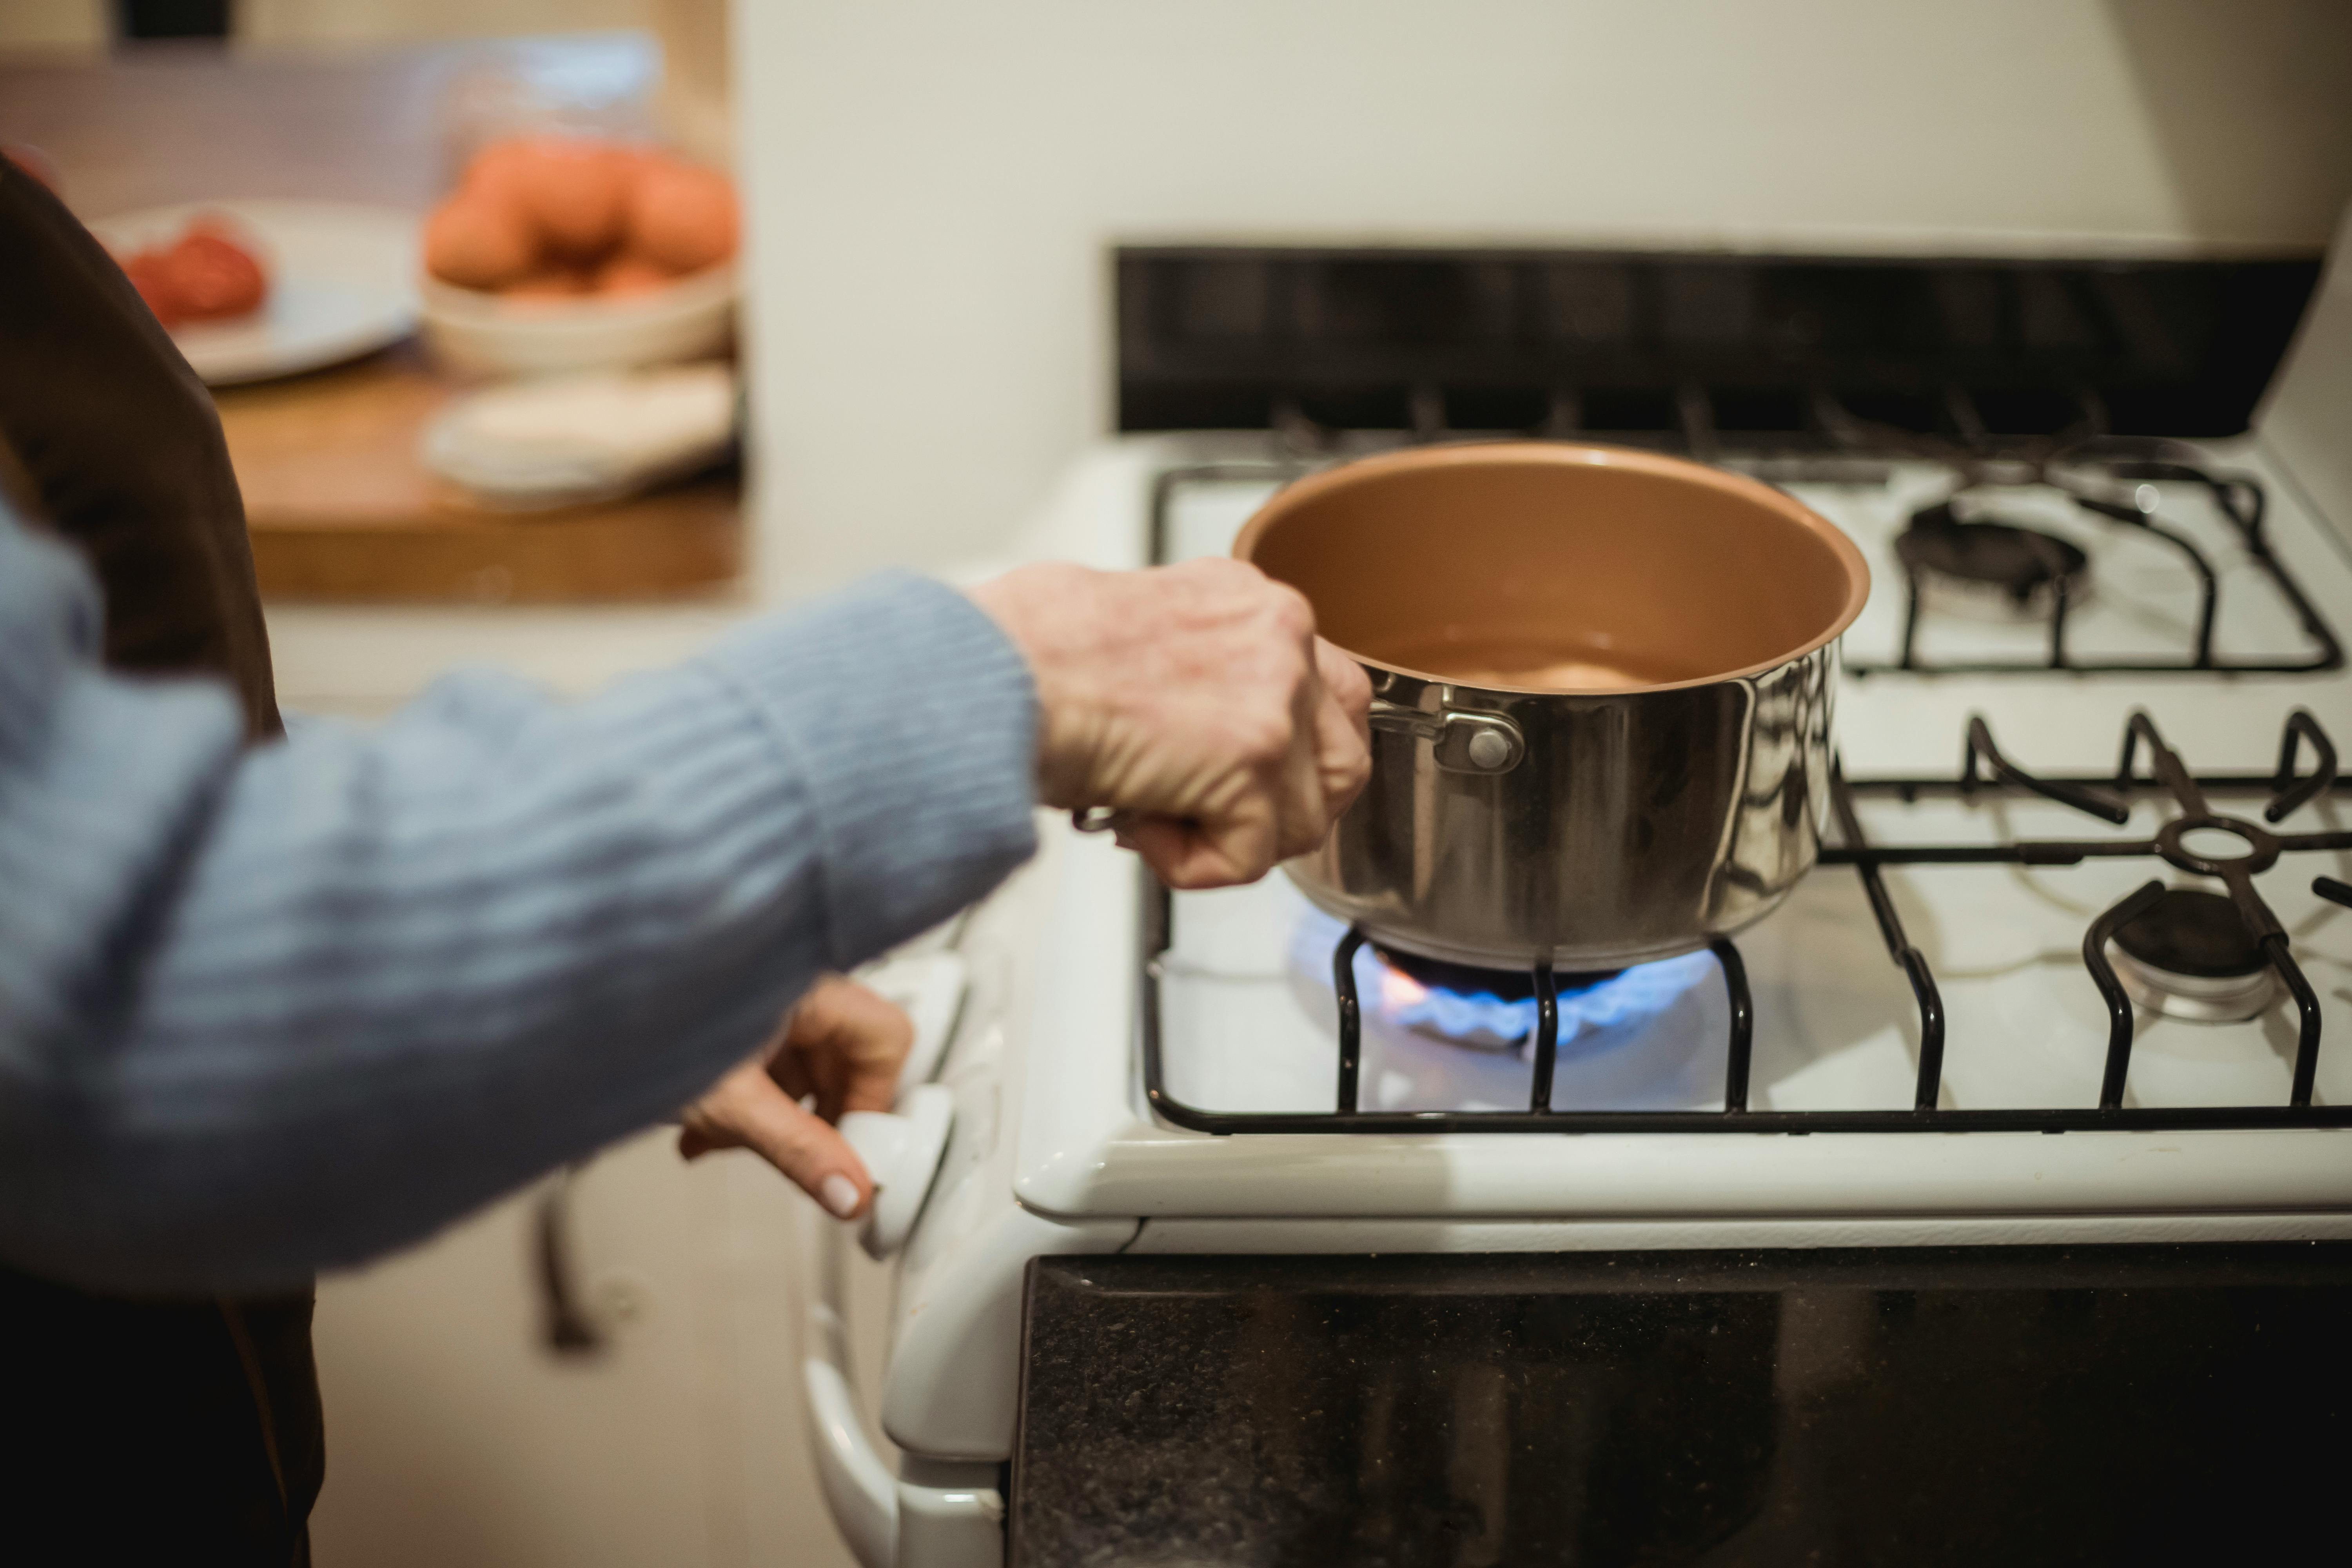
Cooking with an Instant Pot is a great way to quickly and easily prepare delicious meals for the whole family. Boiling water in an Instant Pot is easy and requires no special knowledge or skill. All you need is your Instant Pot, some water, and a few minutes of your time. In this guide, we will show you how to boil water in an Instant Pot so you can make soups, stews, rice, hot drinks and more.To boil water in an Instant Pot, start by adding 1 cup of cold water to the stainless steel inner pot. Secure the lid and make sure the steam release valve is in the “Sealing” position. Press the “Manual” button, select high pressure, and set the timer for 1 minute. When the timer sounds, quick-release the pressure by carefully turning the steam release valve to “Venting.” Once all of the steam has been released, open the Instant Pot and check that your water is boiling. If it’s not boiling, secure the lid again and press “Manual” for an additional 1 minute.
What You Will Need to Boil Water in an Instant Pot
Boiling water in an Instant Pot is a quick and easy way to get hot water for a variety of uses. To use an Instant Pot to boil water, you will need the following items: an Instant Pot, a measuring cup, a ladle, and cold tap water.
First, fill the inner pot of the Instant Pot with cold tap water using your measuring cup. You can use as much or as little as you need for your desired purpose. Once you have filled the pot with the desired amount of water, place it back into the Instant Pot base and close the lid.
Next, press the ‘Manual’ button on the display panel and use the +/- buttons to set cooking time to zero (0) minutes. This will ensure that you are only boiling the water and not cooking anything else. When finished setting cooking time, press ‘Start.’ The display panel will now show that it is in ‘Preheat’ mode while it warms up.
Once preheating is complete, your Instant Pot will beep indicating that it is ready to begin boiling your water. At this point, open the lid and use a ladle to stir or whisk your water before closing again and pressing ‘Start.’ The display panel will now show that it is in ‘Cooking’ mode while it begins boiling your water. As soon as boiling begins, you should hear steam escaping through your pressure valve(s).
When finished boiling your water (you should hear several beeps), press ‘Keep Warm/Cancel’ on the display panel. Your Instant Pot will now enter its ‘Keep Warm’ mode until you open its lid or manually turn off power from its base plug outlet. Once cooled down enough for safe handling (about one hour), remove inner pot from Instant Pot base using oven mitts or potholders and pour out boiled hot water into desired container(s).
Your boiled hot water is now ready for use! Enjoy!
Boiling Water in an Instant Pot
Boiling water in an Instant Pot is a quick and convenient way to heat up water for a variety of different uses. The Instant Pot is a multi-cooker that can be used for pressure cooking, slow cooking, sautéing, steaming, and more. In this guide, we will walk you through the steps of boiling water in an Instant Pot.
Step 1: Fill the Inner Pot
The first step to boiling water in an Instant Pot is to fill the inner pot with cold water. Make sure that the inner pot is filled to the “max” line marked on the side of the inner pot. If you need more than 2 cups of water, you can fill it up to the “max” line with additional cold water.
Step 2: Close and Lock Lid
Once the inner pot is filled with cold water, close and lock the lid by turning it clockwise until it clicks into place. Make sure that all of the valves are closed (i.e., sealing) and that there are no leaks around the edges of the lid.
Step 3: Select “Manual” Mode
Next, select “Manual” mode by pressing the “Manual” button located on top of your Instant Pot. This will set your Instant Pot to cook at high pressure for a set amount of time (usually 10 minutes). You can adjust this setting if desired by pressing either + or – buttons located next to the manual button.
Step 4: Set Cooking Time
Now it is time to set your cooking time. Select “10 minutes” on your Instant Pot by pressing either + or – buttons located next to manual button until your desired cooking time displays on screen. Once you have selected your desired cooking time, press “Start/Stop” button located on top of your Instant Pot to begin cooking process.
Step 5: Release Pressure
Once your cooking time has elapsed, allow pressure cooker (Instant Pot) to release pressure naturally for 10 minutes before opening lid by turning it counterclockwise until it unlocks from place. Once all pressure has been released, open lid carefully and remove inner pot with hot boiled water using oven mitts or other protective gloves if needed. Enjoy!
Preparing Your Instant Pot for Boiling Water
Boiling water in an Instant Pot is one of the most common and versatile uses for the appliance. The Instant Pot is a great tool for quickly boiling water, but it is important to prepare the appliance correctly before attempting to use it. To ensure that you are using your Instant Pot safely and efficiently, here are some tips on how to best prepare your Instant Pot for boiling water.
First, make sure that the lid is properly sealed. This will prevent any steam or heat from escaping during the boiling process and will also help to ensure that your Instant Pot maintains its pressure during cooking. When the lid is properly sealed, it should not move when you press down on it with your finger.
Second, check to make sure that all of the components are correctly in place. This includes making sure that the sealing ring has been properly installed and that all of the valves are in their proper positions. It is also a good idea to check that there are no blockages in any of the valves or on any of the vents.
Third, fill your Instant Pot with enough water so that it covers all of the components and reaches the maximum fill line indicated inside of the appliance. Make sure that you do not overfill your pot as this can lead to safety issues or damage to your appliance. It is also important to use only cold tap water when filling up your Instant Pot.
Finally, set your Instant Pot to “Boiling” mode and select how long you would like to boil your water for. Depending on what type of recipe you are using, you may need to adjust this setting accordingly. Once you have selected a time, press start and allow your appliance to begin boiling water at pressure!
Setting the Cooking Time for Boiling Water in an Instant Pot
Boiling water in an Instant Pot is a quick and easy way to make hot water for coffee, tea, or other recipes. The process is simple: just add the desired amount of water to the Instant Pot, select the “Manual” setting on the display panel, and adjust the cooking time. The amount of time needed to boil water depends on several factors, including how much water you’re using and the type of model you have. For example, most 6-quart models require 12 minutes of cooking time to bring 4 cups of liquid to a rolling boil.
In general, it takes 8-12 minutes for most models of Instant Pot to bring 2-4 cups of liquid to a rolling boil. If you’re using more than 4 cups of liquid, you may need to increase the cooking time by a few minutes. It’s also important to note that some models have built-in settings specifically for boiling water that can help you save time by automatically adjusting the cooking time based on how much liquid is in the pot.
When boiling water in an Instant Pot, it’s important to remember that it takes some time for pressure to build up before it reaches boiling temperature. This means that even though you’ve set a 12 minute cooking time, it could take several more minutes before your water is actually boiling. To ensure that your water is at optimal temperature when ready, we suggest setting your timer for 15 minutes instead of 12 if you’re using 4 cups or less.
The process for boiling water in an Instant Pot is fairly straightforward and can be done quickly and easily with minimal effort. Just make sure that you take into account all the factors mentioned above when determining your cooking time so that your hot beverage or recipe will turn out perfectly every time!
Placing the Inner Pot Inside the Instant Pot
The inner pot of an Instant Pot is used to cook food in and is an essential part of using the appliance. It is important to ensure that it is properly placed inside the Instant Pot before cooking. To place the inner pot inside the Instant Pot, first make sure that it is inserted with its handles facing outward. Next, make sure that it is securely seated by pressing down on each side of the rim. Once secure, twist the lid in a clockwise direction until it locks into place. Finally, check that all seals are properly in place before beginning to cook.
It’s also important to make sure that any cooking accessories, such as steam racks or silicone molds, are securely placed inside the inner pot before placing it into the Instant Pot. These accessories should be compatible with your model of Instant Pot and should also be securely seated before cooking.
By following these steps and checking all seals and accessories before cooking, you can ensure that your inner pot will be properly placed in your Instant Pot and that everything will run smoothly when you begin to cook.
Adding Water to the Inner Pot of Your Instant Pot
Adding water to the inner pot of your Instant Pot is an important step when it comes to cooking and steaming your favorite dishes. To ensure that your food is cooked properly, it’s important to add the right amount of liquid. This can vary depending on what you’re making, so it’s important to consult the manual for your specific model. Here are some tips for adding water to the inner pot of your Instant Pot:
1. Always use cold or room temperature water when filling the inner pot. Hot water can cause damage to the inner pot, so it’s best avoided.
2. Check the maximum fill line on the inside of the pot to make sure you don’t overfill it. If you do, it could cause a hazardous situation.
3. Add any additional ingredients (such as vegetables, herbs, or spices) before adding water. This will help ensure that they don’t get lost in the liquid.
4. Make sure all ingredients are completely submerged in liquid before cooking. This will ensure that everything cooks evenly and prevents scorching.
5. Once all ingredients are added, secure the lid and turn on your Instant Pot according to instructions in its manual for your model.
Following these simple steps will help you ensure that you’re adding water properly when using your Instant Pot – resulting in delicious meals every time!
Setting the Pressure Release Valve When Boiling Water in an Instant Pot
When boiling water in an Instant Pot, it is important to set the pressure release valve correctly. The pressure release valve is used to control the pressure within the pot and ensure that it does not get too high. The valve can be set to either “venting” or “sealing”. When set to “venting”, steam will be released from the pot, which helps reduce internal pressure. When set to “sealing”, no steam will be released and internal pressure will build up until it reaches the desired level. It is important to note that when boiling water in an Instant Pot, the pressure release valve should always be set to “venting” as this will help prevent any potential accidents due to excess pressure.
When boiling water in an Instant Pot, it is also important to monitor the pot closely and adjust the pressure release valve as needed. If too much steam is being released from the pot, then the valve should be adjusted back to a “seal” setting. Conversely, if too little steam is being released from the pot then it can be adjusted back to a “vent” setting. This will help maintain a safe level of internal pressure within the pot and ensure that no accidents occur due to excess steam buildup.
It is also important to note that when boiling water in an Instant Pot, it should never be left unattended as this could lead to potential safety hazards. Furthermore, it is important that all safety precautions are followed when using an Instant Pot and that all instructions are read thoroughly before use. By following these simple steps, boiling water in an Instant Pot can be done safely and without incident.
Conclusion
Boiling water in an Instant Pot is easy and convenient. The preset button makes it even easier to use. You don’t need to worry about overcooking or boiling over with the Instant Pot. To boil water, you’ll need to make sure your Instant Pot is clean and the lid is locked correctly. Then, add the desired amount of water, press the “Manual/Pressure Cook” button, adjust the time to zero minutes, and press start. Once the pressure cooking has finished, let the steam out using natural release or quick release depending on your model. Your water will be ready for whatever you have planned for it!
Boiling water in an Instant Pot is a great way to save time and energy while still getting perfectly boiled water every time. Don’t forget that you should always take caution when handling hot liquids and steam from your Instant Pot. Now that you know how to boil water in your Instant Pot, you can get started on making all sorts of delicious dishes!