
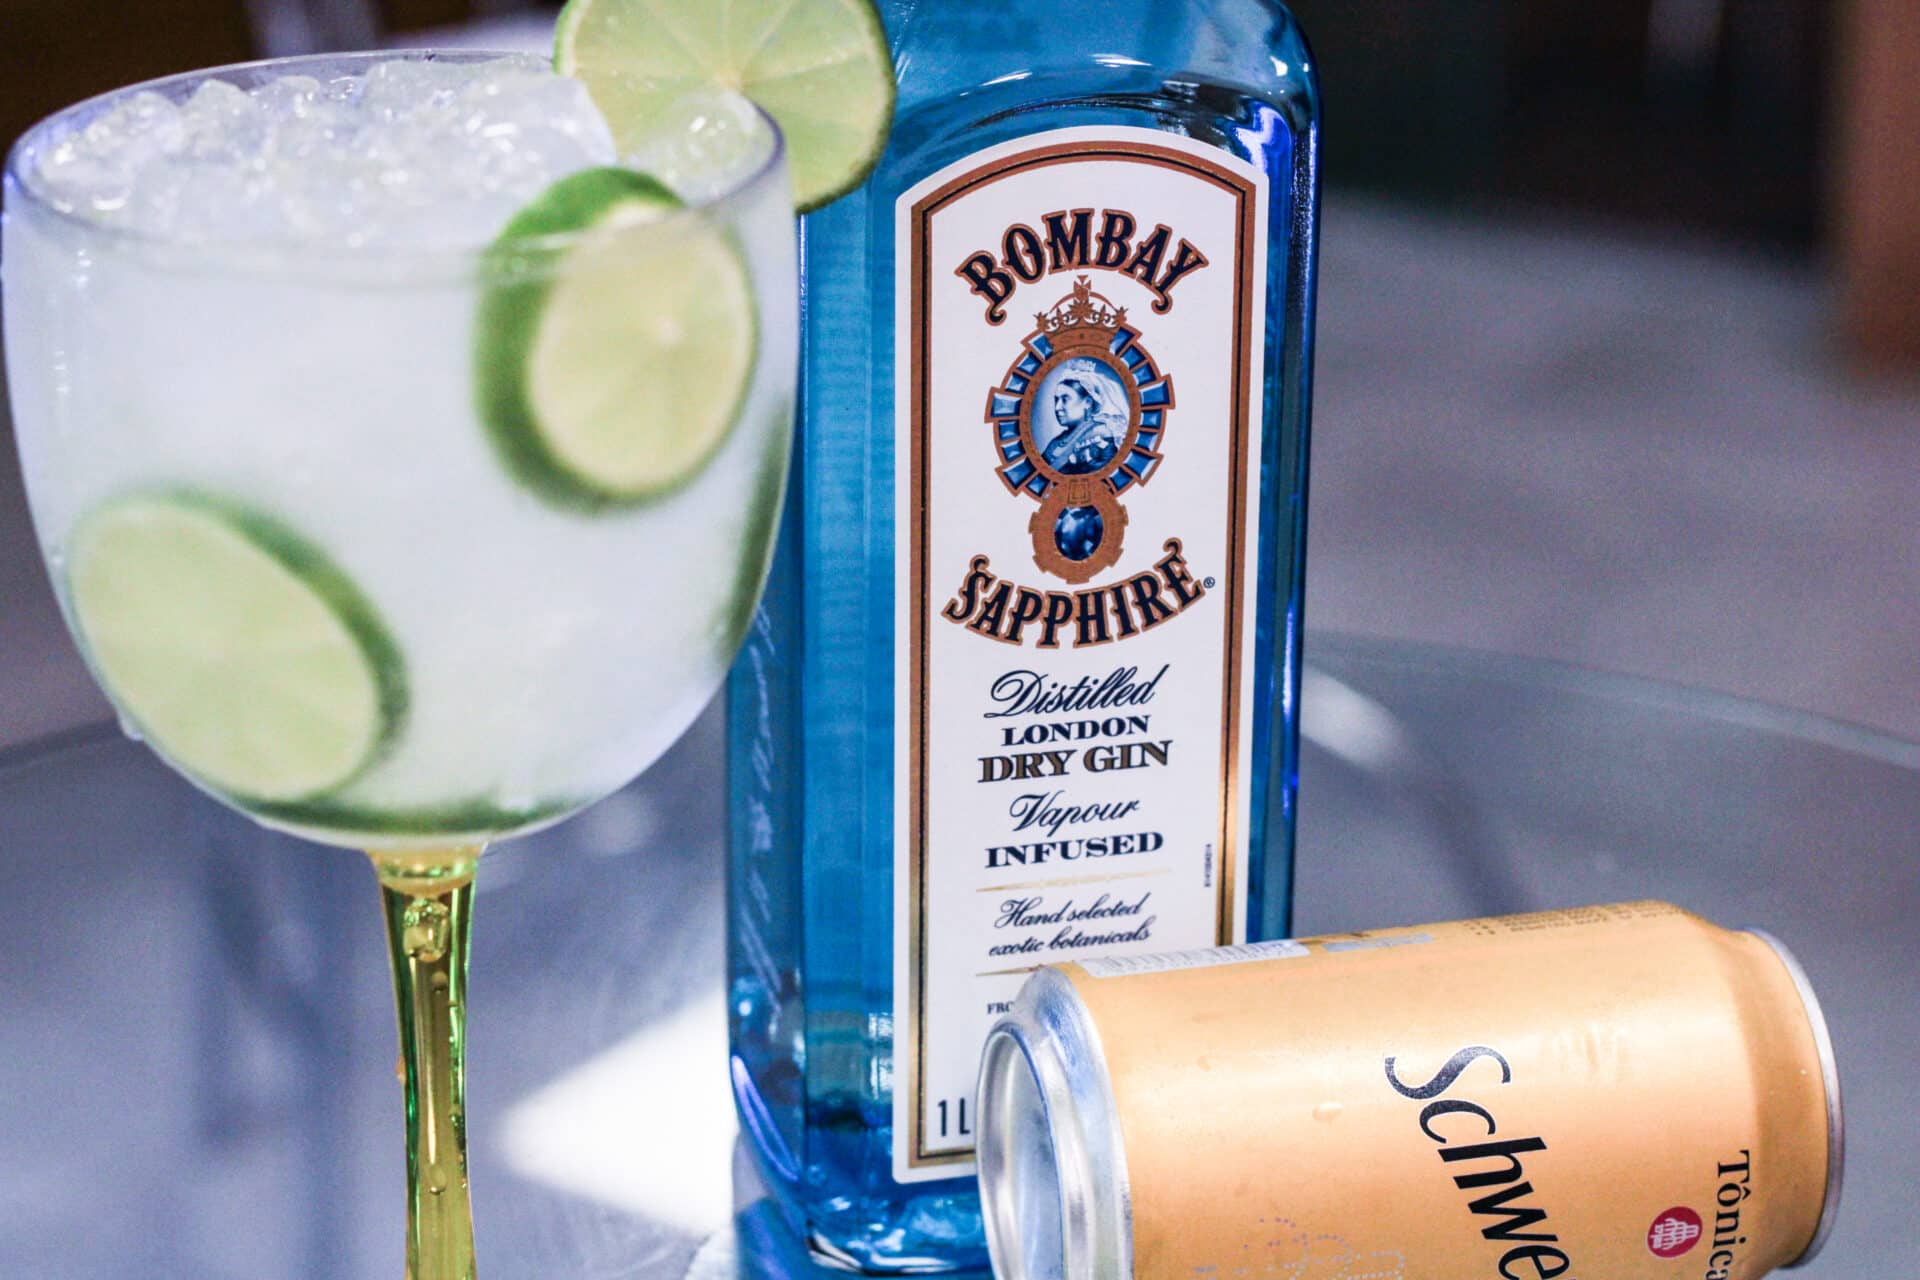
Have you ever wanted to try your hand at distilling your own gin? Well, now you can! With the right equipment and ingredients, you can make your own unique and delicious gin right in the comfort of your own home. In this article, we’ll discuss the process of distilling gin, what you need to get started, and tips for crafting a great bottle of homemade gin. Read on to learn more about this fun and rewarding hobby.Gin is a spirit distilled from grains such as barley, corn, or rye that is flavored and aromatized with juniper berries. It is typically made by redistilling neutral grain spirit with a blend of botanicals and other flavoring agents. The botanicals used in the distillation process will vary depending on the brand and style of gin; however, juniper must be present for it to be considered gin. The process of making gin usually involves maceration (steeping the botanicals in the base alcohol) and/or vapor infusion (heating the botanicals so that their aromas are released into the spirit). The resulting product will be a clear or slightly yellowish liquid with a distinct aroma and taste.
Distilling Gin at Home
Distilling gin at home can be an enjoyable and rewarding experience. There are certain regulations and safety measures that must be followed when distilling gin, and it is important to understand the laws in your area before beginning. The process of distilling gin involves several steps, including collecting ingredients, mashing and fermenting, distillation, and dilution. To ensure safe production of quality gin, proper sanitation techniques should be followed during each step of the process.
Collecting Ingredients
When collecting ingredients for distilling gin at home, make sure to source quality products that are free from contamination. Botanicals such as juniper berries, coriander seeds, angelica root, and citrus peels should be organically grown and harvested when possible. Grains such as wheat or rye should also be of high quality. Quality ingredients will help ensure a successful distillation process and produce a flavorful end product.
Mashing and Fermenting
Before starting the distillation process for making gin, the grain must first be mashed and fermented. The mashing process involves grinding the grain into a fine powder with a mill or grinder before adding water to it to create a mash mixture. This mixture is then allowed to ferment for several days before it is ready for distillation. During fermentation, yeast is added to the mash which converts the sugar present in the mash into alcohol. Once fermentation has been completed, the resulting liquid is called wash or beer which will then be used in the distillation process.
Distillation
The next step in home distilling of gin involves passing the fermented wash through a still multiple times in order to separate out different components of alcohol from each other. During this process impurities are removed which helps produce a cleaner tasting product with higher alcohol content than what was present in the fermented wash prior to distillation. There are different types of stills available for home use but generally speaking they all work by heating up liquid so that its vapors can pass through a tube condenser where they will cool down again and turn back into liquid form while separating out various components present in it based on their boiling points.
Dilution
Once the desired level of alcohol has been achieved through multiple rounds of distillation, it is important to dilute it with clean water prior to bottling so that its alcohol content can be reduced to an appropriate level according to local regulations and laws regarding distilled spirits production at home (usually around 40-50% ABV). Diluting the spirit also helps enhance its flavor since high levels of alcohol can overpower other subtle flavors present in it. After dilution is complete, it is important to taste test your finished product before bottling so you can adjust any flavors if needed or add additional botanicals if desired before bottling your final product for consumption or sale.
When done correctly following all safety precautions and regulations set forth by local laws regarding spirits production at home, home-distilled gin can make for an enjoyable experience that results in a flavorful end product that you can proudly share with others!
Equipment Needed for Distilling Gin at Home
Distilling gin at home is becoming increasingly popular. There is a variety of equipment needed to safely and properly distill your own gin. This includes a still, thermometer, condenser, hydrometer, collection vessels, and more.
A still is the most important piece of equipment needed for distilling gin. This is a device that allows you to heat and evaporate liquid to separate its components. There are several different types of stills available for home use, including traditional copper pot stills, reflux stills, and electric stills. Each type has its own advantages and drawbacks, so it’s important to research which type would be best for you before making a purchase.
Another important item needed for distilling gin is a thermometer. This will allow you to accurately measure the temperature of the liquid in your still during the distillation process. An accurate thermometer can help you ensure that your distilled gin has the desired flavor profile.
A condenser is another essential piece of equipment needed for distilling gin. This device helps convert the vaporized alcohol back into liquid form by cooling it down as it passes through it. It also helps reduce losses due to evaporation during the process. Different types of condensers can be used depending on your needs and budget, so make sure to thoroughly research which one would work best for you before purchasing one.
A hydrometer is an instrument used to measure the density or specific gravity of liquids like alcohol or wine. It can be used to determine how much alcohol is in a solution or when a particular step in the distillation process has been completed correctly. A hydrometer should always be used when making gin since it provides an accurate measurement that cannot be achieved with other methods like taste testing or visual inspection alone.
Finally, collection vessels are necessary when distilling gin at home because they provide storage areas where liquid from different stages of the distillation process can be collected separately and measured accurately with a hydrometer or thermometer if need be. These vessels should always be made from food-grade materials such as stainless steel or glass so that any contaminants present in them do not end up in your finished product.
Following these steps and having all these pieces of equipment available will help ensure that your home-distilled gin tastes great!
Distilling Gin at Home
Distilling gin at home can be a fun and rewarding process. The basic concept of distillation is to boil an alcoholic solution, such as a fermented mash of grain or fruit, and collect the alcohol vapor that is released. Once the alcohol vapor is collected in a separate container it will condense into liquid form which can then be bottled and enjoyed. The process of making gin requires several extra steps including infusing the spirit with botanicals for flavor and aroma. This article will provide an overview of the process for distilling gin at home and offer some tips on how to do it safely.
The first step in distilling gin at home is to prepare the mash or base liquid which will be distilled. The mash should consist of grains, fruits or other fermentable sugars dissolved in water. Once the mash is ready, it should be placed in a still along with any desired botanicals such as juniper berries, coriander, orange peel or other herbs and spices which will give the final product its unique flavor and aroma.
The still should then be heated to around 175-185 degrees Fahrenheit so that it begins to boil off the alcohol vapors. These vapors will travel up through a tube into a condenser where they are cooled back into liquid form. It is important to monitor the temperature carefully during this step as too much heat can cause undesirable flavors to be imparted into the final product.
Once the desired amount of alcohol has been collected, it must then be filtered before being bottled and enjoyed. This involves passing it through a charcoal filter which helps remove any impurities or off-flavors that may have been produced during distillation process. Finally, depending on what type of gin you are making, you may wish to add additional botanical ingredients for flavoring or sweetening purposes.
Distilling gin at home can be an enjoyable experience if done correctly and safely. It is important to follow all safety protocols when working with heated equipment as well as when handling alcohol vapors since both are flammable substances which can cause serious injury if not handled properly. Additionally, when adding botanicals for flavoring purposes make sure not to add too much as this could result in an unpleasantly bitter tasting product. With these tips you should now be ready to start your own journey into home distilling!
Ingredients for Making Your Own Gin
Making your own gin is an exciting and rewarding experience. To do so, you will need several ingredients, including juniper berries, botanicals, and a base spirit. Juniper berries are the main flavoring agent in gin, giving it its distinctive flavor and aroma. You can buy juniper berries from most specialty spice stores or online. Botanicals are herbs or spices added to the gin for flavor and complexity. Common botanicals include coriander, angelica root, orris root, and cardamom. Finally, you will need a base spirit such as vodka or neutral grain spirit to give the gin its alcohol content. All these ingredients can be found in most liquor stores or online retailers.
Once you have all of your ingredients gathered, you can start making your own gin. The process involves steeping the botanicals in a base spirit for several days to allow the flavors to infuse into the liquid. After that, it’s time for distillation – heating up the mixture and collecting the resulting vaporized spirits in a separate container. Finally, you can add any additional flavors through maceration or infusion processes before bottling and labeling your finished product!
Making your own gin is a great way to experiment with different flavors and create something unique that expresses your individual tastes. With just a few simple ingredients, you can create something delicious that you can enjoy with friends or family!
Step One: Gather Supplies
The first step to making your own gin is to gather all the necessary supplies. You will need a spirit base, such as vodka or neutral grain spirit, botanicals of your choice, a large glass jar (or two smaller jars) with an airtight lid, some cheesecloth or a fine strainer, and a clean bottle or container for the finished product. Make sure to have all the ingredients on hand before starting.
Step Two: Infuse the Botanicals
Once you have your supplies gathered, it’s time to infuse the botanicals. Put your chosen botanicals into the jar and then pour in your spirit base. Seal the jar tightly and give it a good shake to mix everything together. Place the jar in a cool, dark place for about two weeks so that all of the flavors can infuse properly. After two weeks, strain out the botanicals using either cheesecloth or a fine strainer.
Step Three: Dilute and Bottle Your Gin
Once you have strained out all of the botanicals from your infused spirit base, it’s time to dilute and bottle your gin. Dilute your gin using distilled water until it reaches 40% alcohol by volume (ABV). Then transfer it into an airtight container or bottle for storage. You can also add any additional flavorings at this point if desired.
Step Four: Enjoy Your Gin!
The final step is to enjoy your gin! You can drink it neat or use it as part of a cocktail or mixed drink. Experiment with different flavor combinations and see what you like best! With some patience and creativity, you can make delicious homemade gin that is sure to impress friends and family alike!
Flavoring and Aging Your Own Gin
Making your own flavored and aged gin is a great way to add something unique to your home bar. Not only does it give you the opportunity to customize your gin, but you can also experiment with a variety of flavors and aging techniques. With just a few simple steps, you can create a one-of-a-kind gin that is sure to impress your friends and family.
The first step in flavoring and aging your own gin is choosing the base spirit. For this process, it’s best to use a neutral grain spirit or vodka, which will provide the foundation of flavor for your gin. Once you’ve chosen the base spirit, you’ll then need to choose which flavors or aromatics you’d like to include in your gin. Popular botanicals used in traditional gins include juniper berries, citrus peels, coriander seed, cardamom, angelica root, cinnamon bark, and star anise.
Once you’ve chosen the botanicals for your gin, you can start infusing them into the base spirit. To do this, simply mix together 1 cup of neutral grain spirit or vodka with 1/2 cup of botanicals in an airtight container. Then seal the container tightly and store it in a cool dark place for at least three days or up to two weeks. After that period has passed, strain out the botanicals and discard them.
Once the infusion process is complete, it’s time to begin aging your gin. This step is important as it will mellow out any sharp flavors from the infusion process as well as add complexity and depth of flavor to your finished product. To age your gin, fill an oak barrel with two parts gin and one part water. Seal up the barrel tightly and store it in a cool dark place for at least three months or up to six months.
Once you’ve aged your gin for at least three months (or longer if desired), it’s time to bottle it up! Simply pour the contents of the barrel into bottles using a funnel lined with cheesecloth or coffee filter paper – this will filter out any sediment from the aging process – then seal up each bottle tightly with cork stoppers or screw caps. Your homemade flavored and aged gin is now ready for serving!
Flavoring and aging your own gin at home not only allows you to customize its flavor profile but also gives you an opportunity to experiment with different techniques such as infusing different botanicals or aging it in oak barrels. With just a few simple steps outlined above, anyone can make their own unique flavored and aged gin that’s sure to impress their friends!
Storing Your Own Gin
When it comes to storing gin, the most important thing is to keep it in a cool, dark place. If you’re going to be keeping your gin for a long period of time, then you should invest in a specialised storage container that is specifically designed for spirits. A good container will keep the gin away from direct sunlight and other sources of heat, while also preventing outside contaminants from entering the bottle. It’s also important to make sure that the lid or cork on your storage container is sealed properly so that no air can get in and spoil the contents.
When it comes to temperature, you should try to keep your gin at around 10-15°C (50-59°F). This is because higher temperatures can cause the alcohol content of the gin to evaporate over time, which can affect its flavour. If you’re storing your gin for an extended period of time, then you may want to consider investing in a wine refrigerator or cellar that is designed specifically for alcohol storage. These are usually temperature controlled and provide an ideal environment for keeping spirits like gin safe and tasting great for longer.
Finally, make sure that you always store your gin bottles upright. This prevents any liquid from seeping into the cork and spoiling the contents inside. If you find yourself running out of space when storing your bottles, then it’s best to use specially designed racks or shelves that have been designed specifically for storing liquor bottles. With these tips in mind, you’ll be able to store your own home-made or store bought gins safely and enjoy them for years to come!

Conclusion
Distilling your own gin at home is a fun and rewarding experience. The process is relatively simple when you have the right equipment, and the end product can be tailored to your own personal tastes. Even if you don’t have the time or resources to distill your own gin, you can still enjoy the unique flavors that come from small batch and craft distilleries.
While distilling your own gin requires some patience and skill, it’s a rewarding hobby that can yield delicious results. Even if you only make a small batch, the joy of creating something unique with your own hands is something that can’t be replicated with store-bought spirits.
No matter what direction you decide to go in, exploring different gins is a great way to expose yourself to new flavors and ideas. Whether you’re looking for a classic London Dry Gin or an experimental spirit made from unusual ingredients, there are plenty of options out there for everyone. So why not take the plunge and start experimenting today?