
Gathering the Ingredients
Gathering the ingredients is a crucial first step in any recipe. It is important to make sure that all of the necessary ingredients are on hand before starting to cook. The best way to do this is to read through the recipe and make a list of everything that is needed. This way, you can easily check off each item as it is gathered, ensuring that nothing is missed. Once all of the ingredients are gathered, they should be checked for freshness and quality before moving on to the next step.Measuring Out the Ingredients
Measuring out all of the ingredients correctly is key for a successful dish. The measurements need to be precise in order for the flavors to balance correctly and for the texture and consistency to be just right. Make sure that all of the measurements are correct before adding anything into the dish. It may help to have a kitchen scale on hand in case any ingredient needs more accurate measurement.Preparing the Ingredients
Once all of the ingredients have been measured out, they need to be prepared according to instructions given in the recipe. This could include chopping vegetables, shredding cheese, or softening butter. Depending on what type of recipe it is, there may be other steps involved in preparing each ingredient as well. Taking care when prepping each ingredient will ensure that everything turns out perfect when it’s time to cook!Measuring Out the Salt
Measuring out the right amount of salt is essential for a successful recipe. Too much salt can ruin a dish, while not enough can leave it bland and unappealing. The best way to make sure you are using the right amount of salt is to measure it carefully. Measuring spoons are an easy way to ensure that you have an exact measurement, as they allow you to measure out small amounts of salt with accuracy. If your recipe calls for a teaspoon or tablespoon of salt, you can use a measuring spoon to make sure you are using the proper amount.Another option is to use a kitchen scale for measuring out your salt. Measuring out your salt by weight instead of volume will ensure that you have the precise amount that your recipe calls for. This can be especially helpful if you are using coarse or specialty salts, as they often do not measure accurately when used with measuring spoons. Kitchen scales are available in both digital and analog versions, so it’s important to find one that fits your needs and budget.
No matter which method you choose, it’s important to be precise when measuring out the salt in your recipes. Taking the time to make sure that you have an accurate measurement will help ensure that every dish turns out perfect every time!
Mixing the Salt with Water
Mixing salt with water is an important process that should be done correctly to ensure the proper concentration of salt in the water. Salt can be added to water in two ways: by dissolving it in the water or by stirring it in with a spoon. When adding salt to water, it is important to use enough salt to get the desired salinity and not too much, as too much salt can cause issues such as taste or health problems. Additionally, it is important to stir the salt into the water until it is fully dissolved, as undissolved particles of salt can cause clumping or sedimentation.When mixing salt into a liquid, it should be done slowly and carefully so that the concentration of salt in the liquid remains consistent. This means that if you are adding a large amount of salt, you should add it gradually over time rather than all at once. Additionally, using warm or hot water can help dissolve larger amounts of salt more quickly and easily than cold water. It is also important to remember that some types of salts dissolve more quickly than others, so you may need to adjust your technique depending on what type of salt you are using.Finally, after mixing your desired amount of salt into a liquid, make sure to stir it for several minutes until all of the particles have been dissolved. If any particles remain after stirring for several minutes, then you will need to add more water and continue stirring until all particles are gone. By taking these steps and being mindful when mixing salts with liquids, you can ensure that your mixture has reached its desired salinity level and taste.Boiling the Water
Boiling water is the most common and efficient way to purify it. Boiling kills bacteria, viruses and parasites that are found in water. It also makes the water safe for drinking. Boiling water is simple and easy, but it does require some time and patience. To start, you will need a pot with a lid, heat source (stove or microwave) and filtered or distilled water. Fill the pot with enough water to cover the bottom of the pot, but not too much so that it will take too long to boil. Place the pot on your heat source and turn it on medium-high heat. Wait for the water to begin boiling, which should take about 10 minutes depending on how much water you are boiling. Once it is boiling, leave it to boil for another 10 minutes before turning off the heat. Let it cool before drinking or using in recipes. Boiling is an effective way to purify your drinking water and make sure that any bacteria or viruses in your drinking water have been eliminated.
Letting the Water Cool Down
When it comes to boiling water, it’s important to let the water cool down before consumption. Boiling water has many benefits and can be used for a variety of tasks such as sterilizing, preparing coffee and tea, or even cooking food. However, it is essential to remember that boiling water is not safe to consume as-is. It must be cooled down before being drank or used in any other way. There are many ways to safely cool down boiled water and it is important to follow the right procedure for each task.The most common way of cooling down boiled water is by using a pot or container made of a non-reactive material such as glass or stainless steel. The boiling water should be poured into the container, allowing it to cool naturally without any added ingredients. This process can take some time so it’s best to start with a large container that will give you more surface area for the heat from the boiled water to dissipate quicker. The second method of cooling boiled water involves adding cold ingredients such as ice cubes, cold tap water, or even cold beverages like soda or juice. This method is often used when time is an issue since adding cold ingredients will speed up the cooling process significantly. However, be careful not to add too much cold ingredients since this could alter the taste of your drink or dish significantly.Finally, letting boiled water sit until it reaches room temperature is another safe way of cooling it down before consumption or use in cooking. This method can take some time but ensures that your drink or food won’t be too hot when served. It’s important not to leave boiled water sitting out for too long since bacteria could start growing if left at room temperature for an extended period of time.No matter which method you choose, letting your boiled water cool down first is essential in order to prevent burns and ensure that your food and drinks are safe for consumption.Testing the Salinity of the Water
Testing the salinity of water is an important part of many industries, such as maritime, aquatic science, and wastewater management. Salinity is the measure of how salty a body of water is, and can be determined by measuring the ratio between chloride ions and sodium ions present in a sample. This can be done by testing for the presence of dissolved salts in a water sample. Generally, higher salinity levels indicate more saline waters while lower levels indicate less saline waters.The most common method used to test for salinity is titration. This involves adding a reagent (most commonly sodium chloride) to a sample and measuring the pH with an indicator. As more reagent is added, the pH will change from acidic to neutral or basic, depending on the amount of salt in the sample. The amount of reagent needed to reach this point is then used to calculate the salinity level.Another popular method for testing salinity involves using an instrument called a refractometer. A refractometer measures how light rays bend when they pass through a liquid solution. By shining light through a solution containing salt and measuring how much it bends, we can get an accurate measurement of its concentration. Refractometers are often used when more accurate values are needed than what could be obtained through titration alone.Finally, there are also alternative methods such as spectrophotometry or ion chromatography that can be used to test for salinity in water samples. These methods involve using specialized instruments to measure light absorption or ion concentrations respectively in order to determine salinity levels in water samples.Whichever method you choose, it’s important that you use proper safety protocols when handling and testing for salt in water samples as salts can be caustic or corrosive if handled improperly. Additionally, it’s important to make sure that you have taken into account any other factors that could affect your measurements such as temperature or other impurities present in your sample before relying on your results for decision making purposes.
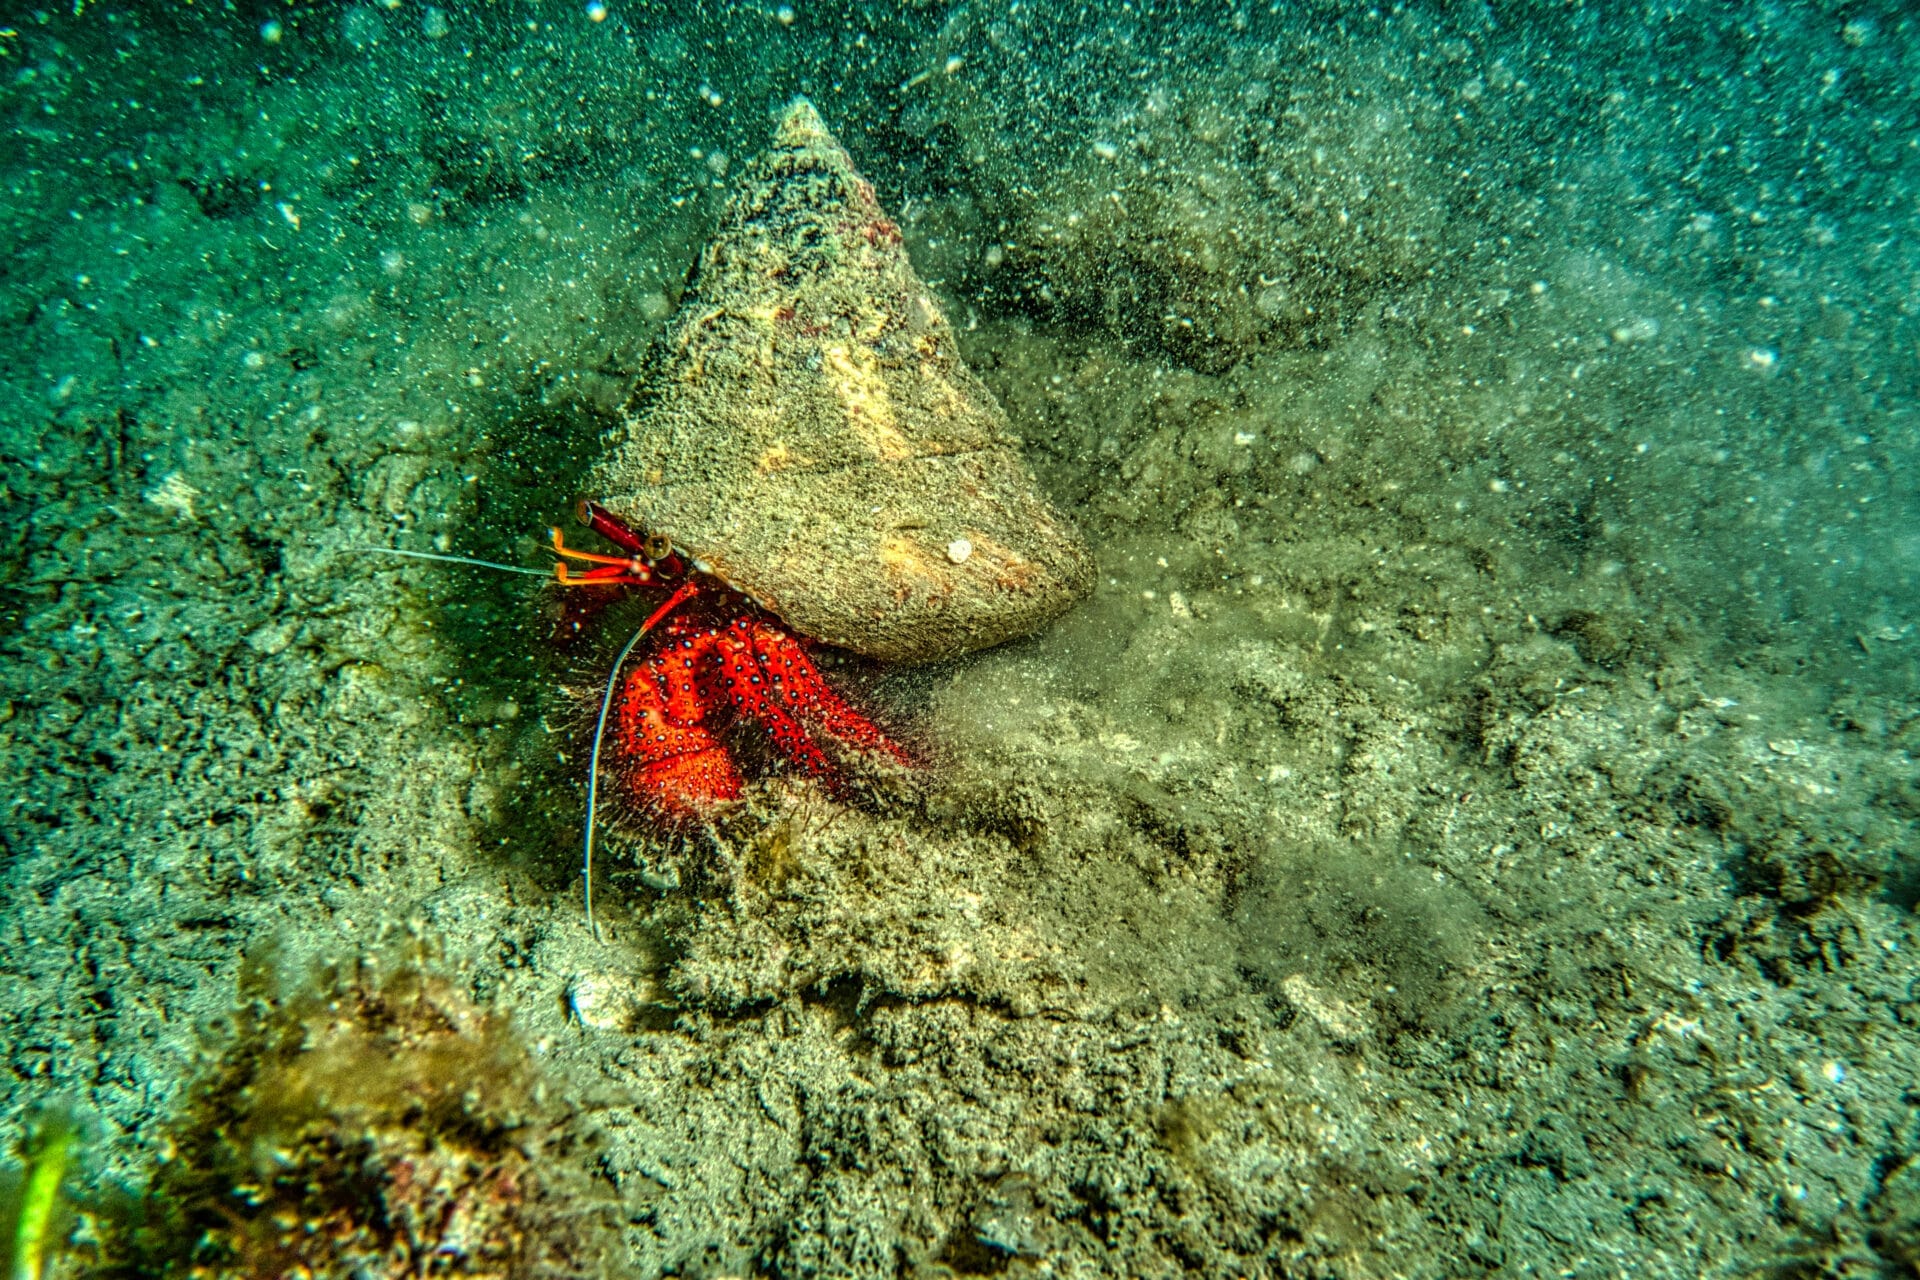
Can Hermit Crabs Survive Without Salt Water for Extended Periods?
Hermit crabs and water availability are crucial for their survival. While these fascinating creatures can tolerate brief periods without salt water, extended absence can lead to dehydration and stress. Ensuring a suitable habitat with fresh and saline water sources is essential for their health and well-being in captivity.
Can Salt Water For My Hermit Crab Help If It Has Been Exposed to Water Under Laminate Flooring?
If your hermit crab has been exposed to water under laminate flooring, it’s crucial to address their habitat quickly. Using salt water can help replicate their natural environment, promoting hydration and care. However, ensure to manage the drying water beneath laminate flooring to prevent further moisture buildup and potential health issues.
Can I Use Salt Water to Help My Hermit Crab’s Hydration While I Learn to Water Ski?
Using salt water can play a role in maintaining your hermit crab’s hydration, as they thrive in brackish environments. While you’re mastering water skiing basics for newcomers, ensure your crab has access to fresh and salt water for balance. Their health is essential, so multitasking can be beneficial!
Adjusting the Salinity of the Water
Adjusting the salinity of water is an important process that helps maintain aquatic ecosystems. It is necessary to keep a balance between freshwater and saltwater in order to sustain life. The salinity of water can be adjusted by adding or removing certain minerals or chemicals, such as sodium chloride and magnesium sulfate. The amount of salt added or removed depends on the desired level of salinity for a particular environment.The process of adjusting salinity can be done manually or mechanically. Manual methods involve adding or removing mineral compounds from the water, while mechanical methods involve using specialized equipment and machines to adjust salinity levels. Manual methods are often preferred when dealing with small bodies of water, such as ponds or aquariums, while mechanical methods are more commonly used when dealing with large bodies of water, such as oceans and seas.When adjusting the salinity of water, it is important to consider the environment in which it will be used. Certain species may require more salt than others, and different types of marine life may have different tolerances for salinity levels. In addition, if too much salt is added to a body of fresh water, it can lead to problems such as increased algae growth and fish mortality.It is also important to consider the effects that adding or removing salts will have on other elements in the environment. For example, adding salts may increase the pH levels in a body of water, which could have a negative effect on certain marine organisms that require low pH levels for survival. Furthermore, if too much salt is added to an area, it can cause changes in soil composition and vegetation growth patterns due to increased evaporation rates.Overall, adjusting salinity levels in aquatic environments can help maintain healthy ecosystems and promote biodiversity within those ecosystems. It is important to understand how different species respond to changes in their environment before making any changes so that any adjustments made are beneficial rather than detrimental for all involved.
Conclusion
Making salt water for your hermit crab is an easy task that requires minimal effort and time. By using the right ratio of salt to water, you can ensure a healthy environment for your hermit crab. You should also use dechlorinated water to avoid any potential contamination or harm to your pet. Additionally, you should change the water regularly to keep it fresh and clean. With these few steps, you can provide your hermit crab with a safe environment that helps them stay healthy and happy.Remember that providing a healthy habitat for your pet is essential for their well-being. Making salt water is just one aspect of providing a safe and secure home for your hermit crab. Take the necessary steps to ensure that all other aspects of their habitat are up to par as well, such as making sure they have plenty of food and calcium sources, as well as providing them with adequate space and hiding places. With these few steps, you can make sure your hermit crab has a safe home they can thrive in.